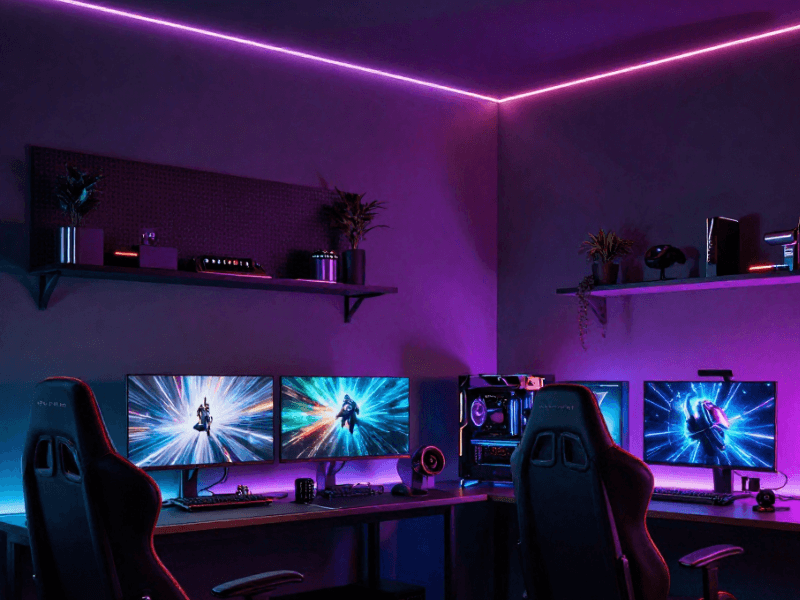








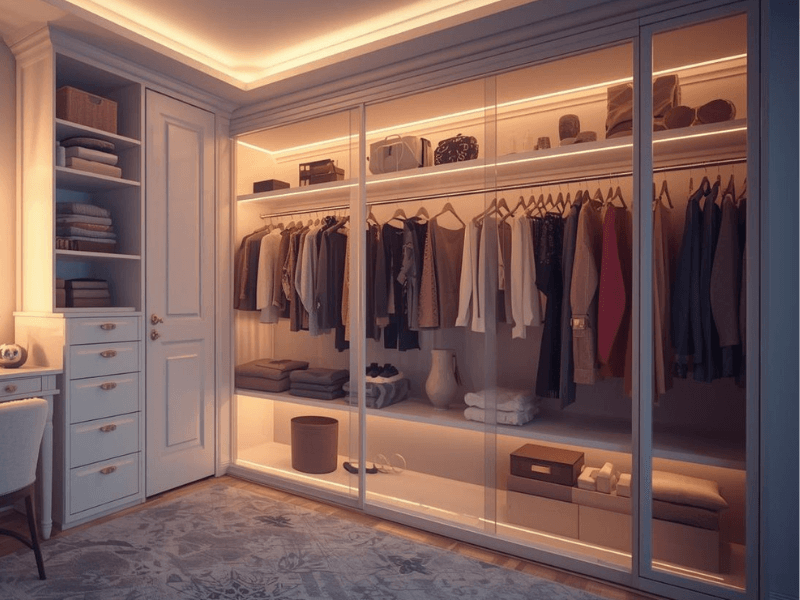

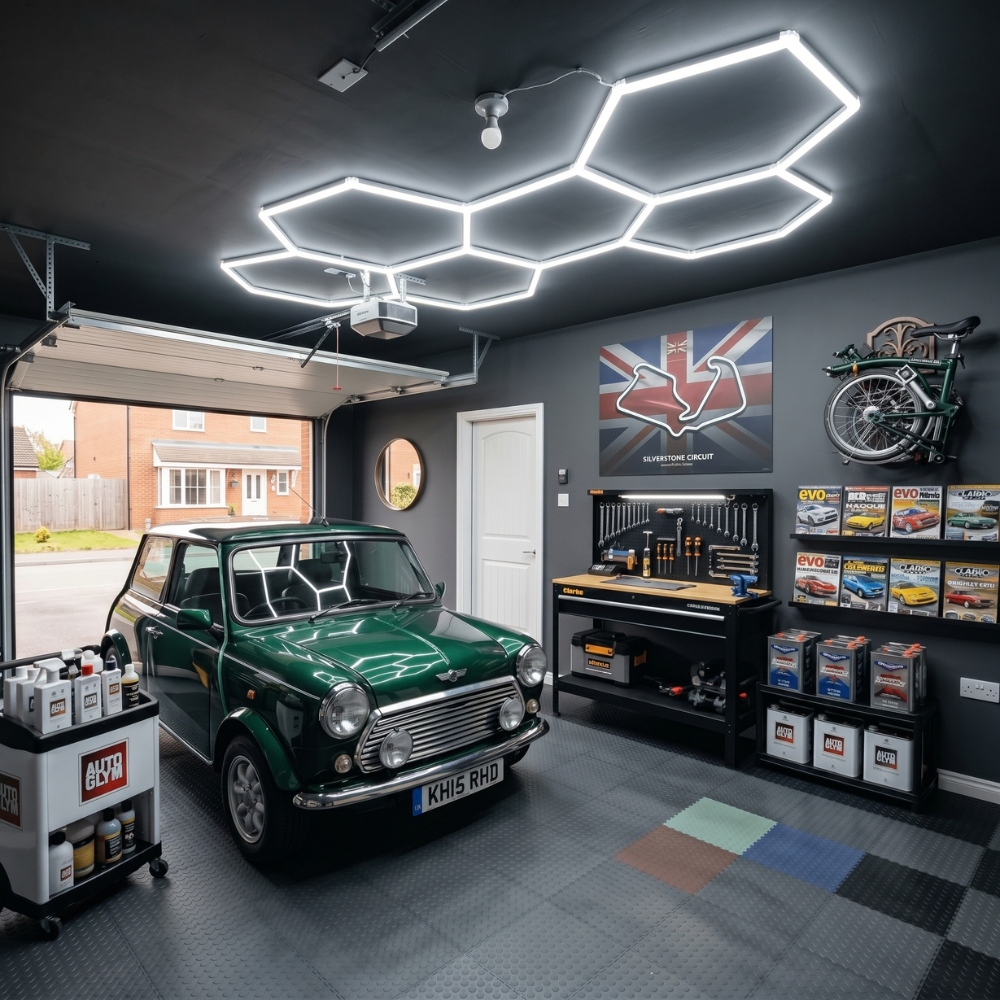

LED strip lights can help add layered lighting to almost any space. But a good installation involves more than sticking the strip in place and switching it on.
Problems such as flickering, uneven brightness, poor adhesion and unreliable connections often begin during planning, product selection, or installation.
The best way to avoid them is to treat your LED strip lighting as a complete system from the start.
Before you begin:
- Plan where the lighting will go
- Choose a strip suited to the location and purpose
- Calculate the total power requirement
- Match the driver, controls and connectors to the strip
- Plan how the components will connect
- Prepare the mounting surface and installation route
- Test the complete system before permanently fixing anything
Use this guide as a checklist before starting your next LED strip lighting project.
Mistakes to Avoid When Planning and Choosing LED Strip Lights
Good planning can prevent many common LED strip light problems before installation begins.
Mistake 1: Choosing an LED Strip Without Considering Where It Will Be Used
Not every LED strip suits every room or application. First, decide what you want the lighting to do.
Under kitchen cabinets, LED strips can provide practical task lighting. Behind furniture, along shelving or around architectural features, they may be used mainly for accent or decorative lighting.
This affects the brightness you need. Colour temperature matters, too! Warm white light creates a softer effect, while cooler tones may suit work areas where clearer illumination is useful.
The installation environment also determines the level of protection required. LED strips used in bathrooms, kitchens or outdoor spaces may need an appropriate IP rating to protect against moisture or water.
Finally, decide whether you want fixed white, tunable white or colour-changing lighting. This determines which controllers, drivers and accessories you will need.
Choosing the right strip at the start makes the rest of the system easier to plan.
Mistake 2: Choosing the Wrong Voltage
LED strip lights commonly operate at low voltages such as 12V or 24V. The strip voltage must match the power supply.
The basic rule is:
- 12V LED strip → 12V compatible power supply
- 24V LED strip → 24V compatible power supply
Using components with different voltages can prevent the system from working correctly and may damage them.
Don't confuse voltage with wattage. Voltage tells you which electrical system the strip is designed for. Wattage tells you how much power it consumes.
Two 24V strips can have very different wattage requirements depending on their length, brightness and LED density.
24V strips are often preferred for longer runs because they can experience less voltage drop than comparable 12V strips. However, the right choice still depends on the individual product and installation.
Mistake 3: Forgetting to Plan the Complete LED Strip System
An LED strip is only one part of the installation. Depending on the project, you may also need:
- An LED driver or power supply
- Connectors
- Extension cable
- A dimmer
- An LED controller
- Aluminium profile and diffuser
- Additional power feeds or separate lighting zones
Buying the strip first and planning the other components later can leave you with incompatible products or missing parts.
A basic single-colour system may look like:
Mains power → LED driver → LED strip
A controlled system may look like:
Mains power → LED driver → controller or dimmer → LED strip
The exact arrangement depends on the products used.
You also need to plan where each component will sit. Consider where the driver will be installed, whether it will remain accessible, whether you'll need an extension cable, and how the strip will navigate corners.
Planning the complete system before ordering helps avoid unnecessary changes during installation.

Mistakes When Calculating LED Strip Power Requirements
Once you've chosen the strip, make sure the power supply can support the complete load.
Mistake 4: Not Calculating the Total Wattage
LED strip power consumption is usually shown in watts per metre.
To calculate the approximate total wattage:
Watts per metre × total strip length = total wattage
For example, if a strip consumes 9.6 watts per metre and you are installing 5 metres:
9.6W/m × 5m = 48W
If one driver will power several strip sections, include all of them.
Two 3-metre runs of the same 9.6W-per-metre strip would require:
9.6W/m × 6m = 57.6W
Calculating each run individually but forgetting the combined load can leave you with an undersized power supply.
Our guide on calculating power requirements for LED strip lights explains the process in more detail.
Mistake 5: Choosing a Power Supply With Insufficient Capacity
Once you know the total wattage, choose an LED driver that can support it.
Don't assume a driver is suitable just because its rated output exactly matches the calculated LED load. Check:
- Output voltage
- Rated wattage
- Recommended loading
- Installation requirements
- Dimming compatibility, where required
The driver should operate within the manufacturer's stated limits, not at an unsuitable load. An undersized or incompatible power supply can contribute to poor performance, flickering or intermittent operation.
If you need more help comparing options, see our article about the best LED drivers for strip lighting.
Mistake 6: Assuming One Power Supply Is Always Best for a Large Installation
One driver may be okay for a simple LED strip project. But larger installations might require a different layout.
Running every strip from one central driver may create long cable runs and make voltage drop harder to manage. Depending on the strip and layout, a larger installation may work better with:
- Separate strip runs
- Additional power feeds
- Multiple drivers
- Independently controlled zones
This is especially relevant when lighting is spread across several areas rather than installed as one short continuous run.
There's no universal maximum LED strip length. The permitted run length depends on the product, power requirements and wiring arrangement.
Our LED strip wiring guide covers more detailed layouts for larger installations.

Mistakes When Connecting LED Strip Lights
Before powering the system, make sure each connection is correct and every accessory matches the strip.
Mistake 7: Connecting Positive and Negative Incorrectly
Many low-voltage LED strip systems use positive and negative connection points marked + and -. These must correspond across the strip, cable, connectors and driver output.
Reversing the polarity can prevent the strip from working correctly. This mistake is particularly easy to make after cutting a strip or adding extension cable, when the original orientation may be less obvious.
Don't rely on wire colour alone unless the product instructions clearly identify each conductor.
For a more detailed walkthrough, see our guide on how to connect LED strip lights to a power supply.
Mistake 8: Using Connectors That Do Not Match the LED Strip
LED strip connectors are not universal. Before choosing one, check:
- Strip width
- Number of contacts or pins
- LED strip type
- Connection style
A single-colour strip may use a different connection layout from an RGB, RGBW or tunable white strip. Even strips that look similar may require different connectors.
Using the wrong connector can lead to a loose fit, intermittent operation or missing channels. The same applies when joining sections or turning corners.
Choose connectors designed for the strip rather than forcing it into an unsuitable fitting or bend.
Mistake 9: Choosing an Incompatible LED Strip Controller
Colour-changing and tunable white systems require a compatible controller. The typical arrangement is:
Power supply → Controller → LED strip
RGB strips control red, green and blue channels. RGBW strips add a separate white channel. CCT or tunable white strips control different white colour temperatures.
These systems may require different numbers of channels, pins and connection arrangements.
Before ordering a controller, check:
- LED strip type
- Supported channels
- Pin configuration
- Operating voltage
- Maximum supported load
An incompatible controller can result in missing colours, incorrect operation or controls that do not respond properly.
Mistakes When Installing LED Strip Lights
Once the electrical system has been planned, focus on how the strip itself will be mounted.
Mistake 10: Installing the Strip Without Preparing the Surface
Dust, grease, dirt and moisture can prevent the adhesive backing from bonding properly. A strip may appear secure at first but start lifting or falling away later.
Clean the mounting surface before installation and allow it to dry fully. This is especially important in kitchens, workshops and other areas where grease or dust can build up.
The type and condition of the surface also affect adhesion. Smooth, clean surfaces generally provide a better base than rough, dusty or uneven ones.
Measure and plan the strip position before removing the protective backing. Repeatedly sticking and repositioning the strip can weaken the adhesive.
Our guide on installing LED strip lights covers the full fitting process.
Mistake 11: Ignoring Heat Management
LED strips generate heat while operating. If not dissipated effectively, it may affect performance and reduce the strip's lifespan.
Heat levels depend on factors such as:
- Strip's wattage
- Installation location
- Surrounding materials
An LED aluminium profile can provide a dedicated mounting surface and help with heat management in suitable installations. It can also create a cleaner finished appearance. It may even be combined with diffusers to soften the visibility of individual LED points.
However, not every LED strip needs a profile, particularly lower-powered or short decorative runs. The correct mounting method depends on the strip and installation environment.
Mistake 12: Bending, Twisting or Damaging the Strip
LED strips are flexible, but they still have bending limits. Sharp bends, excessive twisting or folding can damage the conductive tracks or components.
Avoid pulling on soldered connections or letting the strip support the weight of attached cables.
When the installation changes direction, check the permitted bending requirements. A compatible corner connector or separate strip section may be a better option than forcing the strip around a tight corner.
Plan bends and direction changes before installation so you can order the correct connectors at the same time.
Mistake 13: Cutting the LED Strip in the Wrong Place
Many LED strips can be shortened, but only at designated cutting points. These points are normally marked along the strip so the electrical circuit remains usable after cutting.
Cutting between the approved markings can damage the circuit or make part of the strip unusable. But before that:
- Disconnect the strip from power
- Find the designated cutting mark
- Check the cutting interval
- Use a suitable clean cutting tool
- Plan how the cut section will be reconnected, if needed
Cutting intervals vary between products. Don't assume every LED strip can be shortened at the same points.
If precise sizing matters, check the cutting intervals before buying.

Mistakes When Dimming LED Strip Lights
Dimming adds flexibility, but it also introduces another compatibility requirement.
Mistake 14: Using an Incompatible Dimmer or Dimming Setup
Not every LED driver or strip works with every dimming method. Some drivers are non-dimmable. Others are designed to work with particular dimmers or control systems.
Using incompatible components can cause:
- Flickering
- Unstable operation
- A limited dimming range
- Lighting that does not respond correctly
Before adding a dimmer, make sure the LED strip, driver and control method are designed to work together. If an existing strip flickers while dimmed, check the driver, dimmer, load and connections before assuming the strip is faulty.
Our guide to why LED strip lights flicker covers common causes in more detail.
Mistakes Before Finishing the Installation
Before profiles, cables or drivers become difficult to access, test the complete system.
Mistake 15: Permanently Installing Everything Before Testing the Full System
Don't wait until profiles are fixed, cables are hidden, or cabinetry is closed before testing the lighting. Power the complete system while all components are still accessible.
Check:
- Every strip section lights correctly
- Brightness remains consistent along each run
- Connectors are secure
- Cables do not cause flickering when moved
- Dimming works smoothly
- RGB, RGBW or CCT controls operate the correct channels
Test the full length of the installation, not just the first section. Finding a loose connector or control problem now is much easier than discovering it after the system has been permanently concealed.
Once the strip, driver, controller, dimmer and connections are working correctly, complete the final installation.
After Installation: Watch for Early Warning Signs
Changes in performance can indicate that something in the system needs attention. Warning signs include:
- Flickering
- Unexpected dimming
- Uneven brightness
- Intermittent operation
- Colour inconsistencies
Possible causes include loose connections, voltage drop, power supply problems or incompatible components.
For example, a strip that becomes noticeably dimmer towards the end of a long run may need a different power arrangement. Flickering near a connector may indicate a poor connection.
Accessible connectors, cables and drivers should also be checked if the installation is exposed to heat, moisture or movement.
If flickering is the main issue, our guide to why LED strip lights flicker covers the most common causes and checks.
Final LED Strip Installation Checklist
Before completing your project, make sure that:
- The strip is suitable for the location and intended purpose
- The strip voltage matches the power supply
- The total wattage has been calculated
- The LED driver can support the complete load
- Connectors, controllers and dimmers are compatible
- Longer runs and additional power feeds have been planned where required
- The surface is dry, clean, and suitable
- Bends and cut points have been planned correctly
- The complete system works before anything is permanently concealed

Final Thoughts
Most common LED strip light mistakes can be avoided through better planning.
Choose a strip that suits the location and purpose, match the voltage, calculate the total load and select compatible drivers, connectors and controls.
For longer installations, plan the wiring and power feeds before fitting the strip. Prepare the mounting surface, avoid sharp bends or incorrect cuts, and test the complete system while every component is still accessible.
Treating LED strip lighting as one complete system can reduce installation problems, simplify troubleshooting and help the lighting perform reliably for longer.
Explore Simple Lighting's range of LED strip lights, drivers, connectors, controllers and aluminium profiles to build a compatible system for your next project.


0 comments