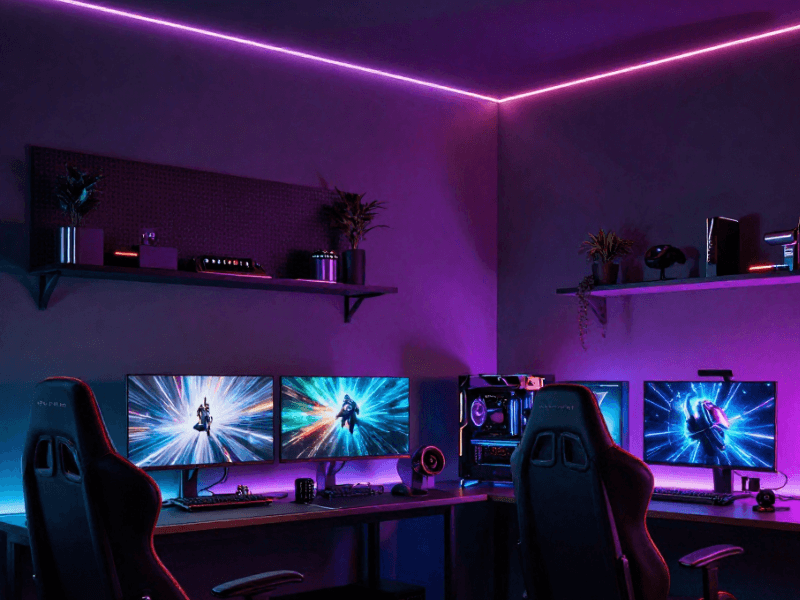
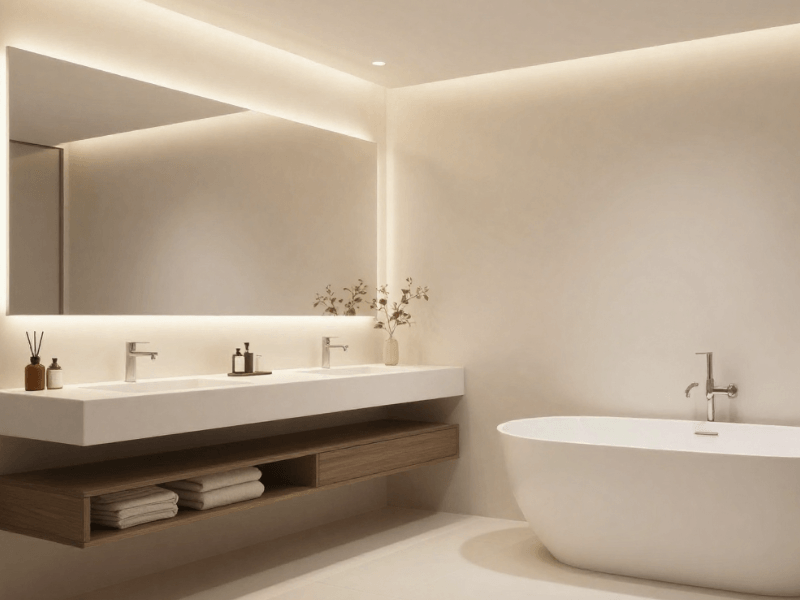
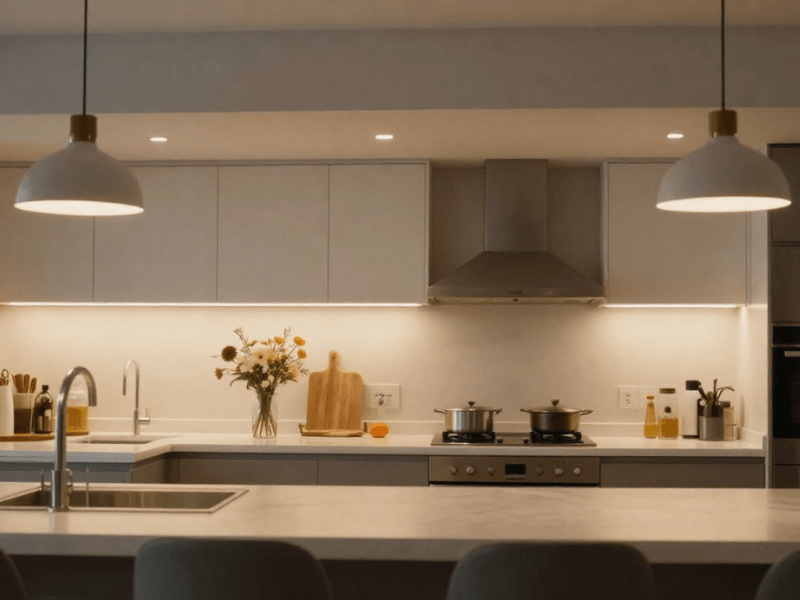
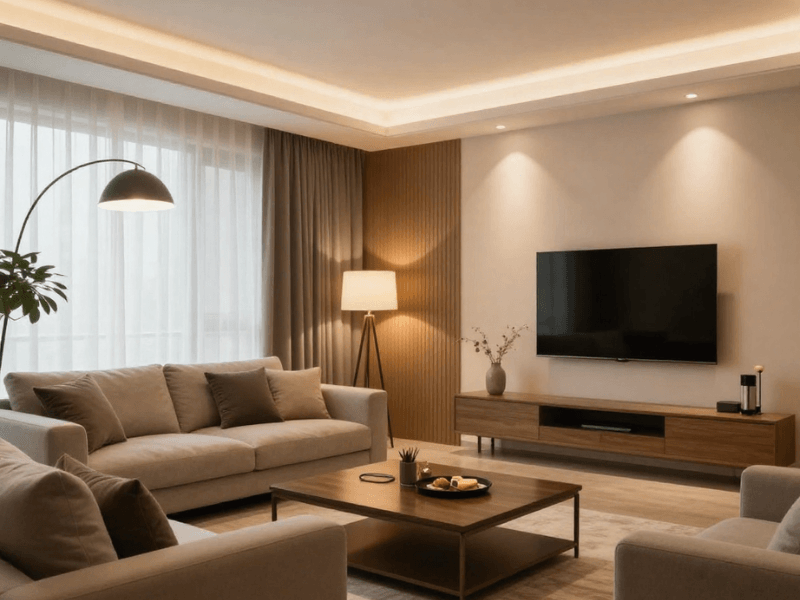
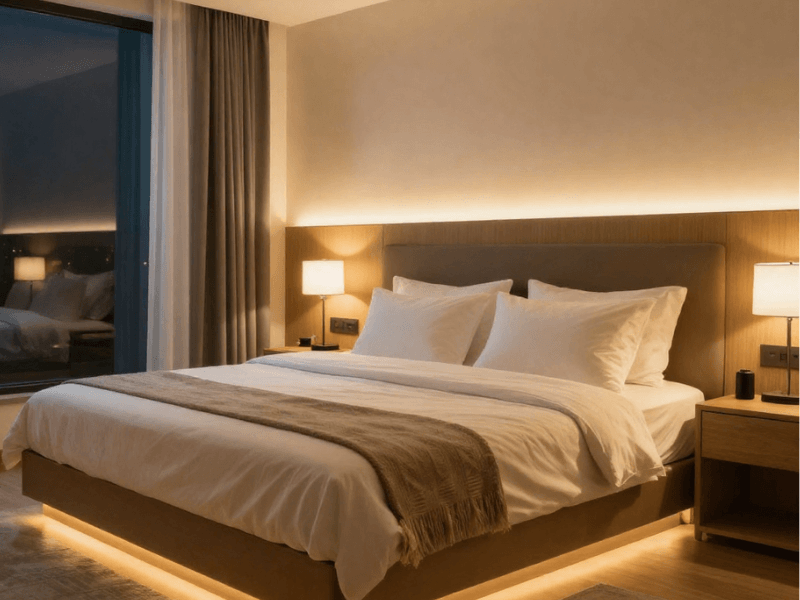
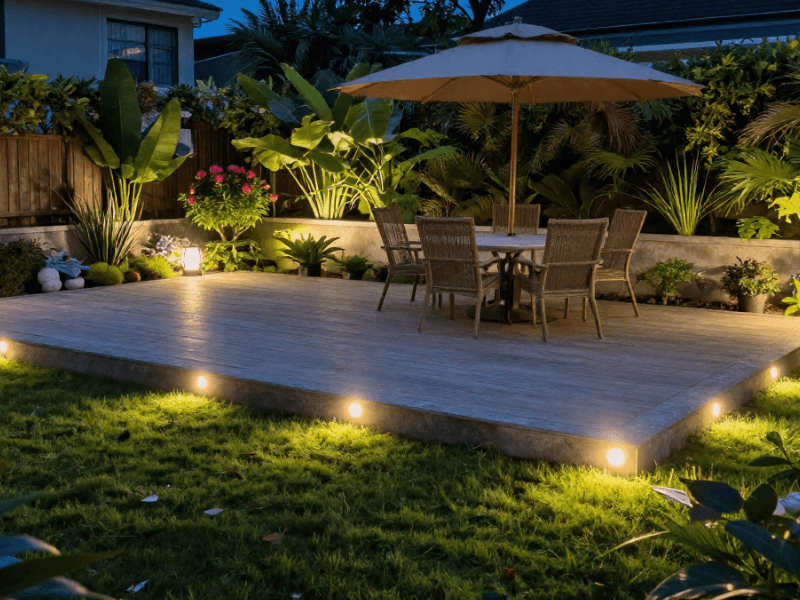
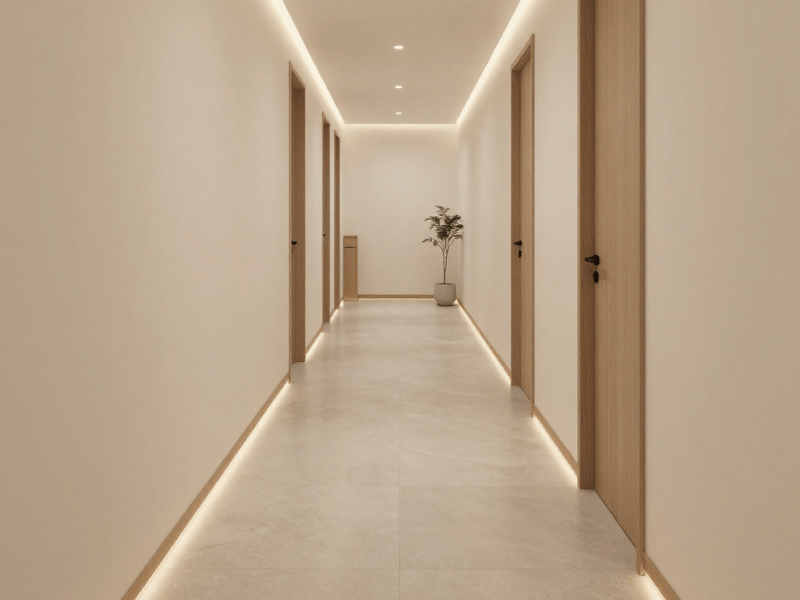
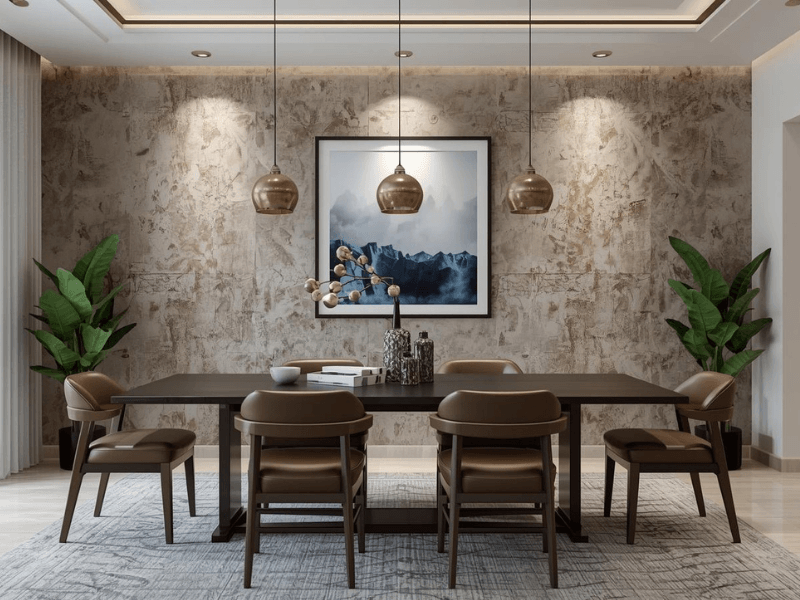
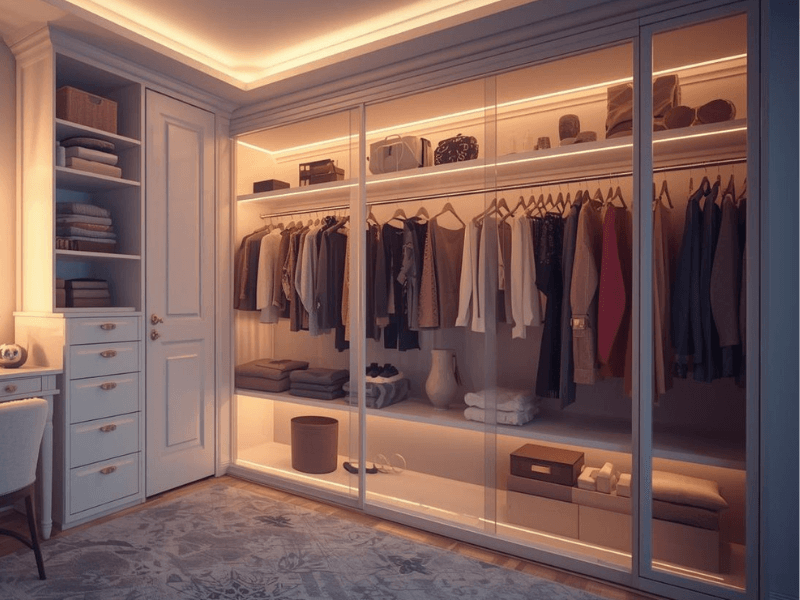
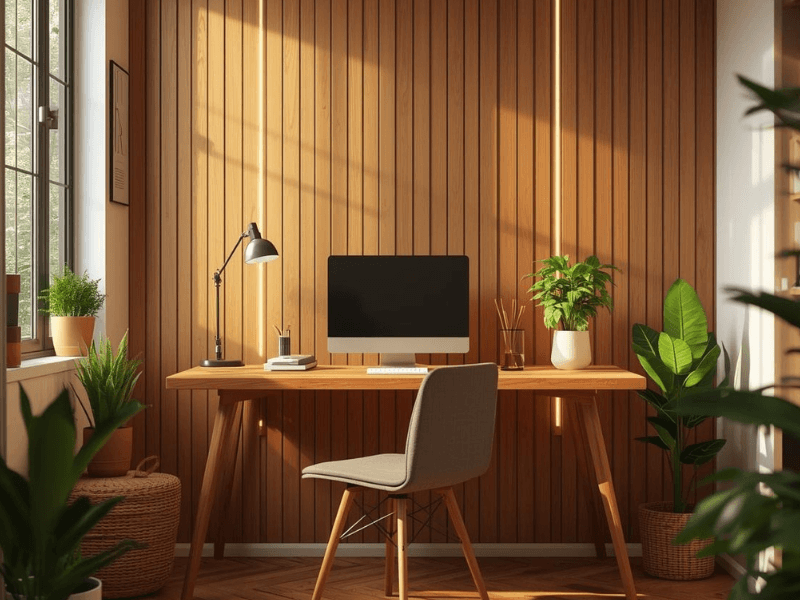
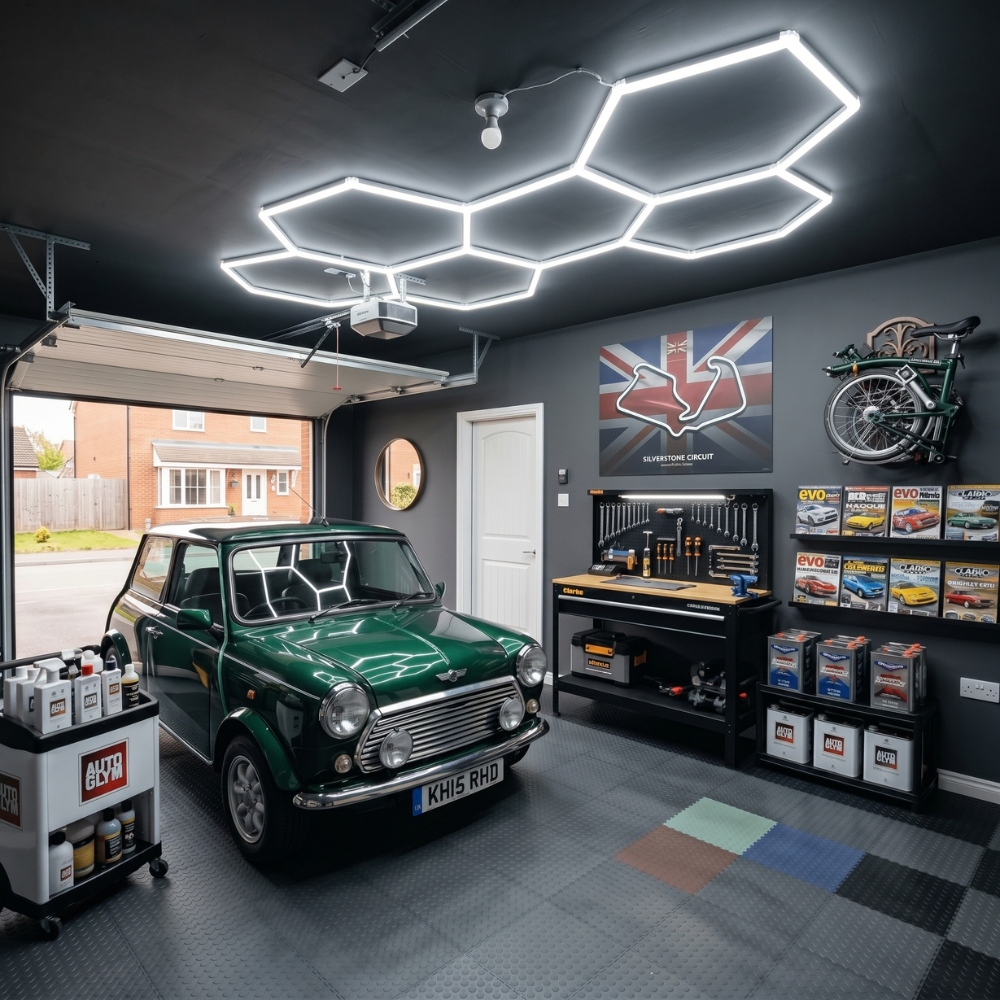

Look at your shelves and recessed alcoves. What do they have in common?
Probably dark corners that the main ceiling light can’t properly reach. This is a common issue in these spaces, as they’re designed to be enveloped in shadow.
That’s where LED strip lighting makes a surprisingly big difference.
Because they’re slim and flexible, they can be tucked into narrow spaces where traditional light fittings simply would not fit. Use them to highlight books, artwork, decorative objects, collectables, and plants.
Architectural details and media units also benefit from the added illumination.
Suddenly, these once-darkest corners of the room become eye-catching features that lift the space’s atmosphere.
The trick, however, isn't to stick an LED strip onto a shelf and hope for the best. Both shelves and alcoves benefit well from indirect lighting. You want to see the light, but ideally not the LED source itself.
That means carefully planning strip placement. Also consider brightness, colour temperature, aluminium profiles, diffusers, power supplies, and controls before installation.
In this guide, we’ll cover both design ideas and practical considerations in creating better LED strip lighting for shelves and alcoves.
Why Use LED Strip Lighting for Shelves and Alcoves?
If there’s one thing LED strips are known for, it’s that they take up very little space. This makes them well-suited for tight spaces like, you guessed it, your shelves and alcoves.
They’re slim, which makes them easy to position and hide for indirect lighting. They’re also flexible, so you can run them along bends, curves, and corners easily to create continuous lines of light.
LED strips also come in different colour temperatures, brightness levels, and formats, with dimming options available for many installations. RGB strips can introduce colour-changing effects, which are popular around media units, gaming setups, and entertainment spaces.
For visible installations (where the light source is in plain sight), aluminium LED profiles are useful for a cleaner look while helping protect the LEDs from external damage and heat.
The profile’s built-in diffusers soften the light and reduce the visibility of individual LEDs, leaving you with a smooth line of light.
LED Strip Use
LED shelf lighting can serve several purposes, too.
-
As accent lighting, it can draw attention to artwork, books or decorative objects.
-
As ambient lighting, it can create a gentle glow across an alcove or wall.
-
It can also provide practical lighting, making shelves, storage areas, and workspaces easier to see.
That does not mean LED strips should replace all the other lighting in a bedroom, living room, or kitchen. They work best as an added layer in the overall lighting scheme.
The Best Places to Install LED Strip Lighting on Shelves
I know it’s tempting to just mount the strips where it’s easier to stick, but don’t. Think about what you want the light to do.
1. Under the Front Edge of Each Shelf
One of the most obvious options is to install LED strip lights under shelves so they shine downward onto the shelf below. There are two ways to do this. The first is mounting them on the front.
A strip placed right at the front edge will throw more light towards the front of the shelf. This works best for display shelving where decorative objects, books, and collectables can stand out.
The caveat is that this position can make the LEDs easier to see. When that happens, moving the strips further back or using aluminium profiles with a diffuser can help create a more polished appearance.
2. Along the Back of the Shelf
The second way to light your shelves is to install LED strip lights towards the rear.
Instead of shining directly into the room, the light washes across the wall behind the shelf. If you’re looking for a more atmospheric effect, the indirect glow from this method can help you achieve that.
This approach is particularly effective for bookshelves, floating shelves, display shelving, and built-in units. If the wall behind the shelves has an interesting texture or finish, this light position can help emphasise it.
3. Inside the Front Edge of a Recessed Shelf
If your shelf is recessed, you can install LED strips at the front edge to create a defined linear lighting feature. Using a recessed profile can help you create a better light output, as it provides a cleaner, more professional-looking finish.
Keeping your LED strips recessed in this setting makes the whole structure look more integrated rather than an improvised lighting solution.
4. Behind Decorative Objects
Concealing your LED strip lights behind objects such as artwork, mirrors, signs, decorative panels, and other selected display pieces creates a halo effect that makes these items stand out as decorative features.
Remember that this is only effective if the light source is not visible, a.k.a. Indirect lighting.
LED Strip Lighting Ideas for Alcoves
If you’ve got alcoves at home, then you have a little more room to play with lighting because you are working with an architectural space rather than a single shelf.
5. Light the Back of a Living Room Alcove
If your alcove is located in your living room, then a simple way to enhance the space is to wash the rear wall with light. This works particularly well around built-in storage, fireplace alcoves, display areas, and media units.
You can position the strip towards the rear of the space to create a soft glow across the wall without making the fitting itself too obvious.
A warm white tone is a popular choice for relaxed living spaces because it can create a softer, more inviting atmosphere.
6. Highlight Alcove Shelving
Some alcoves contain several shelves. Here, you can follow the shelf-lighting principles we discussed above. All you need to keep in mind is consistency.
Try to keep the strip in the same relative position on every shelf. If one strip sits at the front, another at the back, and another halfway between, each shelf may produce a noticeably different light pattern, which can make the whole structure look unbalanced.
7. Outline the Edges of an Alcove
I say that, but in reality, you do not necessarily need to illuminate every edge of the alcove. Instead, you can use LED lighting selectively along either the vertical or horizontal edges to emphasise the architecture.
Remember that each position can create a different effect, so test each one before securely mounting your lights.
8. Backlight a Media or TV Alcove
These are another natural home for LED strip lighting.
Strips can be positioned behind the TV (bias lighting), along shelving, behind the media unit, or around the recess itself. Keep the lighting indirect so the LEDs do not become a distracting feature while you are watching the screen.
I suggest creating different zones for more flexibility and dynamic lighting. For example, shelving lights can work separately from TV backlighting, each one with its own controls.

How to Position LED Strip Lights for the Best Effect
There are three basic directions you want to consider depending on the effect you’re looking to create.
Forward-facing: The light shines towards the front of the shelf. This is useful when you want brighter practical lighting or want to clearly highlight objects.
Downward-facing: The strip illuminates the shelf below. This works well for multi-level shelving, display units, and bookshelves.
Rear-facing or indirect: The light washes onto the wall behind the shelf or inside the alcove. Best for ambient lighting and decorative installations. This is ideal when atmosphere and aesthetics are more important than maximum illumination.
A useful way to think about these options is:
Visibility → Accent → Atmosphere
Should You Use an LED Profile and Diffuser?
For most LED strip lighting installations, especially for shelves and alcoves, an aluminium profile is well worth considering. It’s not mandatory, but it can make a noticeable difference in both the appearance and durability of your strips.
Why Use an Aluminium Profile?
LED strips work best when installed in straight lines or consistent curves. But since they’re flexible and lightweight, achieving a straight line can be challenging, especially since even the slightest curve is noticeable when the lights are switched on.
Rigid aluminium profiles can solve that. With profiles, it’s easier to create cleaner lines of light. They can also protect the strip from accidental knocks and help manage heat, since aluminium is known for its durability and surprisingly effective heat-sink performance.
Most aluminium profiles also come with a diffuser, giving you a more finished-looking lighting system than simply sticking bare strips to a surface.
What Does the Diffuser Do?
Simply put, diffusers help soften the light of an LED strip.
You know how each strip has individual LED points or “dots”? Those can be distracting, especially when installed on visible surfaces. Diffusers soften these dots and make the light look more continuous, leaving you with a clean line of light.
Do all diffused LED strips look the same?
Short answer? No. The final result depends on several factors, including LED density, whether you are using COB or a conventional LED strip, profile depth, diffuser type, and viewing distance.
Surface-Mounted vs Recessed Profiles
A surface-mounted profile is fitted directly onto the shelf or alcove surface. It is often the simpler option when you do not want to modify the furniture significantly.
A recessed profile sits within a suitable channel or groove, giving the installation a more integrated appearance. The only downside is the added labour for cutting out the recess, which may also require additional tools/equipment.
For a simple DIY, the surface-mounted option is the easier choice.
Choosing the Right LED Strip for Shelves and Alcoves
So, which type of LED strip light should you use?
Warm White LED Strip Lighting
This is a natural choice for living rooms, bedrooms, decorative shelving, and bookshelves. A warmer light (2700K to 3000K) can create a cosy, relaxed feel, especially when used as an evening feature.
Warm white light also complements natural materials such as timber shelving.
Natural White LED Strip Lighting
Natural white (4000K) provides a more balanced appearance and can be useful where practical visibility matters.
This is best used in home offices, kitchens, modern interiors, and display shelves. Choose an LED strip with a high colour rendering index (CRI), so colours look natural, vibrant, and true to life.
RGB LED Strip Lighting
If you’re looking for colour-changing effects, RGB LED strips are the way to go.
Install these in media units, gaming rooms, entertainment spaces, and statement alcoves. Rather than simply illuminating the shelf, the lighting becomes part of the room's visual design.
Note: If you only want to switch between warm white and natural white lights, a Correlated Colour Temperature (CCT) LED strip light is all you need. RGB strips are more for specific colours.
COB LED Strip Lighting
Chip-on-Board (COB) LED strips are worth considering when you want a smoother-looking line of light.
This type of LED strip doesn’t have visible LED dots, since each node is arranged very close together and covered by a uniform phosphor gel that further diffuses the light.
These strips are very useful for installations where the light source is visible, such as shelf edges and minimalist interiors.
How to Choose the Right Brightness for Shelf Lighting
Your shelf lighting does not need to be as bright as the main lighting in the room.
The right brightness depends on what you are trying to achieve. A strip intended to provide a subtle glow behind a decorative object will have different requirements from one intended to make a kitchen shelf or worktop easier to work around.
Consider the shelf depth, the distance between the viewer and the LEDs, the purpose of the lighting, and whether the strip is concealed or visible.
You should also consider whether the lighting is decorative or practical and whether the system needs dimming.
Accent Lighting vs Practical Shelf Lighting
Both are pretty self-explanatory:
Accent lighting is generally lower-level illumination designed to highlight objects or architectural features. It does not need to flood the whole shelf with light.
Practical lighting provides more useful illumination, making items easier to see or brightening a work area.
Remember that LED strips vary considerably in efficiency, brightness, and power consumption, so always check the specifications before purchasing.
How to Choose the Right Colour Temperature
Getting your lights’ colour temperature right is crucial because it shapes the mood and feel of your room.
Warm White
Choose warm white for cosy and decorative applications. Think living rooms, bedrooms, bookcases, and relaxed display shelving.
Natural White
Natural, or sometimes called “neutral” white, provides a balanced appearance and works well for shelving, home offices, and contemporary interiors.
RGB and Colour-Changing Lighting
This is more suited to decorative and entertainment-focused applications. Some strips come with automated colour-change and different lighting effects like chasing, fading, and even music sync.
Whichever option you choose, consistency is important. Using the same colour temperature throughout will generally create a more cohesive result.
How to Light Multiple Shelves With LED Strip Lighting
Shelves usually come in multiples. This means installation requires more planning than just “stick an LED strip and you’re done”.
Start by measuring each shelf individually. Even when the shelves appear identical, small differences can affect how much strip you need.
Then decide where each strip will sit (front, middle, or back) and keep that position consistent. You will also need to plan cable routes and decide whether the system should use one continuous strip or several separate shelf sections.
If multiple sections are needed, consider the voltage, power requirements, and the suitable driver. RGB installations may also require an appropriate controller.
One Continuous Strip vs Separate Shelf Sections
I can’t say that one is better than the other. Depending on your installation, either can work best. It’s just a matter of knowing the pros and cons of each one.
One continuous strip means fewer connections, with one power source and controller. This can give you a cleaner look, with no visible gaps or jumper wires. This also means a quicker installation.
However, long runs may suffer from voltage drop, which can make the strip appear dimmer, flicker, or change colour towards the far end. Sharp corners can also be trickier to navigate, and if part of the strip fails, the whole run may be affected.
Separate shelf sections, on the other hand, give you more flexibility to match each strip to the size of each shelf. Shorter sections can maintain more even brightness, and if one section fails, you only need to replace that part.
The trade-off? More wiring, connectors, and cable management can make the installation look less tidy if the connections aren't well hidden. More connections also mean more potential points for loose wires.
Keep Every Shelf at a Consistent Height
The simple secret to professional-looking lighting is consistency.
If one strip sits 20mm from the front of the shelf while another sits much farther back, the light may hit objects and walls differently on every level.
A consistent position produces a more uniform appearance.
Plan Cable Routes Before Installing the LEDs
Cable management starts before installation, not after.
Think about where the cables need to travel and how they can be concealed through suitable furniture spaces or planned routes. A tidy lighting installation is not just about hiding the LEDs. The wiring needs to be out of sight too!

How to Calculate the Power Requirements for Shelf and Alcove Lighting
The math is simple:
Watts per metre x total strip length = total LED load
For example:
8W/m x 6m = 48W total load
LED strips are rated with “watts per metre,” so never assume that the number you see is the total load unless it specifically says so.
With multiple connected strips, get the total load for each run, then add them to get your actual total load.
Once you know the total load, the next thing to consider is voltage and the driver’s capacity. Make sure the voltage matches the strip (12V or 24V), and never use the wrong voltage.
Dimming and RGB systems can mean more compatibility requirements.
5 Shelf and Alcove Lighting Designs to Inspire Your Installation
Minimalist Floating Shelves
Where to install: Along the rear or underside of each floating shelf
Type of strip: Warm white strip, potentially COB for a smoother appearance
Direction of light: Rear-facing or downward
Profile/diffuser: Recessed profile where appropriate
Control method: Dimmer or standard on/off control
This creates a subtle glow without turning the shelf into a glowing LED bar.
Built-In Living Room Alcoves
Where to install: Towards the rear of the alcove
Type of strip: Warm white
Direction of light: Indirect towards the wall
Profile/diffuser: Aluminium profile with diffuser where visible
Control method: Dimmable lighting control
This approach can make the built-in storage feel warmer and more integrated into the room.
Home Office Shelving
Where to install: Under the front or underside of shelves
Type of strip: Natural white
Direction of light: Downward or forward
Profile/diffuser: Surface-mounted profile
Control method: Dimmable control where useful
Here, the lighting provides practical illumination and a decorative touch.
Media Wall Alcove
Where to install: Behind the TV, along shelving, and behind the media unit
Type of strip: RGB for colour effects, alongside a suitable ambient strip
Direction of light: Rear-facing and indirect
Profile/diffuser: Use with profiles where strips are exposed
Control method: Separate lighting zones and compatible RGB controller
This gives you flexibility to create a colourful entertainment setup without making every part of the wall bright.
Bookcase With Integrated Lighting
Where to install: Consistently along the underside or rear of each shelf
Type of strip: Warm white or neutral white depending on the target mood
Direction of light: Downward or rear-facing
Profile/diffuser: Concealed or recessed profile if possible
Control method: Dimmable control
The repeated lighting pattern across every shelf creates a tidy, cohesive appearance while helping books and decorative objects stand out.
How to Make Shelf LED Strip Lighting Look Professional
Often, good LED shelf lighting is about what you don't see.
Hide the LED Source
Whenever possible, position the strip so that the LEDs are hidden from normal viewing angles. Indirect lighting is often more comfortable and visually pleasing than harsh, exposed LEDs.
Avoid Uneven Light Levels
Uneven LED strip placement can make your shelves look uneven, even when you use the same type of fittings. Keep spacing, strip positioning, and brightness consistent across multiple shelves.
Use Diffusers Where the LEDs Are Visible
Sometimes, exposed LEDs can’t be avoided. That’s when a diffuser can help soften their appearance and create a more continuous-looking line of light. This is particularly useful on visible shelf edges.
Keep Corners and Connections Neat
Corners, joins, and cable transitions can quickly make a good installation look untidy if they aren't planned in advance. Consider how the strip will move between sections before you start installing it.
Test the Lighting Before Final Installation
This is one of the simplest and most useful steps, yet also one of the most neglected.
Temporarily position the strip and switch it on before permanently securing everything. Look at the lighting from the normal viewing positions in the room.
Check for connection problems as well. It is easier to troubleshoot before everything is secured and hidden from view.
Common LED Strip Lighting Mistakes on Shelves and Alcoves
Putting the LED Strip Where It Is Directly Visible
An exposed strip can create glare and make individual LEDs highly noticeable. The trick to effective shelf lighting is to keep the strips out of direct line of sight and let the light take centre stage.
Using the Wrong Brightness
When your shelf light’s brightness is too low, it might become unnoticeable. Too much, and it can overwhelm the objects it’s illuminating or create uncomfortable glare.
Before choosing your strips, think about whether you need accent lighting or practical illumination.
Ignoring the Profile and Diffuser
Not all installations need an LED profile, but more often than not, a profile is needed to improve an LED strip installation’s light output. Profiles also provide protection and better heat management for your strips.
Forgetting to Calculate the Total Load
Multiple shelves can quickly add up to several metres of LED strip. Get the total load by adding the load of every strip that will be connected to a single LED driver. Select a driver only after you have the total load.
Using an Incompatible Driver
Don’t just use wattage as the basis for selecting the driver. It needs to match the strip's voltage and system requirements. Dimmable and RGB installations may have additional compatibility considerations, too. So, always check the specifications before locking in a driver.
Installing Every Shelf at a Different Position
Like I said multiple times above: consistency is the key. Small differences in strip position can produce surprisingly different lighting patterns, which can make the whole installation look and feel unbalanced.

How to Install LED Strip Lighting on Shelves and in Alcoves
Installing LED strip lights for shelves doesn’t have to be complicated. Just make sure you plan the whole installation properly beforehand.
Here’s a general overview of the LED strip installation process:
Step 1: Measure the Installation Area
Measure each shelf, alcove section, and relevant cable route accurately. Never estimate, especially for multiple shelves. Record each measurement rather than assuming they are all identical.
Step 2: Plan the Strip Position
Decide whether you want the light to face forward, downward, or toward the wall. Consider where the LED source will be visible from normal viewing positions to avoid glare and keep the installation as indirect as possible.
Step 3: Choose the Profile
If a profile is required, select a suitable surface-mounted or recessed option based on the shelf and the desired appearance.
Step 4: Test the Lighting
Before permanently installing anything, test the strip in its intended position. Check the brightness, light direction, and LED visibility.
Step 5: Install the Profile and Strip
Install the profile and LED strip according to the manufacturer's instructions. Take care to keep positioning consistent across multiple shelves.
Step 6: Connect the Driver and Controls
Connect the appropriate driver and any dimmer or controller. Make sure the components are compatible with the LED strip and each other.
Step 7: Check the Final Lighting Effect
Once everything is installed, view the lighting from the normal positions in the room. Check for glare, dark spots, uneven brightness or visible connections. Make suitable adjustments where possible.


0 comments