

Two rooms can have the same dimensions yet need completely different downlight layouts. So much for measuring the ceiling and calling it a day!
Beam angle, brightness, ceiling height, and furniture can affect where you place LED downlights. Get the spacing wrong, and you might end up with dark worktops, bright patches, or uncomfortable glare.
For many homes, 1.5 to 2 metres between fittings is a useful starting point. However, good spacing means lighting useful surfaces, not arranging perfect squares overhead.
How Far Apart Should LED Downlights Be?
For general lighting in many homes, start with 1.5 to 2 metres between LED downlights. Measure this distance from the centre of one fitting to the centre of the next.
|
Situation |
What to consider |
|
Standard 2.4m ceiling |
Start around 1.5 to 2m, then check coverage |
|
Narrow beam |
Closer spacing might reduce dark patches |
|
Wide beam |
Wider spacing may work with adequate output |
|
Taller ceiling |
Recheck brightness and beam spread |
|
Focused tasks |
Position fittings around the work area |
A room's size helps estimate how many fittings you need, but it doesn't dictate their positions. Our guide to how many downlights you need covers that separate question.
Why the 1.5-to-2 Metre Rule Isn't Universal
This rule gives you a convenient way to sketch an initial layout. However, it says nothing about how much light reaches your floor, desk, or kitchen counter.
Light spreads out from each fitting, becoming less concentrated towards the beam's edges. The actual spread also depends on the distance between the fitting and the surface.
Two fittings can sit 1.5 metres apart while still leaving an unwanted dark area. Higher ceilings, dark walls, narrow beams, and large cupboards can change the result.
Use the rule as a starting measurement, then adapt it to the room.
What Determines the Best Downlight Spacing?
Four factors matter most: ceiling height, beam angle, lumen output, and room function. Understanding their combined effect is more useful than memorising another spacing rule.
Ceiling Height
Ceiling height changes the distance light travels before reaching a surface. With the same beam angle, a greater distance creates a wider circle of light.
However, wider coverage doesn't automatically mean useful brightness. Light becomes less concentrated across that larger area, especially towards the edges.
For a typical 2.4m ceiling, the standard spacing range gives a reasonable starting point. At 2.7m or 3m, you should review the arrangement rather than simply copying it.
Depending on the product, taller rooms may benefit from brighter fittings or a different beam angle. Wider spacing might suit the coverage, while some tasks may need additional lights.
Always assess illumination at the surface being used. A floor and a raised worktop receive light at different distances from the same downlight.
Beam Angle
Beam angle describes the width of a fitting's main light beam. A narrow angle creates concentrated illumination, while a wider angle covers a broader area.
|
Beam angle |
Typical effect |
Possible use |
|
15° to 30° |
Small, focused beam |
Artwork or features |
|
40° to 60° |
Medium spread |
General residential lighting |
|
90° or wider |
Broad spread |
Wider, softer coverage |
Imagine two 600-lumen downlights installed in the same position. A 30° version creates a smaller, brighter central area than a 90° version.
Here's a simple way to picture the difference. With the fitting 2.4m above a flat floor, these angles produce approximate geometric beam diameters:
|
Beam angle |
Approximate diameter |
|
30° |
1.3m |
|
60° |
2.8m |
|
90° |
4.8m |
The calculation is beam diameter = 2 × distance × tan(half the beam angle). These figures describe nominal geometry, not hard boundaries where useful light suddenly stops.
Real beams fade gradually, so identical geometric overlap doesn't guarantee even illumination. Also, a kitchen worktop sits closer to the fitting than the floor does.
For more technical background, consult Simple Lighting's LED downlight buying guide and beam angle guidance.
Lumen Output
Lumens describe the total visible light a fitting produces. Beam angle describes how that light is distributed, so the two specifications work together.
A 900-lumen narrow-beam fitting can produce a bright central spot without evenly lighting the surrounding area. A lower-output wide-beam fitting might provide more comfortable general coverage.
Don't assume choosing brighter downlights automatically allows greater spacing. Check both the output and the light pattern against the room's needs.
Room Function and Finishes
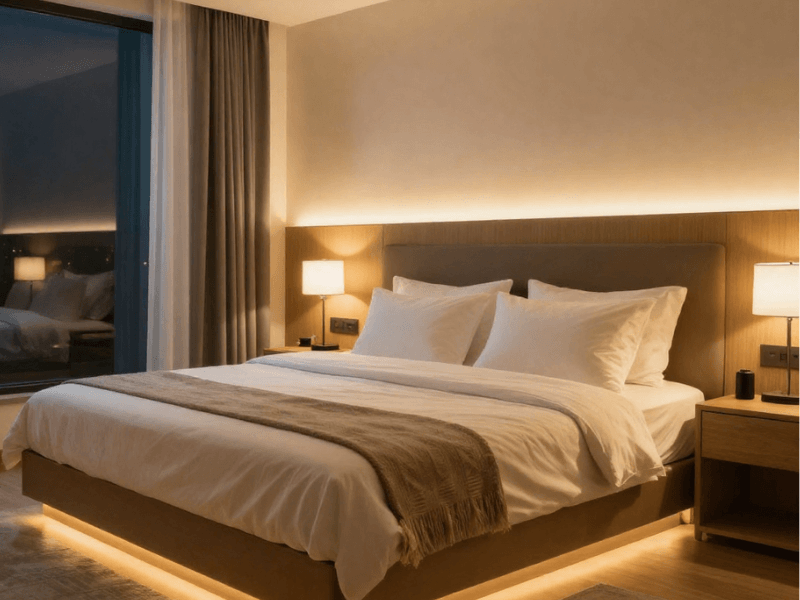
A kitchen needs strong visibility over worktops, while a lounge usually needs comfortable ambient lighting. Bedrooms often benefit from softer zones, and hallways need a clear walking route.
Dark walls and furnishings reflect less light, which can make a room appear darker. Shiny surfaces can create reflections or glare, even when measured output looks suitable.
How Far Should Downlights Be from the Wall?
For general room lighting, a 0.5 to 1 metre setback from the wall is a practical starting point. Measure from the wall to the centre of the fitting, then review the resulting coverage.
Move fittings too far inward, and the room's edges may look dim. Place them too close, and you could create distracting bright patches along the walls.
General Lighting Versus Wall Washing
For balanced room lighting, keep an approximately consistent setback where the layout allows. Check that the beam reaches the edges, not just the centre.
A closer position can be deliberate when highlighting textured walls, shelves, or artwork. Dedicated wall-washing fittings may produce smoother coverage than ordinary fixed downlights.

How to Space Downlights in Different Rooms
Room shape is only part of the decision. The surfaces people use should guide where you place the fittings.
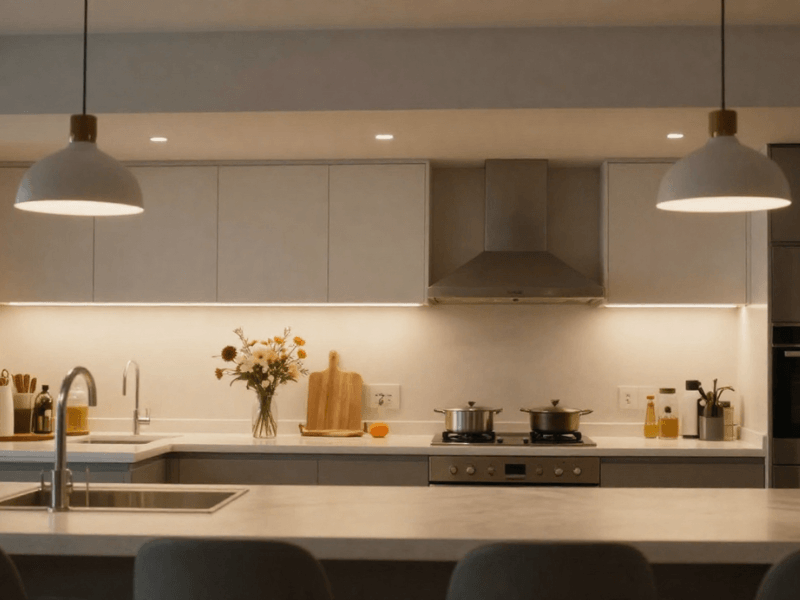
Kitchen Downlight Spacing
Start with the worktops, sink, hob, and island rather than a symmetrical ceiling grid. A light behind someone chopping vegetables may cast their shadow directly across the board.
Position suitable kitchen downlights slightly in front of wall cabinets so beams reach the counter. Tall units also affect coverage, so mark their positions before drawing your rows.
Give the island its own lighting zone using downlights or suitable pendants. Under-cabinet lighting can help where ceiling fittings leave shadows beneath upper units.
For more ideas, see our guide to kitchen downlight placement.
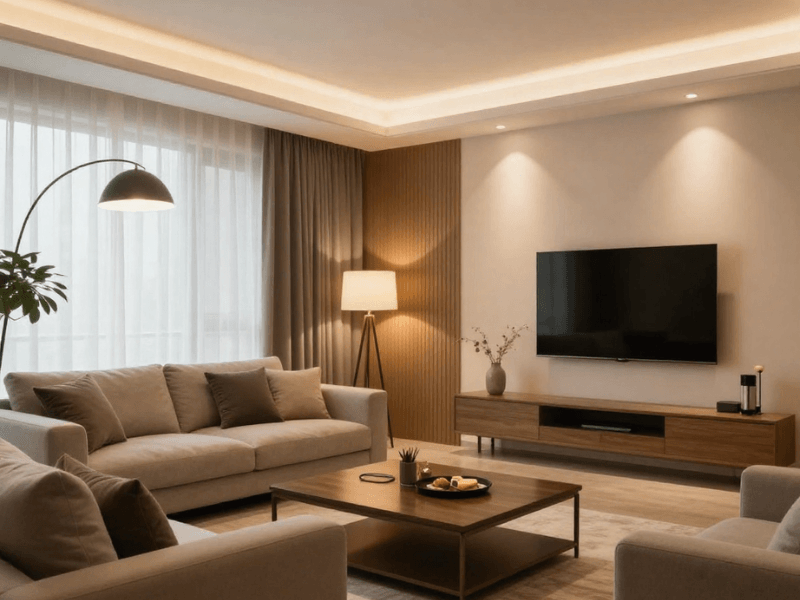
Living Room Downlight Spacing
A living room may need fewer ceiling fittings than a similarly sized kitchen. Combine general downlights with table lamps, floor lamps, or wall lights for flexibility.
Keep bright beams away from television screens and uncomfortable seated sightlines. Use adjustable fittings for artwork where suitable, rather than overlighting every corner.
Compatible LED dimmers can soften the room in the evening. Before buying, make sure both the downlight and the control support dimming.
Bedroom Downlight Spacing
A bedroom doesn't need a runway of spotlights above the bed. Instead, place general lights around circulation routes, wardrobes, and dressing areas.
Avoid strong, direct beams above pillows, where people look up. Bedside lamps and wardrobe lights can handle focused tasks without filling the ceiling with fittings.
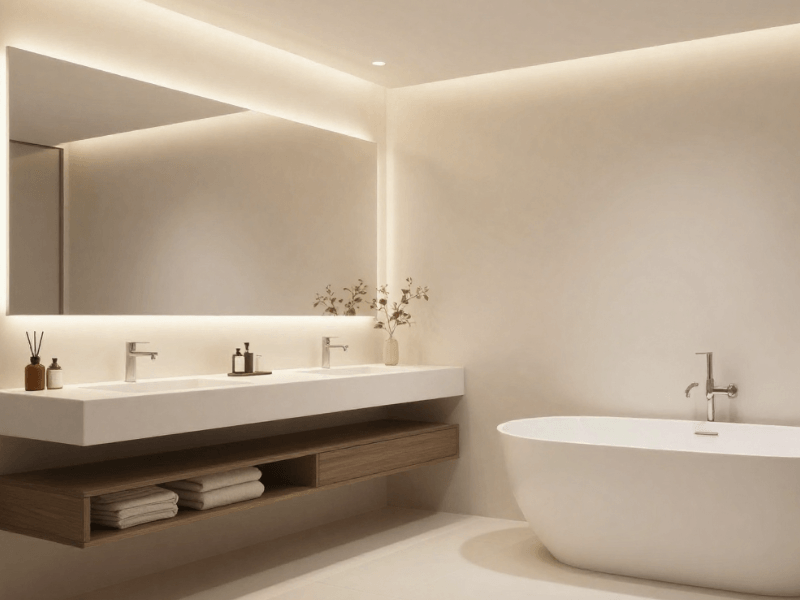
Bathroom Downlight Spacing
Plan even general lighting while paying particular attention to the mirror and shower. A single fitting directly above a face can create unhelpful shadows when shaving or applying makeup.
Use fittings rated for each bathroom location, especially around water. Our bathroom downlights guide covers suitable options and layouts.
For installation considerations, read our guide to installing bathroom downlights safely. Have a qualified electrician check the bathroom's relevant electrical requirements.
Hallways and Corridors
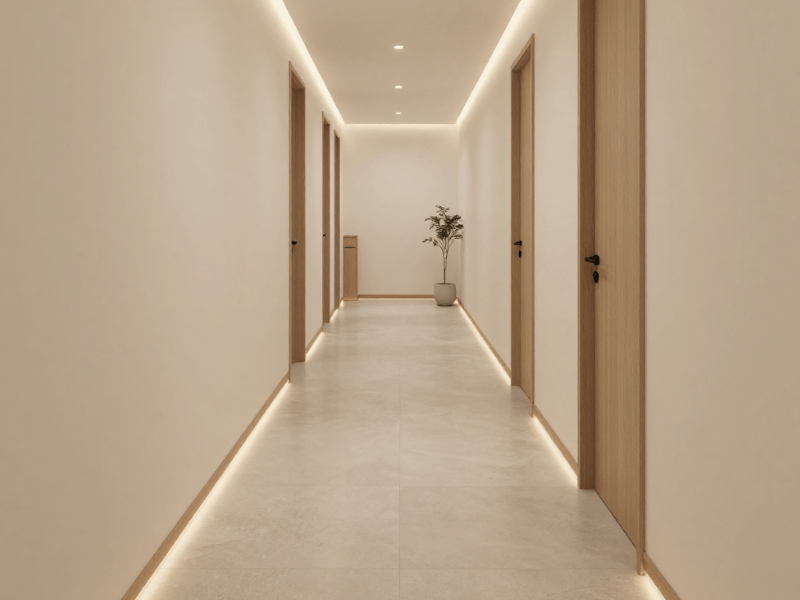
A narrow hallway generally suits a single row along its length. Check lighting at doorways and at the corridor's ends, not just directly beneath each fitting.
Wider hallways or awkward turns may need an adjusted arrangement.
How to Calculate LED Downlight Spacing
A simple sketch is more useful than a magic formula. Follow these six steps before making holes in the ceiling.
Step 1: Measure the Space
Record the room's length, width, and ceiling height in metres. Multiply length by width to find the floor area in square metres.
For example, a 4m × 5m room covers 20m². Note alcoves, ceiling slopes, and other features that could interrupt a regular layout.
Step 2: Mark What Needs Light
Draw the worktops, dining table, seating, wardrobes, and other key areas. Decide which need general lighting and which need focused illumination.
This prevents the ceiling grid from deciding everything. It's particularly useful when furniture doesn't line up neatly with the room's dimensions.
Step 3: Check Your Downlight Specifications
Look up the chosen fitting's lumen output, beam angle, cut-out size, and mounting depth. Check whether it is fixed, adjustable, dimmable, or suitable for the installation location.
Use actual product data rather than guessing from wattage. If available, photometric diagrams can show more about the fitting's spread.
Step 4: Choose an Initial Wall Setback
Try 0.5 to 1 metre for general illumination and mark the first row. Adjust it around wall cabinets, mirrors, and deliberately illuminated features.
Record centre-to-centre distances between planned fittings. Those measurements make the drawing easier to communicate to your electrician.
Step 5: Calculate the Gaps
Subtract both end setbacks from the room's length to find the distance between outer fittings. Divide that remainder by the number of gaps, which is one fewer than the fittings in a row.
For three fittings along a 5m wall, allow 1m at either end. The remaining 3m creates two 1.5m gaps between the centres.
Repeat across the room's width, then assess whether beam coverage suits the intended surfaces. Move individual fittings if a worktop or feature needs better positioning.
Step 6: Check Above the Ceiling
Before cutting anything, identify joists, pipes, cables, ducts, fans, and insulation. Confirm the fitting's required clearance, fire rating, and compatibility with the ceiling construction.
An immaculate drawing won't help if a joist occupies your chosen position. Ask a qualified electrician to confirm the layout and handle any required electrical work.

Three Downlight Spacing Examples
These examples show planning methods rather than installation rules. Final fitting numbers depend on the products, surfaces, and desired brightness.
Small 3m × 3m Room
One starting option uses four downlights arranged in a square. With each fitting 0.75m from its nearest walls, the centres sit approximately 1.5m apart.
However, four downlights aren't compulsory in every small room. A different fitting or lighting purpose might make a central light more suitable.
Check the beam spread at the relevant surface before choosing. Corner-based symmetry alone doesn't tell you whether the space will feel comfortable.
Medium 4m × 5m Room
Imagine six hypothetical 600-lumen downlights with a 60° beam and a 2.4m ceiling. Arrange them in two rows of three as an initial sketch.
Along the 5m length, 1m setbacks leave two gaps of 1.5m. Across the 4m width, set rows 1m from either side, leaving 2m between them.
This creates a balanced geometric pattern, but it doesn't prove adequate lighting. Check beam overlap and illumination at floor or working height before finalising positions.
Kitchen with Worktop and Island
Suppose a kitchen has a long cabinet run on one wall and a central island. A neat six-light grid could miss both work areas.
Instead, move one row towards the cabinet fronts and dedicate another to the island. Unequal distances may work better because the important surfaces are no longer equally placed.
For alternative room layouts, consult our downlight spacing guide for different room sizes.
Why Equal Spacing Doesn't Mean Even Lighting
Here's the biggest trap: an attractive ceiling pattern can hide a poor lighting plan. Equal distances between fittings don't guarantee equal brightness below.
Beam Overlap
Neighbouring beams should combine to minimise unwanted darker areas across important surfaces. However, light fades gradually towards each beam's edges rather than stopping abruptly.
A wider beam may overlap generously but still provide insufficient light for detailed tasks. A narrow beam may deliver strong brightness directly beneath it while leaving gaps nearby.
Think of two umbrellas covering part of a patio. Overlap helps close gaps, but it matters whether you're covering the chairs or the flowerbed.
Furniture and People Change the Result
A tall wardrobe blocks part of a beam, while wall cabinets can shade kitchen counters. Even the person using a worktop can create a shadow when the light sits behind them.
Light the Room, Not Just the Ceiling
Your goal is useful light on floors, tables, faces, and work surfaces. A beautiful pattern of ceiling circles doesn't help much when you can't clearly see dinner preparation.
Check where the light lands during real activities. Prioritise comfortable visibility over mathematical symmetry.
Common LED Downlight Spacing Mistakes
Even sensible layouts can disappoint when you miss the small details. Watch for these common errors before installation.
- Using one distance for every fitting. Different beam angles and outputs produce different coverage. Read the specifications before repeating the same spacing throughout a property.
- Installing too many lights. Too many fittings can create glare, waste energy, and make ceilings look busy. Choose sufficient output and consider compatible dimming where useful.
- Installing too few lights. Large gaps may leave working areas dim or uneven. Check actual beam coverage rather than only counting fittings per square metre.
- Ignoring where people stand. A downlight behind someone at a worktop can cast an inconvenient shadow. Move the fitting to light the task, not just the walkway.
- Copying a layout onto a taller ceiling. Changing the mounting height affects beam diameter and brightness. Reassess the selected fitting and distances before reusing the plan.
- Cutting before checking the ceiling. Hidden services and joists can force expensive changes. Verify access, clearances, and installation requirements first.
Do All LED Downlights Need the Same Spacing?
Fixed downlights direct their main beam in one direction, while adjustable models allow targeted illumination. The latter suits artwork or specific tasks, though positioning still matters.
Colour temperature changes how warm or cool the light appears, not its geometric beam spread. Choose it for atmosphere and visibility, not as a spacing shortcut.

Final Checklist for Planning LED Downlight Spacing
Before committing to the layout, run through these essentials:
- Measure length, width, and ceiling height.
- Identify task areas, furniture, and circulation routes.
- Check lumens, beam angle, and fitting type.
- Set wall setbacks and calculate centre-to-centre gaps.
- Review beam coverage at the surfaces being lit.
- Check joists, wiring, insulation, and mounting clearances.
- Confirm suitable IP and fire ratings where required.
- Consider compatible dimming for flexible lighting.
- Agree the final installation plan with a qualified electrician.
Good spacing starts with the room's needs, not a rigid number. If you're unsure, review the layout with your electrician before purchasing or cutting.
Plan where the light should land, then choose fittings that can deliver it. Ready to compare products?
Browse Simple Lighting's LED downlights by output, beam angle, colour temperature, and fitting style.


0 comments