
So you’re finally installing downlights. Whether you’re building from scratch or upgrading your old lighting system, you’ll ask the same question: How many is enough?
And for many homeowners and installers, figuring out how many downlights or how many spotlights to use is nothing short of guesswork.
Too few fittings, and your space ends up patchy and impractical. Too many, and suddenly your ceiling looks like a runway… with your energy bills taking off.
That’s why in this guide, we’ll walk you through a simple, reliable way to calculate exactly what you need, with practical examples and layout tips you can actually use right away.
Why Getting the Right Number of Downlights Matters
Lighting is one of those things you only really notice when it’s wrong.
Over-light a room, and it becomes harsh, uncomfortable, and unnecessarily expensive to run. You’ll get glare, washed-out surfaces, and a space that feels more like a showroom than a home.
Under-light it, and you’re left with dark corners, shadowy worktops, and areas that just don’t function properly.
What you want to achieve is balance. Not too bright, not too dim. Just clean, even lighting that supports how the room is used.
Getting the number of downlights right from the start saves you from the following headaches:
-
Wasted money on extra fittings
-
Costly rewiring or adjustments
-
Poor lighting performance that’s hard to fix
Downlight Calculator: How Many Do You Need?
This might be an intimidating topic for many people, but let’s keep things simple.
At its core, calculating how many downlights you need comes down to one simple idea:
Room size × lighting level ÷ lumens per downlight
That’s your no-nonsense formula. But to use it properly, you need to understand the factors that drive the result.
1. Room Size (m²): This is the foundation of your calculation. Measure the length and width of your room and multiply them.
Example: 5m x 4m = 20m²
The larger the space, the more total light output you’ll need.
2. Brightness (Lighting Level): Different rooms need different levels of brightness, measured in lumens per square metre (lumens/m²)
-
Living room: ~100-150 lumens/m²
-
Bedroom: ~100-150 lumens/m²
-
Kitchen: ~300-400 lumens/m²
-
Bathroom: ~200-300 lumens/m²
Choosing the right brightness level ensures your lighting works with the room, not against it.
3. Lumens per Downlight: This depends on the downlight you choose. Most LED downlights range between 400 and 800 lumens.
Ceiling Height
Another thing to consider is ceiling height, as it quietly changes everything. Higher ceilings mean light has to travel farther, which reduces the perceived brightness at floor level. In these cases, you may need:
-
Slightly more downlights, or
-
Higher lumen output per fitting
For standard ceilings (around 2.4m), you can follow typical calculations. For taller ceilings (2.7m and above), consider boosting brightness or adjusting spacing to maintain even coverage.
Example Calculations
Let’s run through a few realistic scenarios.
Kitchen (20m²):
20 x 350 lumens = 7,000 lumens needed
If each downlight has 700 lumens output:
7,000 ÷ 700 = 10 downlights
Living Room (20m²):
20 x 120 lumens = 2,400 lumens
2,400 ÷ 600 lumens per light = 4 downlights
Tip: For a higher ceiling, you could increase brightness slightly here.
Already you can see the difference. Same room size, completely different lighting needs.
The Simple Formula for Calculating Downlights
If you’re after a quick reference, here’s the method broken down step by step.
Step 1 – Measure Your Room (m²)
Multiply length by width (l x w).
It sounds obvious, but accuracy matters. Being half a metre off might not seem like much, but it can throw your lighting plan off more than you’d expect.
Step 2 – Choose Your Lighting Level (Lumens per m²)
This is where function comes in.
-
A kitchen needs clarity — You’re chopping, cooking, cleaning. It demands brightness.
-
A bedroom leans the other way — Softer, calmer light that doesn’t feel like midday sun at 10pm.
Choosing the right level here sets the tone for everything else.
Step 3 – Divide by Lumens per Downlight
Check the lumen output of your chosen fitting. Most LED downlights sit between 400 and 800 lumens. Divide your total required lumens by that number, and you’ll land on how many fittings you need.
Simple. Practical. Reliable.
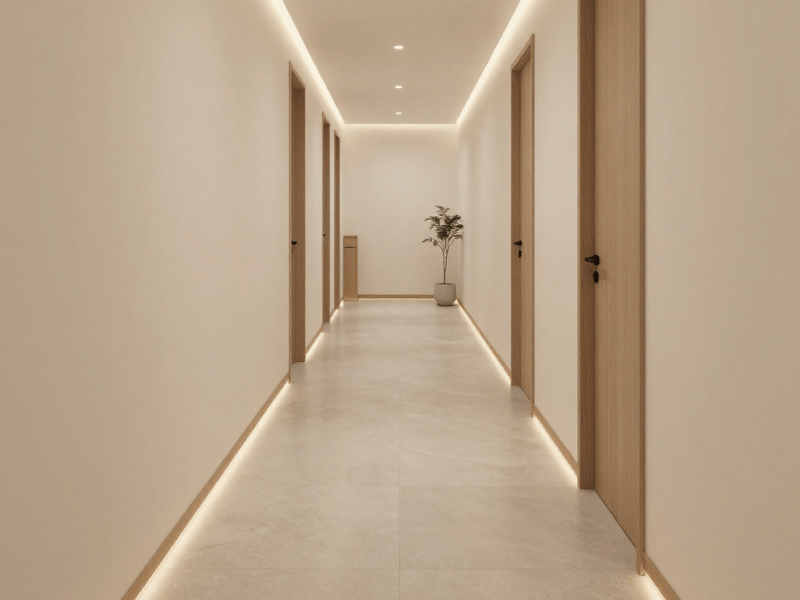
Recommended Downlight Spacing (The Layout Rule Most People Miss)
Here’s where many lighting plans quietly fall apart. Even if you calculate the perfect number of downlights, poor spacing can still ruin the final output.
Standard Spacing Rule (1.5m-2m Apart)
As a general guide, space your downlights around 1.5 to 2 metres apart. This creates an even spread of light that avoids gaps between fittings, with overlapping beams that don’t feel too intense.
Think of it like placing stepping stones: too far apart and you’re left jumping gaps. Too close, and you’re walking awkwardly.
Distance from Walls
Don’t push lights too close to the edges of the room. A common guideline is to place them about 0.5 to 1 metre from walls.
Too close, and you’ll get harsh wall washing. Too far, and you’ll end up with dark edges.
Ceiling Height Considerations
Higher ceilings need wider spacing and often brighter lights.
-
Standard ceilings (2.4m): Stick to 1.5–2m spacing.
-
Higher ceilings (2.7m+): Increase spacing slightly and consider higher lumen outputs.
The higher the ceiling, the more light spreads before reaching the floor.

How Many Downlights Per Room? (Real Examples)
Let’s bring it all together with practical layouts.
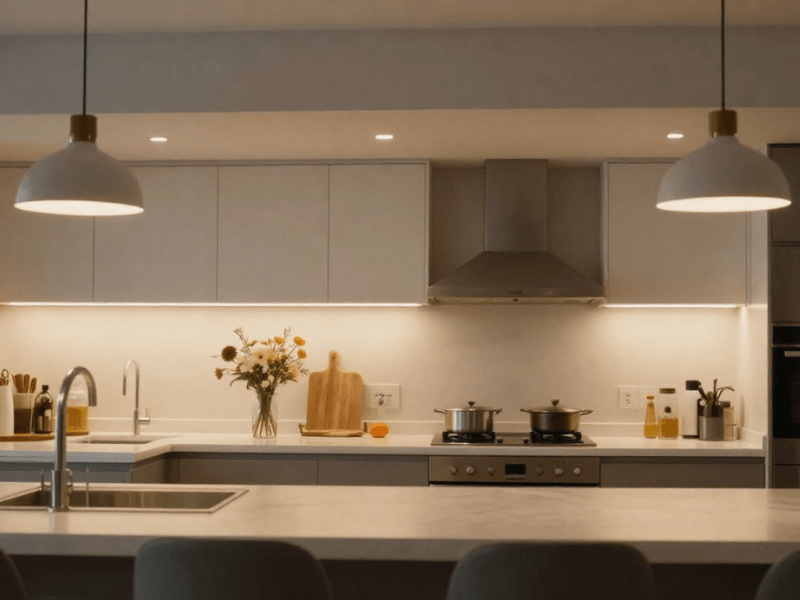
Kitchen Downlight Layout
Kitchens need bright, focused lighting. Worktops, sinks, and hobs all require clear visibility.
A typical layout might include:
-
Even grid across the ceiling
-
Extra attention over work areas
-
Separate zones for cooking and dining
For a standard kitchen, how many downlights you need usually lands between 6 and 10 depending on size.
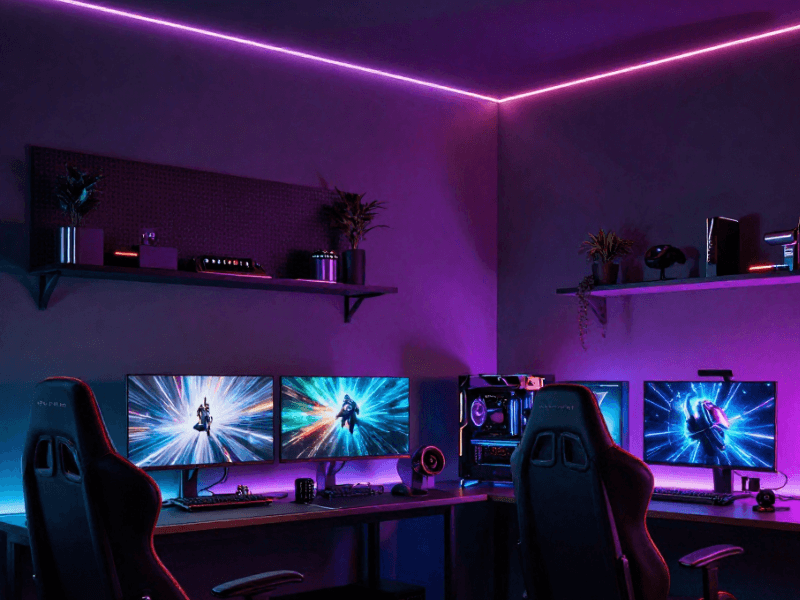
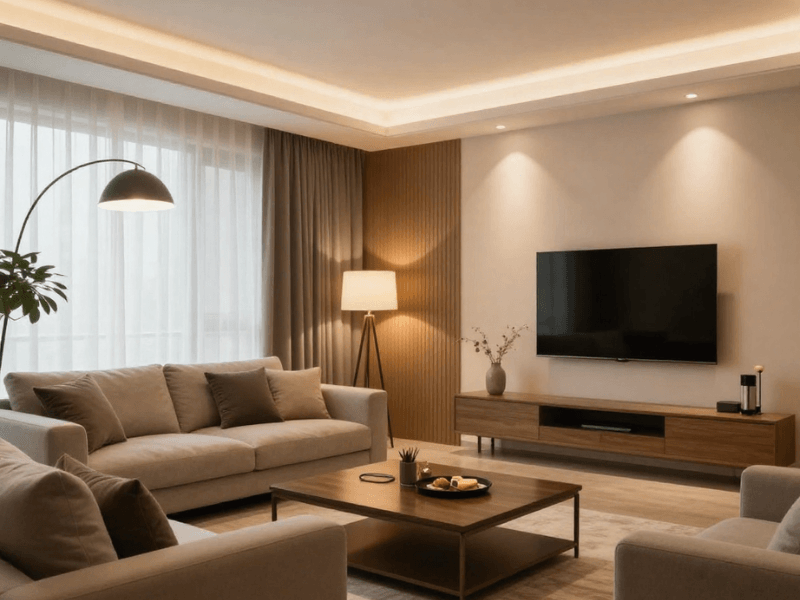
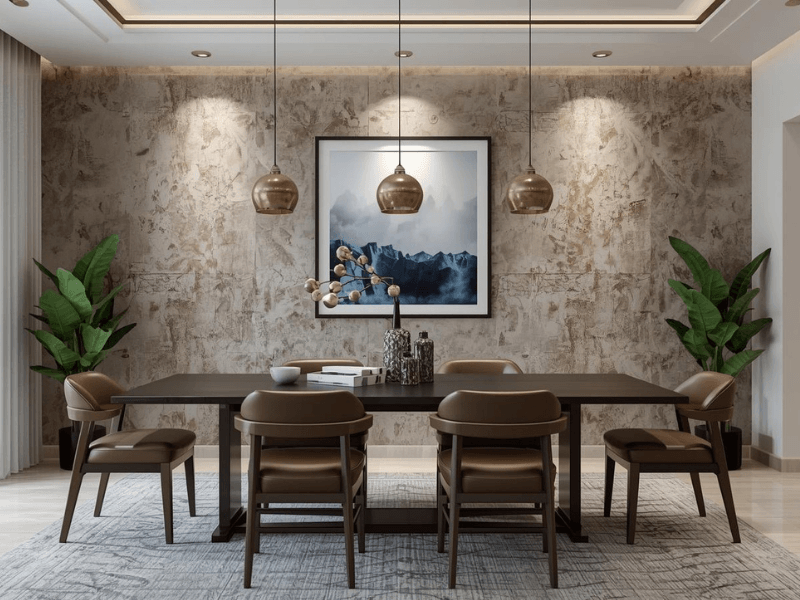
Living Room Lighting Plan
Living rooms are about comfort and flexibility. Instead of flooding the space with bright lighting, aim for:
-
Soft, ambient lighting
-
Highlighting key areas like seating or features
-
Avoiding overly bright, clinical feel
You can often reduce how many spotlights you need by combining them with lamps or wall lights. But as per our example above, you typically will only need at least 4 to 8 downlights to brighten your living room.
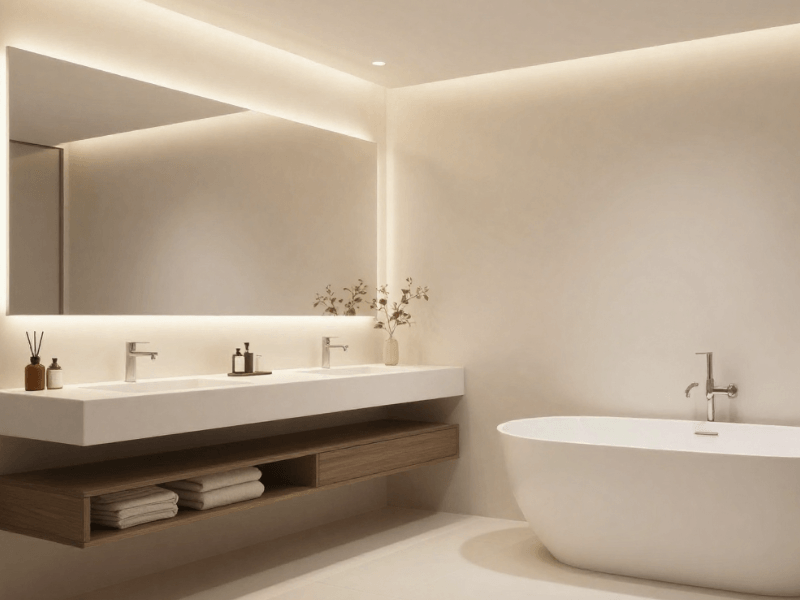
Bathroom Downlights
Bathrooms need a balance of brightness and safety. Focus on:
-
Even coverage across the room
-
Extra light near mirrors (or get LED bathroom mirrors)
-
Using appropriate IP-rated fittings
Spacing is key to avoid shadows, especially around the sink area. Typically, small to medium bathrooms use 4 to 6 downlights.
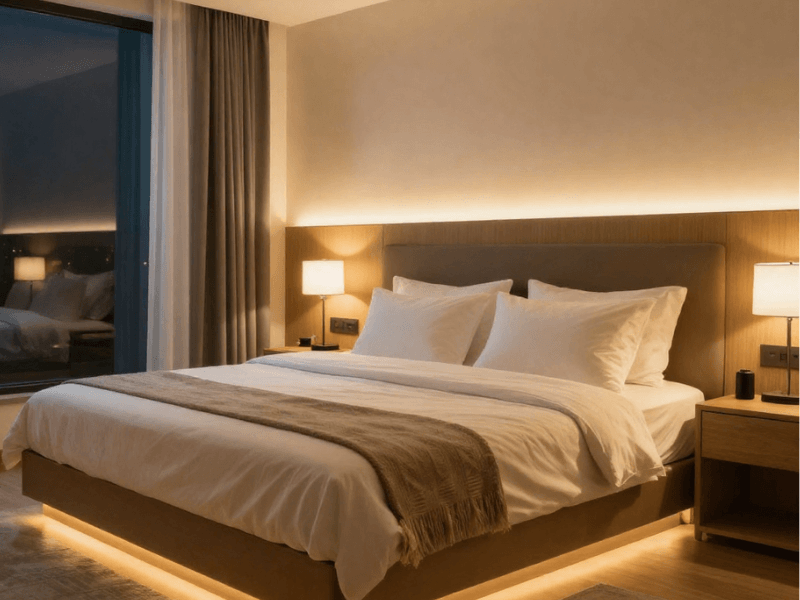
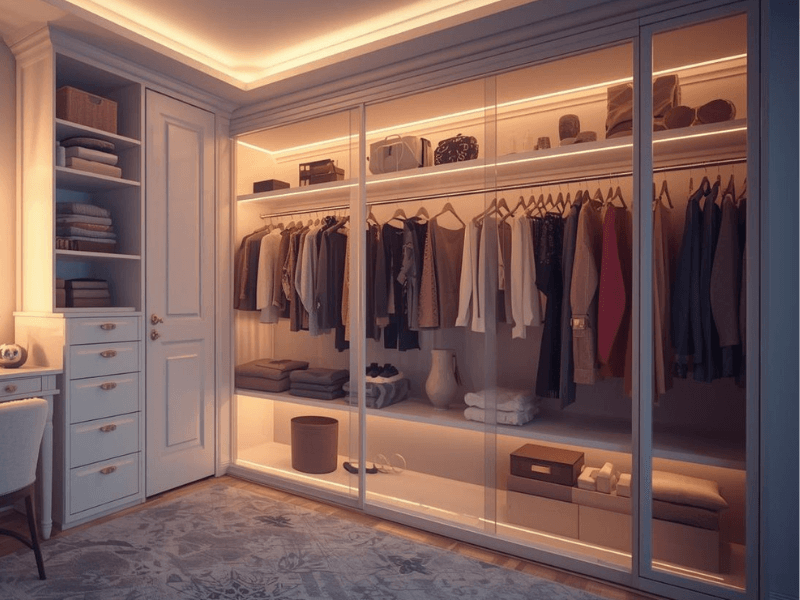
Bedroom Lighting Setup
Bedrooms benefit from softer, more relaxed lighting. Instead of flooding the space with brightness:
-
Use fewer downlights
-
Combine with bedside lamps
-
Consider warm colour temperatures
A standard bedroom may only need 4 to 6 well-placed fittings.
Choosing the Right Brightness (Lumens) for Downlights
This might come as a shocker to some, but lumens measure brightness. Not watts. Watts measure energy use, not output. And sadly, this is where many people go wrong.
Typical LED downlight outputs:
-
300-400 lumens: softer, ambient lighting
-
400-600 lumens: balanced, general use
-
600-800 lumens: bright, task-focused lighting
Matching brightness to room type ensures your calculation for how many downlights delivers the right result in practice, not just on paper.
-
Kitchens need clarity and visibility
-
Living rooms need comfort
-
Bedrooms need softness
Common Downlight Planning Mistakes to Avoid
Even with a solid formula, a few common pitfalls can trip people up.
1. Using too few lights — This leads to patchy, uneven illumination.
2. Using too many lights — This creates glare, increases costs, and wastes energy.
3. Ignoring beam angle — A narrow beam creates focused pools of light. A wide beam spreads light more evenly. This affects the number of fittings you need.
4. Poor spacing — Even the right number of lights can look wrong if placed badly.
5. Not considering furniture layout — A perfectly spaced grid means little if half the light lands on wardrobes or cabinets instead of usable space.
Being mindful of these pitfalls can make lighting your space a breeze.
Fixed vs Adjustable Downlights: Does It Affect Quantity?
The short answer? It can, surprisingly.
Fixed downlights spread light evenly across a space. You’ll typically need more of them to achieve full coverage.
Adjustable (tilt) downlights can be angled toward key areas. This means you can sometimes use fewer fittings by directing light where it’s needed most.
They’re especially useful for:
-
Highlighting artwork or features
-
Adding depth to a room
-
Supplementing general lighting
So yes, your choice here can influence how many downlights you will ultimately need.
Quick Downlight Planning Checklist
Before you get your downlights, make sure to run through this list:
-
Measure your room size accurately
-
Choose the right brightness level for the space
-
Calculate total lumens required
-
Work out how many fittings you need
-
Plan spacing and layout carefully
-
Select the right type of downlight
Think of it as your lighting blueprint. Skip it, and you’re guessing. Follow it, and you’re in control.

Downlights from Simple Lighting
Finding the right number of downlights is only half the story. Choosing fittings you can rely on is what brings the whole plan together.
At Simple Lighting, you can find a range of LED downlights that can cover real homes and real layouts, not just showroom setups. Whether you need a softer glow for a bedroom or brighter, task-focused lighting for a kitchen, there are options that match both the brightness levels and spacing you’ve planned.
You’ll find:
-
A wide selection of LED downlights in different lumen outputs, so it’s easier to match your calculation
-
Fixed and adjustable designs to suit both general lighting and feature areas
-
Options suitable for bathrooms, including IP-rated fittings for added safety
-
Dimmable choices for greater control over brightness and mood
Everything is designed for efficiency, helping you get strong, consistent light throughout your setup.
Once you’ve worked out how many downlights or how many spotlights your space needs, you can choose fittings that deliver exactly what your layout requires, no compromises, no guesswork.
Final Thoughts: Get Your Lighting Right First Time
Lighting isn’t something you want to do over and over again.
Ceilings, wiring, fittings… the cost of redoing your lighting can add up quickly. That’s why taking a few extra minutes to calculate how many downlights you need can save time, money, and frustration later.
Use the formula:
Room size × lighting level ÷ lumens per downlight
Also, think about how the room works and plan your spacing. Lighting is not a guessing game, and you do not want an “I guess it’s okay” setup. You want lighting that is great.
Because when lighting is done right, you don’t notice it. The room just feels right.


0 comments