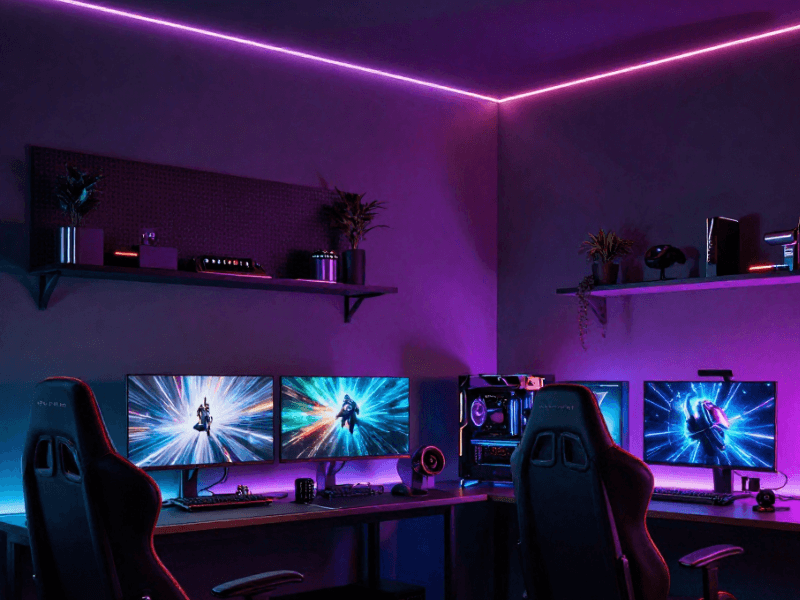
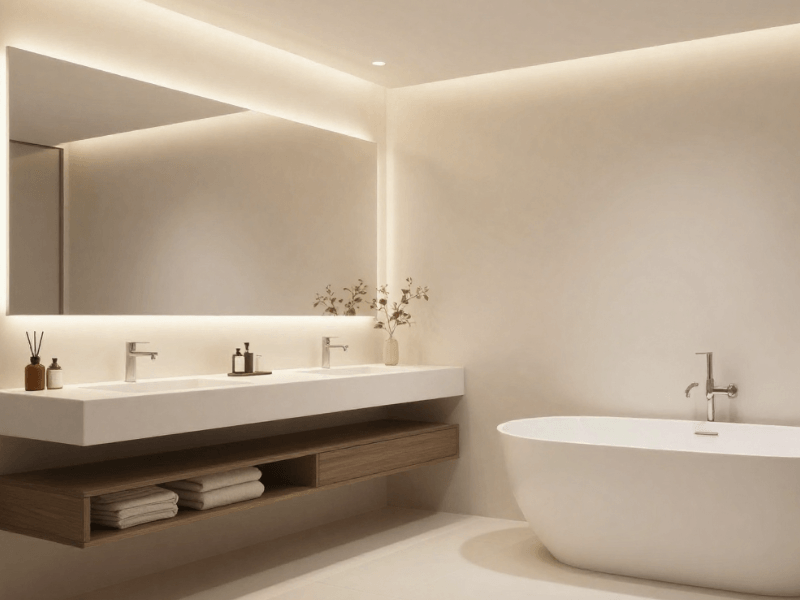


If there’s one lighting type that you’ll see everywhere, it’s LED strip lights. They’re in homes, commercial buildings, retail spaces, offices, hotels, restaurants… everywhere.
They’ve come a long way from just adding a glow behind your TV or along one side of the ceiling. With the right placement and a few clever controls, smart LED strips can do so much more.
Smart LED strip lighting adds a new dynamic, so your strips don’t look the same all day. You can have bright, practical light when you're cooking or working, then switch to a softer glow when it's time to unwind.
Here are nine LED strip lighting ideas to transform your home.
1. Create Hidden Lighting That Makes a Room Feel Bigger
Depending on how you position your lights, you can achieve different effects that will change how you perceive the room. Concealing your LED strips is one way to do that.
By directing the light onto walls, ceilings, or furniture instead of putting the light source on display, you can create gentle layers of light and shadow that add depth to any room.
Add a Soft Glow Behind Shelves and Furniture
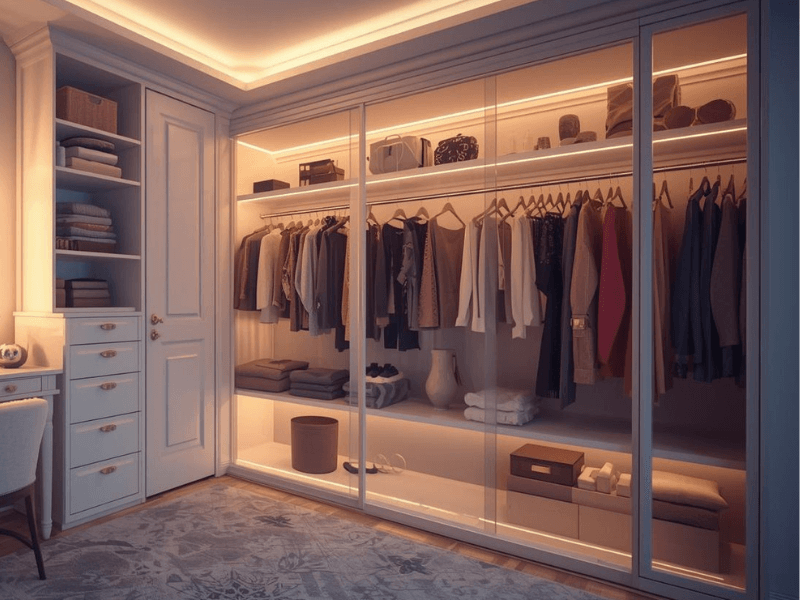
Try fitting LED strips behind floating shelves, bookcases, or cabinets. The light creates a subtle outline around the furniture, separating it from the wall and making it look like it’s floating.
Highlight Alcoves, Recesses, and Architectural Details
These spaces practically beg for indirect lighting. Hide the strip from normal viewing angles so you see the illuminated surface rather than individual LEDs.
With smart controls, you can add flexibility, like saving a low-brightness evening scene for relaxing and a brighter setting for activities that need more light.
It’s a cool way of saying you don’t need another statement lamp.
2. Turn Kitchen LED Strips into Practical Smart Task Lighting
Why opt for a spotlight effect on your worktop when you can have bright, smooth, even lighting from end to end?
Use Bright, Clear Light for Food Preparation
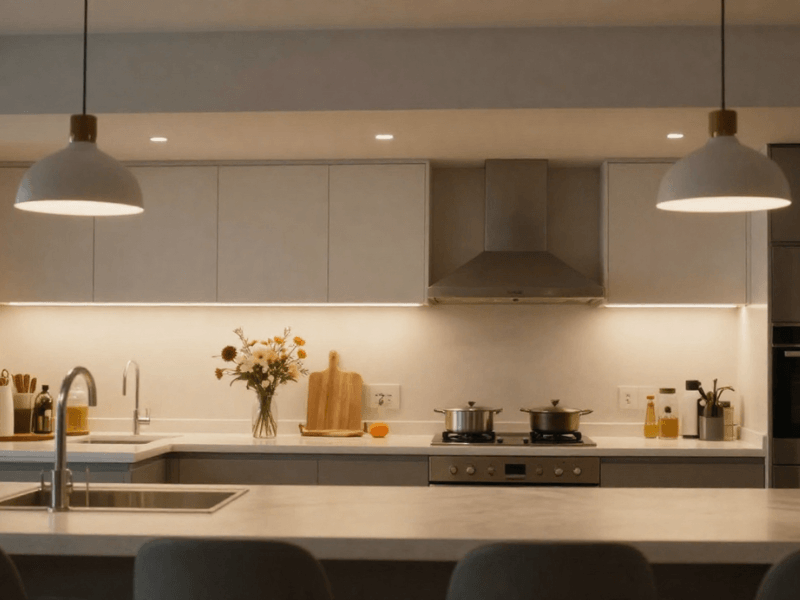
One practical use of LED strip lights is under cabinet lighting. Adding light here reduces the shadows your body casts when you're standing at the counter.
Position an LED strip beneath wall cabinets to provide useful light for food preparation. That means clear visuals for chopping, reading recipes, and cleaning the surface.
Choose a natural or cool white colour temperature and enough brightness for everyday task lighting. Some smart LED strips even offer adjustable colour temperature, so you can switch between tones for food prep, dining, and hosting.
Switch to Softer Lighting After Cooking
Once dinner is ready and the chopping board has been put away, you might prefer a gentler glow. Lower the brightness of your kitchen lights without turning off the strips and switching to a different low-brightness fitting.
Just make sure that your LED strip, controller, and LED driver all support dimming.
Two simple smart lighting scenes can work for your kitchen: Cooking Mode for brighter task lighting and Evening Mode for a softer atmosphere.
3. Design a Media Wall with Different Smart Lighting Scenes
How to make your media wall more interesting than it already is? Add smart LED strip lights.
Create Separate Zones Around the Television and Shelves
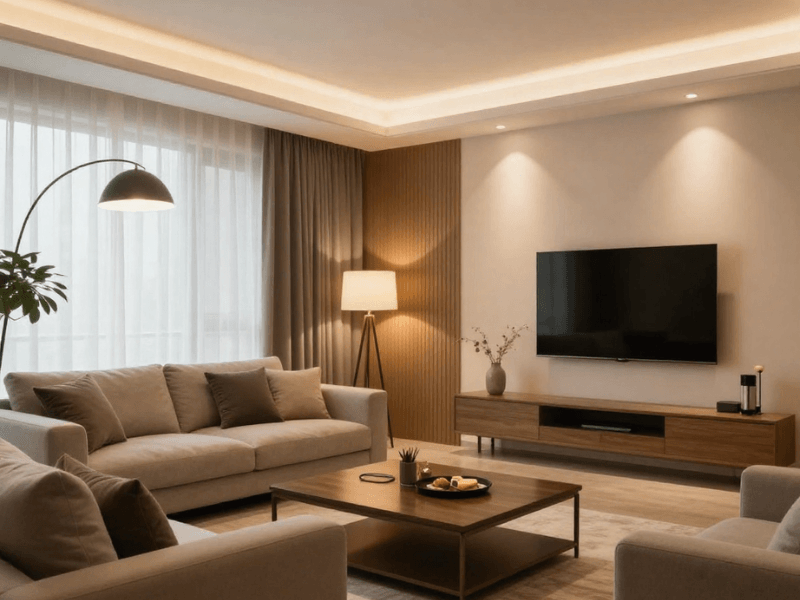
Place LED strips behind the television for backlighting (also called bias lighting). Trace the edges while keeping the lights hidden. Next, add LED strips to your floating shelves and display recesses, keeping the connections and controls separate.
Different “zones” for your media wall let you adjust each part independently, giving you more freedom to set lighting combinations that match your preferences.
Concealing the LEDs also creates a cleaner finish.
Match Lighting to Movies, Gaming, and Everyday Viewing
If you use the same lighting setting for every activity in your living or entertainment room, you’re missing out.
Each activity ideally should have a different lighting setup:
-
Movie Mode: Subdued, indirect lighting that doesn't compete with the screen.
-
Everyday Mode: Comfortable background illumination for watching television or chatting.
-
Gaming Mode: Some systems support colour-changing effects for a more immersive setup.
Colour-changing LED strip lights for media walls and screen-sync features can add character, but they're optional extras, not necessities.
Bright, pulsing lights can become distracting, especially in a dark room.
4. Add Smart Lighting to Stairs and Hallways
In these spaces, you’re lighting more for safety rather than aesthetics. But who says you can’t have both?
Highlight Stair Edges and Handrails
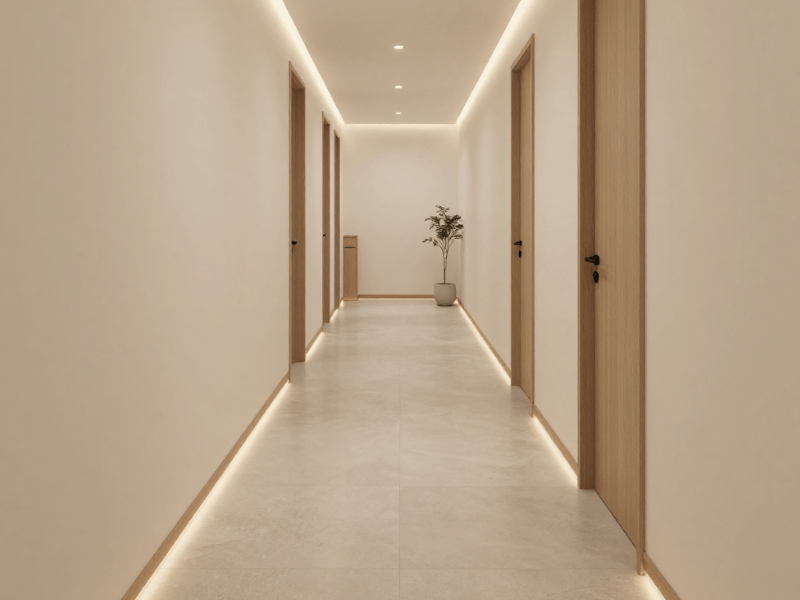
Try placing strips beneath stair nosings and under handrails for a glow that looks good and defines the staircase's shape, making every step up or down safer. The lights also don’t need to be blinding, just enough to make each step clearly visible.
Position the strips carefully to avoid glare.
Create a Low-Brightness Night-Time Scene
If you or anyone in the home often needs to go down the stairs or walk across the hallway late at night, a gentle nighttime setting can make moving around more comfortable.
You can schedule the strips to dim at a specific time in the evening or activate them with a motion sensor for hands-free lighting.

5. Give Bedrooms a More Flexible Lighting Setup
A lot happens in the bedroom besides sleeping.
From getting ready for the day to catching up on your reading or the latest episode of your favourite show, smart LED strips can help the room adapt without relying on the main ceiling light for everything.
Add Indirect Lighting Behind the Headboard
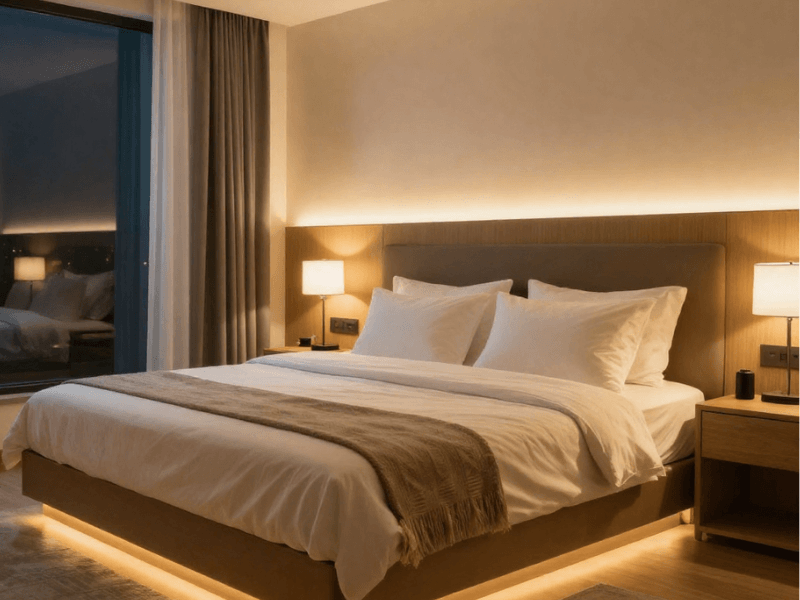
Conceal an LED strip behind the headboard to instantly add depth to the wall. This soft ambient glow can also double as reading light or a nighttime accent.
You can also add lighting beneath the bed frame for a subtle floating effect that’s great for low-level late-night light.
Warm white light is often a good starting point for a relaxing atmosphere.
Create Wake-Up and Wind-Down Scenes
These are the two common (and fairly simple) lighting routines for any bedroom.
A brighter setting can help when you're getting dressed in the morning, while a warmer, dimmer setting can make the bedroom feel calmer in the evening.
If your bedroom LED strip lighting supports automatic, gradual brightness adjustments, you can also use those for wake-up and wind-down scenes.
6. Make Home Office Lighting Adapt to Your Working Day
You don’t need an elaborate setup for a comfortable work space.
Add Task Lighting Around Desks and Shelves
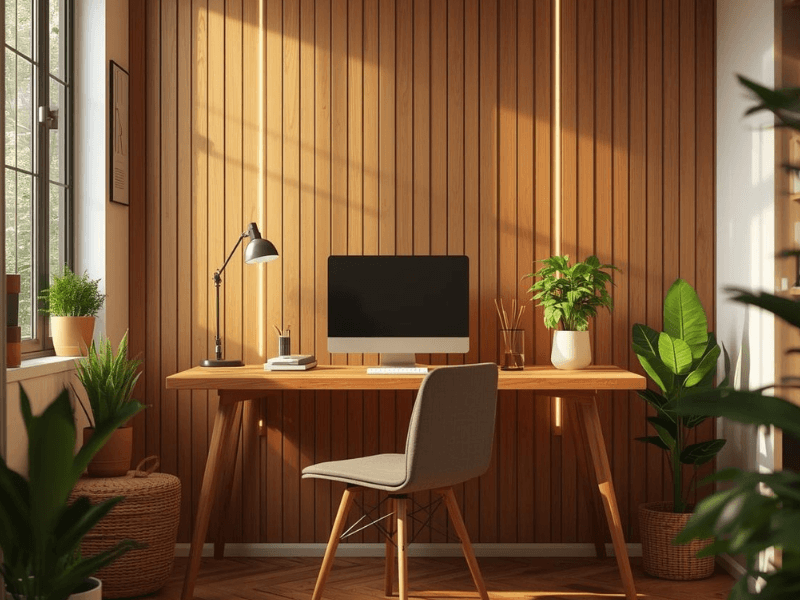
If you have a shelf over your desk, LED strips beneath it can provide lighting to help you see your work clearly. You can also use the strips to highlight desk features or built-in cabinetry.
Position the light to minimise glare and reflections on your monitor. Depending on your LED strip, you may still need a dedicated table lamp for better task lighting. This is especially true for detailed tasks.
Switch Between Work and Relaxation Settings
Choose a smart LED strip with adjustable white light so you can set it to a brighter, neutral white for daytime tasks and a softer setting for breaks or evening use.
You can set each one as a separate scene for easy switching. No need to adjust manually every time!
7. Highlight Display Cabinets, Shelves, and Collections
Your prized collections deserve attention.
Thankfully, smart LED strips can highlight glassware, books, collectables, decorative objects, and carefully arranged product displays.
Use Subtle White Light to Bring Out Details
Install the strips along the front edge inside the cabinet or beneath shelves, directing the light toward the objects. For a more atmospheric look, install the lights at the back for a subtle glow.
High-quality white light can make materials and colours look more natural, depending on the product's colour-rendering performance (the higher, the better).
Make sure it’s bright enough, but avoid creating glare.
Use Colour Effects as an Occasional Accent
Colour-changing scenes might give the display a different personality, but they’re best used only for seasonal occasions, so use them sparingly. Think of them as an accent rather than the default.
8. Use Smart LED Strips to Define Open-Plan Spaces
Ever feel like your open-plan space has your living, dining, and kitchen competing for attention? Fortunately, lighting lets you give each zone its own identity without adding partitions.
Separate Dining, Lounge, and Kitchen Areas with Light
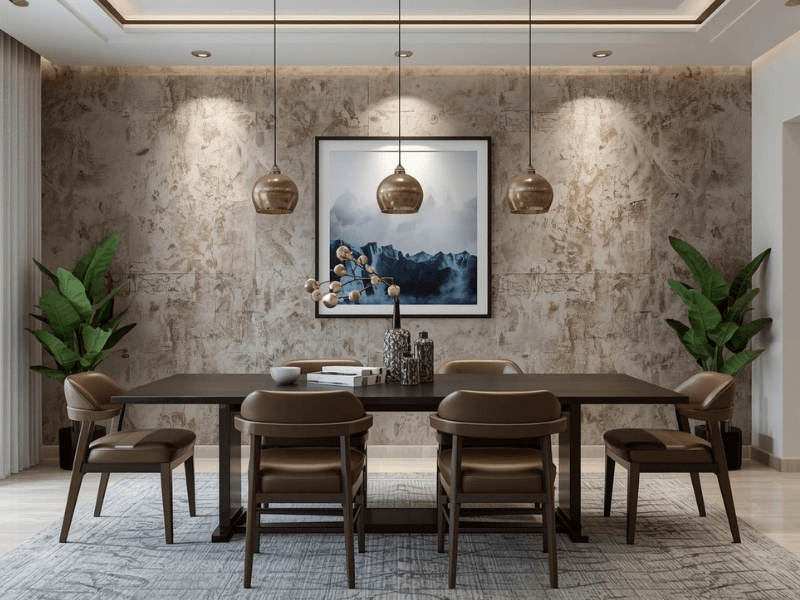
You can easily separate your open space with strips under a kitchen island overhang, inside dining-area shelving, and along a living room feature wall. Each placement creates a different visual cue that helps distinguish the zones.
Choose the light direction and brightness carefully so one area doesn't overpower the others.
Coordinate Scenes Across Different Areas
With smart lighting controls, you can group several lights into one scene. For example:
-
An Entertaining Scene could illuminate display shelves and dining features, while
-
A Relaxing Scene dims the lounge lighting and leaves the kitchen with a softer background glow.
You can also create a brighter setting for everyday family activities.
Just make sure all the lights you use work in the same ecosystem. You can check this before purchasing.
9. Bring Outdoor Living Spaces to Life with Smart LED Strips
When you think of outdoor lighting, don’t just think of floodlights and strings of decorative bulbs. Smart LED strips can do so much more.
Highlight Covered Seating Areas and Outdoor Features
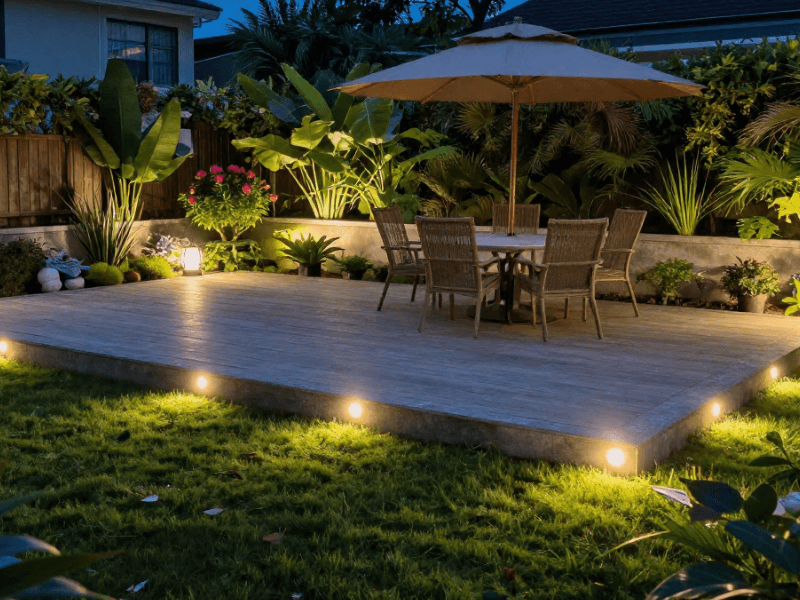
Lighting beneath built-in benches, along sheltered cabinetry, or within covered architectural details can add character to your outdoor space. You can use this as a gentle accent that complements your main outdoor lighting.
Since you’re installing outdoors, make sure the strips, connectors, and driver you use are suited to the environment. In other words, pick one with the proper IP rating.
Create Evening Scenes and Timed Lighting
Set up scenes for quiet evenings and outdoor gatherings that you can switch to with a few taps on your phone or remote. This eliminates the need to manually adjust your lights every time the outdoor setting changes.
Adjust them once, then save the scenes for later.
If there is any mains electrical work to be done, it should be carried out by a suitably qualified professional.

How to Choose the Right Smart LED Strip for Your Idea
Now that you've decided where the lighting will go, choosing the right product becomes much easier.
Choose Between Single-Colour, Tunable White, and RGB
Not all LED strips are created equal.
-
Single-colour: Produces one fixed colour temperature, making it suitable for straightforward accent or task lighting.
-
Tunable white: Lets you adjust the white light from warmer to cooler.
-
RGB or RGBW: RGB strips create coloured lighting effects. RGBW strips do the same but have a dedicated white-light channel, so whites are purer and colours are more vibrant.
Remember that even though colour-changing effects add atmosphere, they don't automatically provide the best light for everyday tasks. A good-quality white light is still ideal for practical lighting.
Check Brightness, LED Density, and Light Diffusion
You don’t need all your lights to be as bright as daylight. For example, a display cabinet needs less light than a kitchen worktop.
Also check LED density, as this affects how the strip looks. The closer the LEDs are, the more continuous the line of light looks. However, with standard strips, you'll still see each individual LED.
For a smoother effect with no visible “dots,” a Chip-on-Board (COB) LED strip is the best option. But if you already have standard strips, you can also use an aluminium LED profile with a built-in diffuser.
The latter can help you achieve a professional-looking finish.
Match the Controller, Power Supply, and Smart Features
Match every component in your lighting setup: the strip, controller, and power supply. Before buying, check whether the setup supports the features you need, from app control to voice assistant integration.
Don't assume every product supports every feature.
Measure the Space and Check Installation Requirements
Measure the intended run, identify a suitable power source, and check where you can cut the strip (most strips have designated cutting marks). Consider mounting surfaces, connectors, and whether the installation is indoors or outdoors.
If you’re not confident buying separate components and don’t want to risk compatibility issues, LED strip lighting kits let you install everything right out of the box.
How to Make Smart LED Strip Lighting Look Professional
As mentioned earlier, LED profiles are one option, but they don’t automatically give a polished look.
Hide the Light Source Wherever Possible
Use recesses, shelf lips, and furniture edges to conceal the strip. If you can’t hide them completely, that’s when LED profiles become useful.
Avoid Glare and Uneven Brightness
Test the placement before committing to the installation. View the strip from typical viewing positions and check for exposed LEDs, distracting reflections, or uneven light.
It’s easier to adjust and troubleshoot the lights now than once they’re fixed in place.
Plan the Cable Route and Prepare the Surface
If you’re planning to use the pre-applied adhesive backing of the strip, make sure to clean and dry the surface first. Adhesive backing won't work on every material or in every environment, so use mounting clips or profiles for a more secure installation.
Lastly, plan in advance where the cables will run and where to hide the driver. Place the driver where it’s hidden but easily accessible.
Clean cable routing and concealed fittings help the lighting look like part of the room's design rather than an afterthought.

Start Your Smart LED Strip Lighting Project with Simple Lighting
Smart LED strips aren’t just for decoration. With careful planning and placement, quality light, and compatible controls, you can transform the space's atmosphere and improve everyday tasks.
Start with one clear project, whether that's under-cabinet lighting, a media wall, or a softly illuminated headboard.
If you’re ready to start, visit Simple Lighting to explore our LED strip lighting kits for easy starting points, or browse our wider LED strip collection.


0 comments