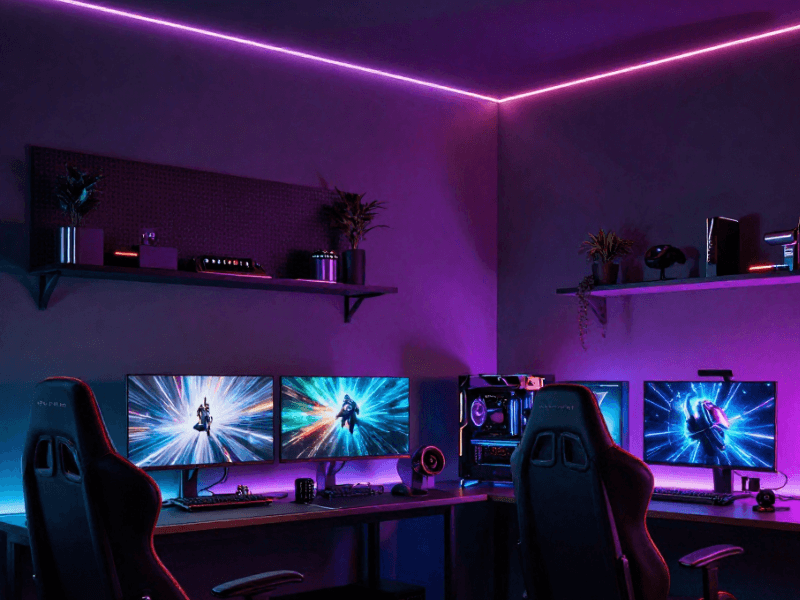










If you’re here, then you’ve most likely already heard or read about hexagon LED lights, and you’re left wondering about the most asked question of all: How do I install hexagon lights?
Installing modular ceiling lighting might sound complicated at first, but thankfully, hexagon LED systems are designed to be the opposite. Modern designs feature a plug-together system that eliminates the need to deal with complicated wiring between tubes.
Whether you're revamping a workshop, refreshing a home gym, or upgrading your garage lighting, the first step to a smoother installation is to make a clear plan.
The second step? Acquiring a kit that includes the core components you need to get started. There’s no need to hunt for components that may or may not be compatible. Every piece is already made to work properly with the others.
Hex LED ceiling lights kits come in different sizes, creating anything from a clean, minimalist ceiling to a striking geometric feature light.
What's Included in a Hexagon LED Ceiling Light Kit?
When we say “kit,” we mean that most of the hard work and the guesswork is already done for you. There’s no need for you to buy separate light fittings, connectors, cables, mounting clips, and accessories. Everything arrives together as a complete package.
Here’s what you’ll typically get:
-
LED light tubes
-
Connectors that join the tubes together
-
Mounting hardware
-
Power cable
The assembly, then, is pretty straightforward. No more piecing together individual fittings from scratch. You open the box, and everything is ready to install. That’s reassuring.
If you're new to modular lighting, there’s also no need to shock yourself with the whole thing. A 3-hex cool white kit is an excellent place to start. You get a manageable layout that's easy to assemble. Starting small can help you get familiar with how the whole thing works before moving on to bigger designs. (Trust me, once you start small, you almost always want to go big.)
But what if you have a larger space? Well, a 14-hex kit with border is not a bad choice. This creates a continuous framed design that provides a much wider coverage. The installation process? Same with the smaller kits.
Since the fixture is modular, you can start small, then just add to the current setup. There’s no need to change anything.
Plan Your Layout Before Picking Up a Drill
Sure, the lights come ready to install. But that doesn’t mean you start fixing components to the ceiling straight away, especially if you don’t have a layout planned yet.
Resist the temptation.
Take ten minutes to assemble the layout on the floor first. This can save a surprising amount of frustration later. Also, make sure the connectors are in place to get a clear picture of the overall shape.
Only once everything lines up with your desired layout should you start fixing your lights.
Doing these first will also give you a chance to consider how the lighting works in the room. It will give you the time to ask yourself:
-
Is the setup centred?
-
Is it going to be mounted where I need the most light?
-
Will shelving or ceiling beams affect the design?
Remember that hexagon lights are modular. This means you have plenty of flexibility in positioning the layout, since you don’t need to stick to predefined shapes.
Part of the planning process is also knowing how many hexagons you need relative to your space’s size. Knowing so should tell you which kit size to get for a professional-looking hexagon light installation.
Mark the Ceiling Carefully
Once you're happy with the layout, transfer the design to the ceiling.
Guessing should never be an option here. Mark fixing points using your assembled layout as a reference. There’s no need for complicated (and expensive) tools. A tape measure and a pencil are usually all that you need to ensure the pattern stays square and centred.
But this step could still be too much for one person. Don’t be afraid to ask someone to help with this stage. Any lighting installation is always easier with an extra pair of hands.

Mount and Connect the Hexagon Lights
Now you can begin mounting the system.
First, you need to attach the mounting hardware securely to the ceiling. Make sure to follow the layout you’ve already planned and marked. Once the mounting points are in place, the LED tubes can be connected using the supplied connectors to recreate your chosen design.
The purpose of the markings is so that you can build the pattern section by section. This is better than trying to lift the entire layout into place at once. (You probably don’t have enough arms for that.)
Smaller sections are easier to handle anyway, and this lets you verify that each connection is properly seated before moving on.
Now watch with pride as the geometric pattern you’re building gradually emerges on your ceiling.
If you're installing the lights as part of a wider garage lighting project, it's worth checking that the layout provides even coverage across the whole area.
Connect the Power Supply
Almost there! With the layout fully assembled and securely mounted, the final step is connecting the system to power.
Hexagon LED ceiling light kits are typically mains-powered, so this stage deserves a little extra care. Before making any electrical connections, make sure the power is off. Once the power supply is connected, give the entire system a quick visual inspection before switching it on. Check:
-
Every connector is fully seated
-
Tubes are aligned correctly
-
Nothing has shifted during installation
Trust me. It’s easier to make corrections now than after you’ve packed away the tools and the ladder.
For RGB hexagon lights installation, you need to do one additional step. After powering the system, pair it with the supplied app and remote controller by following the instructions included with the kit. Once connected, you'll be able to control colours, lighting effects and dynamic modes from either control method.
For static kits, no pairing steps are required. Once powered, they're ready to provide bright, even illumination straight away.

When Is It Best to Call an Electrician?
Assembling the framework itself is doable by most people. You and I could do it. After all, the tubes and connectors are designed to fit together without specialist knowledge.
But connecting the power supply to the mains circuit is another matter.
If you're unsure or don’t have the proper knowledge about working with fixed wiring, don't have the necessary tools, or simply aren't confident connecting the power supply safely, it's worth asking a qualified electrician to complete the final electrical connection.
It's often a practical compromise that still saves both time and installation costs. This also gives you peace of mind knowing the entire connection is safe.
A Few Final Checks
Once the lights are powered, spend a few minutes checking the finished installation.
-
Walk around the room from different angles to ensure every section is evenly illuminated.
-
Check if all connectors are seated correctly.
-
Tidy any visible cables.
-
Give the ceiling a final clean
If you're still deciding which layout is right for your space, explore Simple Lighting’s full collection of hexagon LED lights to compare different kit sizes and configurations before getting started.
Frequently Asked Questions
Are hexagon lights easy to install?
Yes! The modular design allows the LED tubes to plug together using the supplied connectors, making assembly much simpler than installing multiple separate light fittings. They’re typically mains-powered, so the electrical connection should always be completed safely.
How do hexagon LED lights connect together?
Each LED tube joins to the next using purpose-made connectors supplied in the kit.
Do hexagon lights need an electrician?
You can often assemble and mount the lighting yourself if you're comfortable with DIY. However, if the installation involves connecting to your property's mains electrical supply and you're not qualified or confident, it's safest to have a professional electrician complete that stage.
What is included in a hexagon light kit?
Each kit includes the LED light tubes, connectors, mounting hardware and a power cable. Everything is designed to work together as one modular lighting system.
Can you arrange hexagon lights in any shape?
The modular design gives you plenty of flexibility, allowing you to create layouts that suit your ceiling and available space. Just make time to plan the design first, especially for larger installations.


0 comments