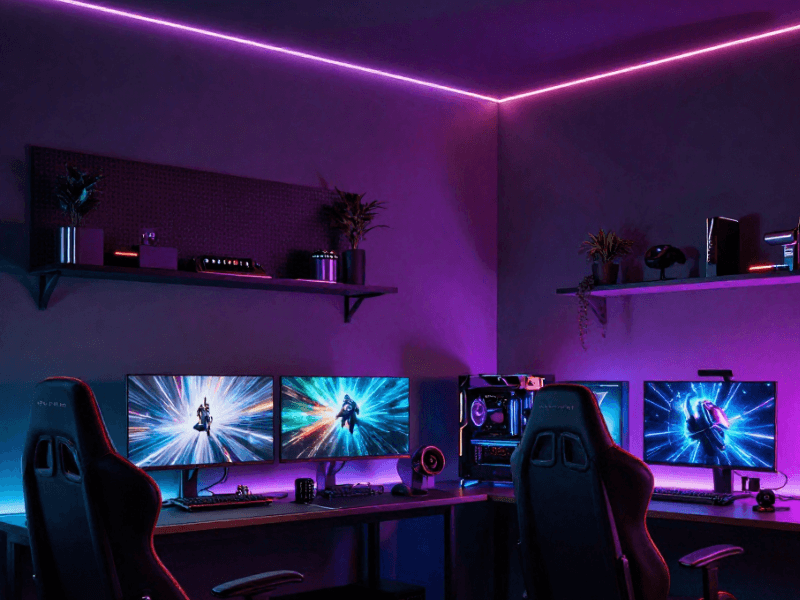
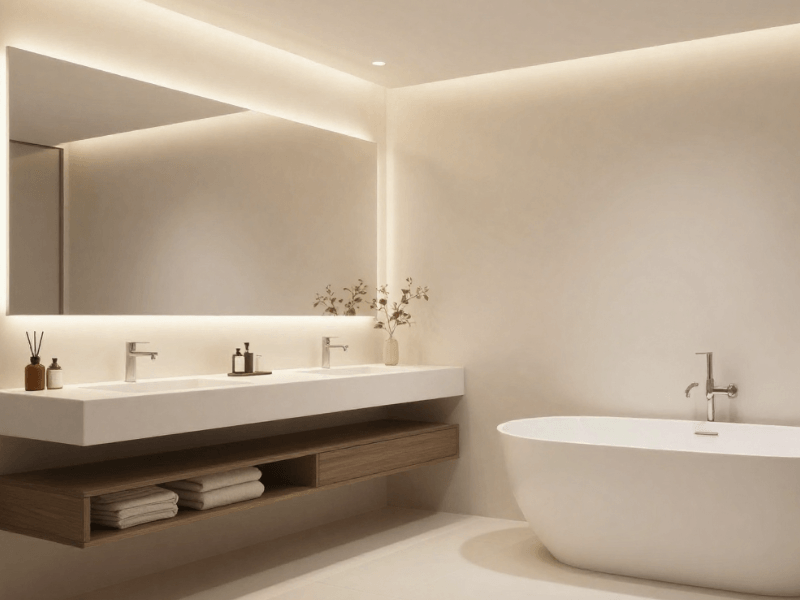
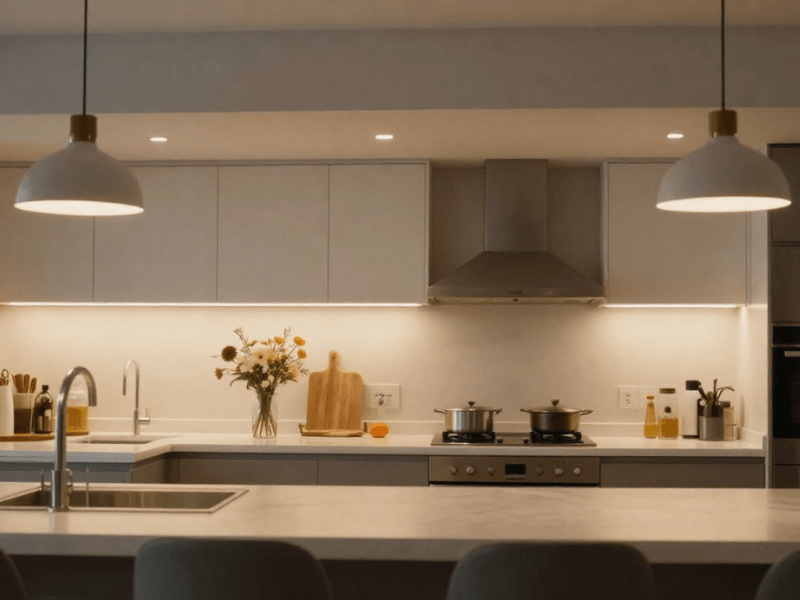
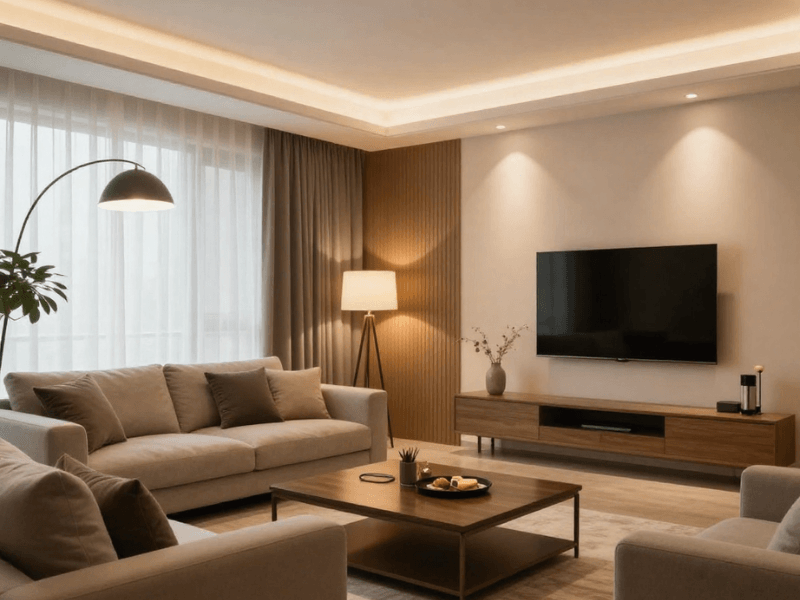
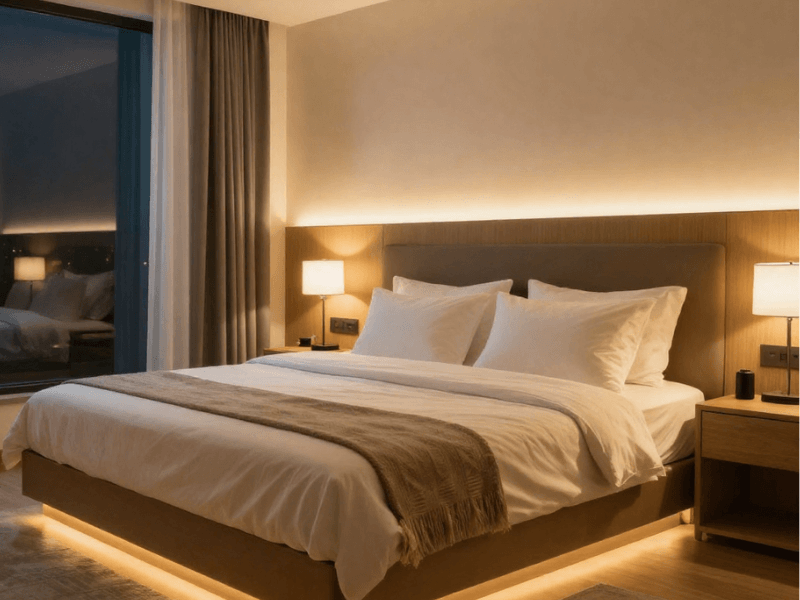
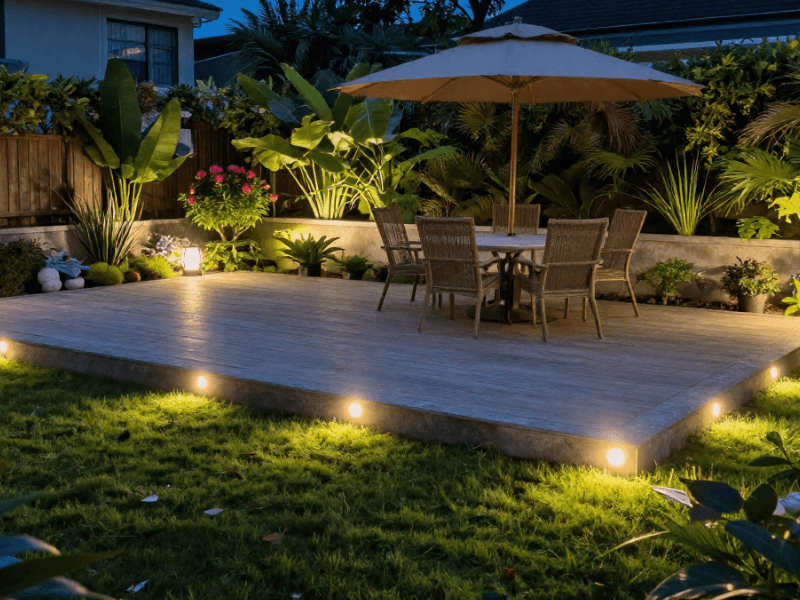
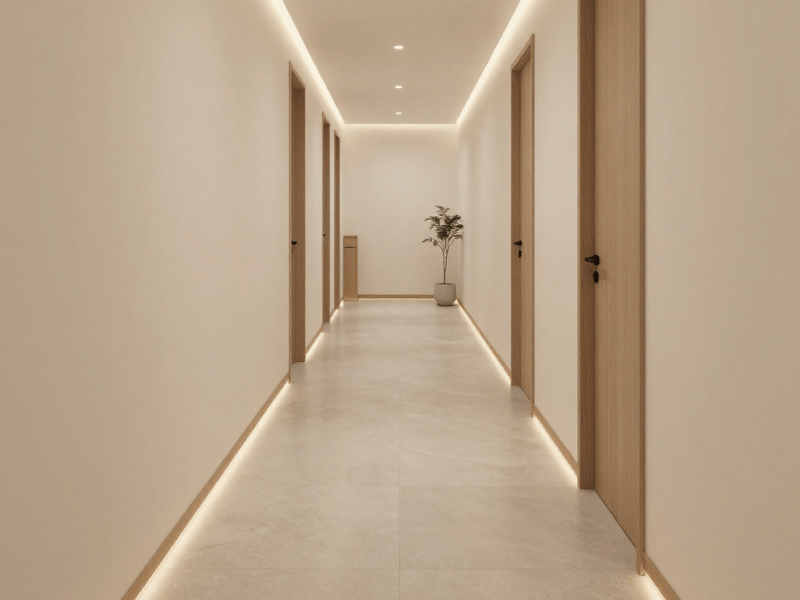
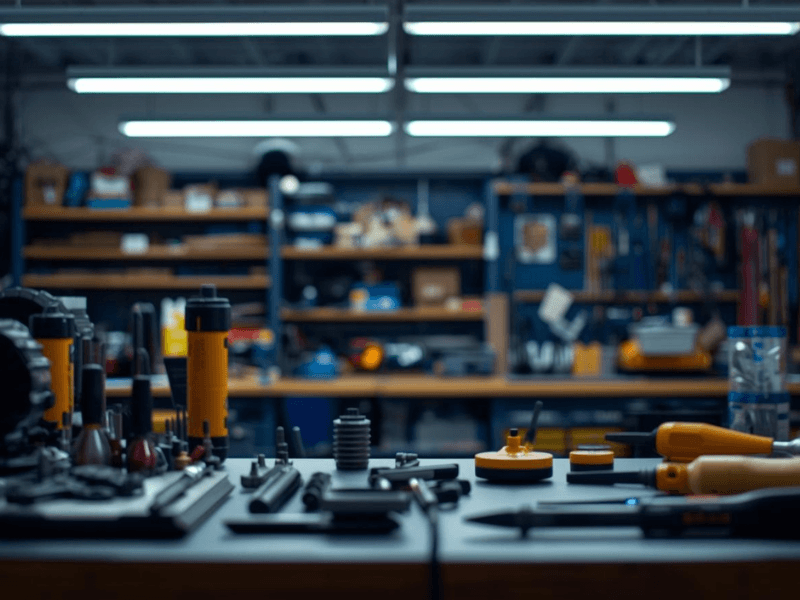
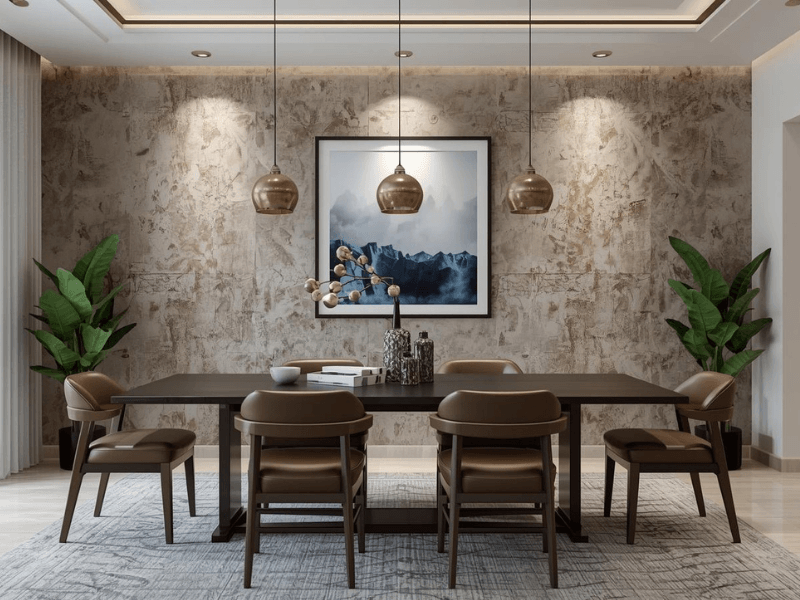
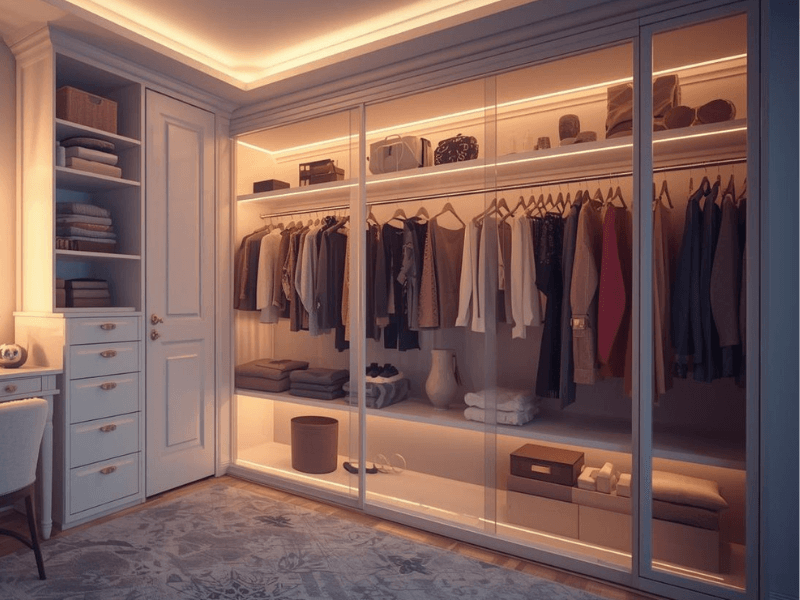
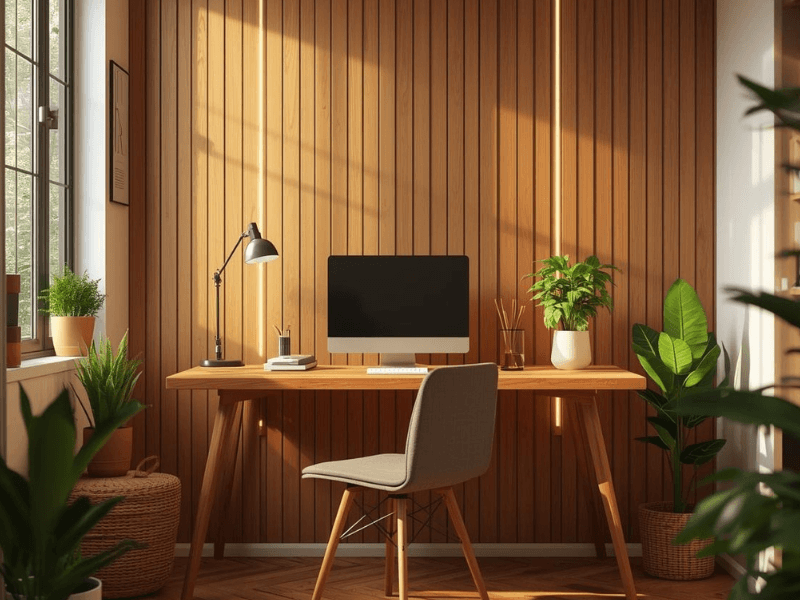
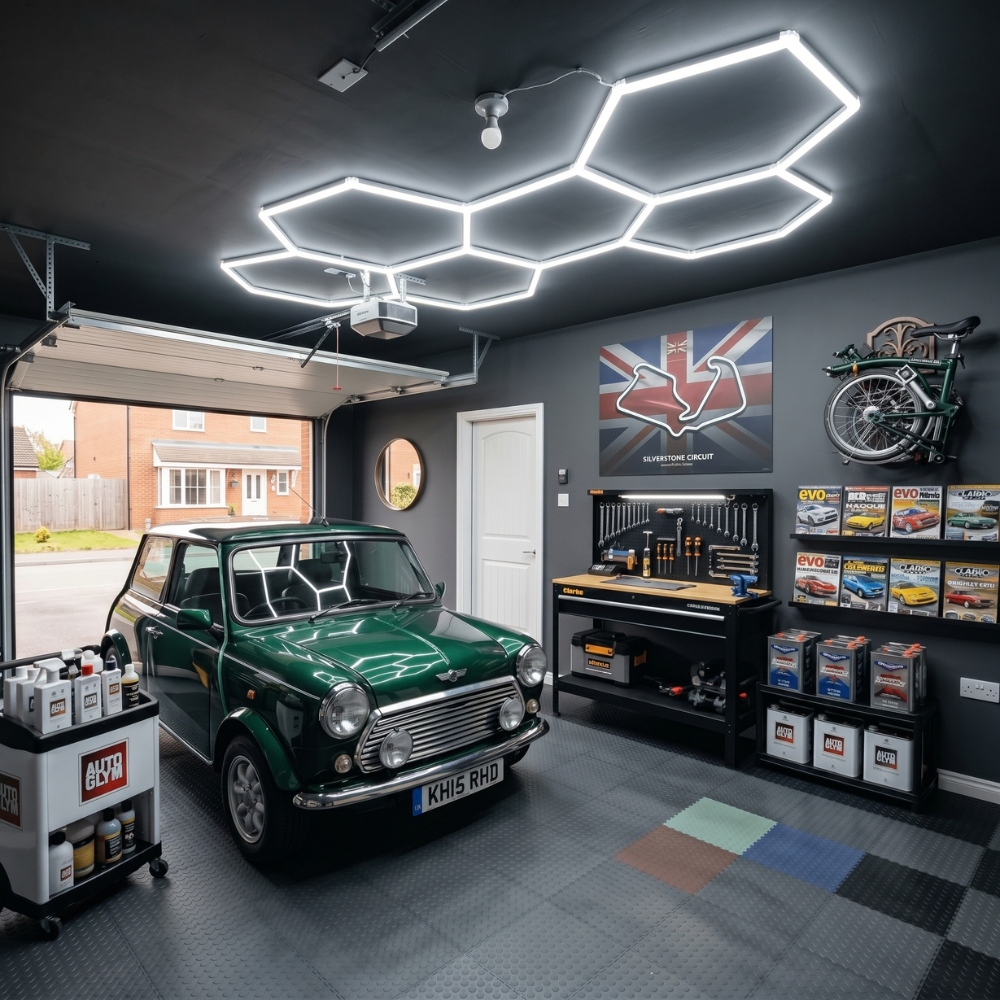

LED strip lighting can do a lot. It can brighten a kitchen worktop, add a soft glow to a bedroom, highlight shelving, or create a bold decorative feature.
What it can't always do straight out of the box is look perfectly smooth.
If the individual LEDs are clearly visible, you may end up with a row of bright dots rather than the clean line of light you had in mind. A diffuser helps, but the final result also depends on:
- LED type and spacing
- Profile depth
- Diffuser finish
- Installation position
- Viewing angle
So instead of starting with, “Which diffuser should I buy?”, start with a better question:
“What do you want the finished lighting to look like?”
Once you know that, choosing the right LED strip, profile and diffuser becomes much easier.

What Does an LED Strip Diffuser Do?
An LED strip diffuser is a cover fitted over an LED strip, usually as part of an aluminium profile setup.
Its main job is to spread and soften the light as it leaves the profile. This can make individual LED chips less noticeable and give the installation a cleaner, more finished appearance.
Depending on the profile and diffuser, it may also:
- Reduce glare
- Create a more even-looking line of light
- Soften harsh brightness
- Provide some physical protection
Check the profile specifications for the level of protection provided. A diffuser is useful, but it’s not body armour.
Diffusers also affect how much light reaches the room.
A clearer diffuser usually allows more light through but does less to hide individual LED points. A more opaque diffuser can create a softer, smoother appearance, but it may also reduce useful brightness.
That means diffuser choice is really a balancing act between two things:
- How smooth do you want the light to look?
- How much usable light do you need?
The right answer changes depending on the job.
Start With the Lighting Effect You Want
Before comparing clear, frosted and opal diffusers, decide what you are trying to achieve.
A kitchen worktop has very different lighting needs from a bedroom coving feature. Using the same setup for both simply because the diffuser “looked about right” is unlikely to end well.
Here are the main effects people usually want:
For a Dot-Free or Nearly Dot-Free Line of Light
If your main goal is to hide individual LED points, start with the LED source rather than trying to disguise widely spaced LEDs behind the darkest diffuser you can find.
For a smoother line of light, prioritise:
- A higher-density LED strip or COB LED strip
- Enough distance between the LEDs and the diffuser
- A diffuser that softens the light without cutting too much output
- A profile that suits the viewing angle
Higher-density strips place the LEDs closer together, which makes it easier for the light to overlap before reaching the diffuser.
COB LED strip lights go a step further. Their closely packed light source creates a more continuous-looking illuminated line, making them particularly useful where the strip will be visible.
Profile depth helps, too! A deeper profile gives the light more room to blend before it reaches the diffuser.
In other words, if you want a dot-free finish, build the system for it from the start. A diffuser is helpful, but it’s not a magician.
For Soft Ambient Lighting
For ambient lighting, positioning can matter just as much as diffuser choice. This is especially true in ceiling coving, bedrooms, living rooms, shelving, behind televisions and beneath furniture.
Where possible, keep the strip outside the normal line of sight and aim the light towards a wall, ceiling or nearby surface. The reflected light then helps soften the effect.
A frosted or opal diffuser can further reduce glare. Warm white LED strips are often a good choice where you want a cosier, more relaxed atmosphere.
The key idea is simple: ambient lighting usually looks better when you see the glow rather than the LEDs producing it.
For Bright Task Lighting With Less Glare
Task lighting needs a different balance.
Kitchen worktops, desks, workshops and display areas need useful illumination. Choosing the most opaque diffuser simply because it looks smoother can work against you.
Instead, aim for:
- Enough LED output for the task
- A clear or lightly frosted diffuser where appropriate
- Careful profile positioning
- Good glare control
For example, under kitchen cabinets, position the profile so the LEDs don’t glare directly into your eyes from a normal standing position. Make sure the light actually reaches the worktop rather than illuminating the back edge of the cabinet and calling it a day.
Natural white LED strips can also work well where visibility and clarity matter more than creating a warm decorative glow.
For a Decorative or Neon-Style Effect
For wall features, signs, gaming rooms and commercial displays, the illuminated line may be part of the design itself.
Consider:
- COB or high-density LED strip
- Curved or purpose-designed diffuser profiles
- RGB strip for colour-changing effects
- Purpose-designed neon flex strip for a true neon-style finish
Trying to make a shallow standard profile look like neon can be a bit like putting racing stripes on a family hatchback. Better tools exist for the job.
What Determines How Smooth LED Strip Lighting Looks?
Once you know the finish you want, you can choose the surrounding components. Five factors matter most:
LED Density
The further apart the LEDs are, the more likely you'll see brighter points through the diffuser. This is especially true when the strip sits close to the cover.
Higher-density strips reduce those gaps, making it easier for the light to overlap before reaching the diffuser. However, density is not everything. A dense strip in an extremely shallow profile may still show spotting from some angles.
Standard LED Strip vs COB LED Strip
COB (Chip-on-Board) LED strips use a closely packed light source that produces a more continuous-looking line than many standard strips. They’re particularly useful for visible installations, decorative lighting, slim profiles, and applications where spotting would be distracting.
Standard LED strip can still produce an excellent result when the LEDs are sufficiently close together, the profile provides enough depth, or the strip is hidden from direct view. COB is useful, not compulsory.
Profile Depth
The distance between the LEDs and diffuser has a major effect on smoothness. More distance gives the light extra room to spread and overlap, reducing the brighter points that can appear directly above each LED.
Shallow LED Profiles
Shallow LED profiles suit furniture, cabinets, shelving and other installations where space is limited. The trade-off is that the LEDs sit close to the diffuser.
If you want a very smooth finish in a shallow profile, a higher-density or COB strip is usually the safer choice.
Deep LED Profiles
Deep LED profiles give the light more room to mix. They can work well for visible architectural lighting, wall features, ceiling details and recessed installations.
Don’t choose the deepest profile available simply because bigger sounds better. It still needs to fit the space, suit the strip, and deliver the brightness you need.
Diffuser Type
Diffuser opacity affects the balance between smoothness and light transmission:
- Clear covers prioritise output
- Frosted covers balance softness and brightness
- Opal covers provide stronger concealment
Exact performance varies between products. Treat these names as useful categories rather than precise performance ratings.
Installation Position and Viewing Angle
Even a good strip, profile and diffuser can look disappointing if the lighting is positioned badly.
Ask:
- Will the LEDs be directly visible?
- Will the profile be seen from the side?
- Is the light reflecting from a glossy surface?
- Where will people normally sit or stand?
- Could glare be noticeable from eye level?
A strip can look beautifully smooth when viewed straight on and suddenly reveal bright points when seen from the side. Glossy worktops, tiles and glass can also reflect individual LEDs even when the strip itself is hidden.
Viewing distance matters, too! Small variations that are obvious from 30cm away may disappear from across a room. Judge the finish from the distance at which the lighting will actually be seen.

Clear vs Frosted vs Opal LED Diffusers
There is no single “best” LED diffuser. The right choice depends on what matters most in the installation.
Clear Diffusers
Best when:
- Maximum light transmission is a priority
- The LED points don't need to be fully concealed
- The cover is mainly there to complete or protect the profile
Trade-off:
- Individual LEDs are more likely to remain visible
Frosted Diffusers
Best when:
- You want a balance between brightness and softness
- You need to reduce glare
- The profile is being used for general lighting
Trade-off:
- Some spotting may remain depending on LED spacing and profile depth
Opal Diffusers
Best when:
- Creating a smoother illuminated line is the priority
- The profile itself will be visible
- You want stronger concealment of individual LEDs
Trade-off:
- More light may be lost through the diffuser
If the strip also needs to illuminate a room, display or work surface, check that it still provides enough output once the diffuser is fitted.
How to Choose Based on Your Priority
If you want maximum brightness:
Choose a clearer diffuser and use profile positioning to control glare.
If you want balanced brightness and softness:
A frosted diffuser is often a good starting point.
If you want maximum diffusion:
Consider an opal diffuser together with a higher-density or COB strip and a profile with suitable depth.
Always use a diffuser designed for the aluminium profile you're installing. Similar-looking covers aren't necessarily interchangeable.
If the manufacturer provides light-transmission data for the diffuser, use it. It gives you a better indication of how much output may be lost than choosing purely by how white or transparent the cover looks when switched off.
How to Diffuse LED Strip Lights Step by Step
Good diffusion starts before anything is permanently fixed in place.
Step 1: Choose the Strip, Profile and Diffuser Together
Check that the strip fits the profile and that the diffuser is designed for it. If hiding LED dots matters, prioritise a higher-density or COB strip and enough profile depth to let the light blend.
For power and control planning, see How to Calculate Power Requirements for LED Strip Lights and Best LED Drivers for Strip Lighting.
Step 2: Plan the Position and Viewing Angle
Work out where the profile will sit before installing it. For task lighting, make sure the light reaches the required surface without creating glare. For ambient lighting, try to hide the strip and bounce the light off a wall, ceiling or nearby surface.
Check it from normal sitting and standing positions, not just from directly underneath.
Step 3: Build a Test Section
This is one of the easiest ways to avoid disappointment. Before installing the full run, assemble a short section using the actual strip, profile and diffuser.
Switch it on and check:
- Visible LED dots
- Brightness
- Glare
- Colour appearance
- Smoothness from different angles
If the dots are too obvious, you may need more LED density, a deeper profile, or stronger diffusion. If the lighting is smooth but too dim, try a less opaque diffuser or a strip with greater output.
Ten minutes of testing can save a lot of muttering later.
Step 4: Install the Strip Evenly
Once you’re happy with the test, install the strip straight and evenly inside the profile. Plan cables, corners and connection points before fixing everything permanently.
For the wider process, see How to Install LED Strip Lights.
Step 5: Fit the Diffuser and Check the Final Effect
Fit the compatible diffuser and make sure it sits evenly, without lifting, twisting or leaving gaps.
After that, switch the lighting on and check it from normal viewing positions for bright spots, dark patches, glare and reflections.
Still Seeing LED Dots?
If individual LED points are still visible, don't immediately reach for the most opaque diffuser available.
Try these fixes in order:
- Adjust the profile or viewing angle.
- Increase LED density.
- Consider COB LED strips.
- Increase profile depth where possible.
- Use a stronger diffuser if needed.
- Recheck brightness after every change.
This helps preserve useful light instead of solving spotting by simply blocking more of it.
Common LED Strip Diffusion Mistakes
Using a Diffuser That Is Too Opaque
More diffusion isn't automatically better. For task or general lighting, an overly opaque diffuser may reduce useful output more than expected.
Trying to Hide Widely Spaced LEDs With the Diffuser Alone
A diffuser can't completely rewrite the laws of physics. If widely spaced LEDs sit very close to the cover, spotting may remain visible.
Choosing the Profile Before Deciding on the Effect
Choose the desired finish first, then select a profile with enough space and depth to achieve it.
Testing the Strip Without the Diffuser
Brightness can change once the diffuser is fitted. Always test the complete combination, not just the bare LED strip.
Ignoring the Viewing Angle
A lighting run may look smooth from directly in front but show bright LED points from the side. Check the installation from the places people will actually see it.
Skipping the Test Section
Installing 10m of LED strip before checking a 20cm sample is a bold strategy, but not necessarily a good one. Test first.
Our guide to Common LED Strip Light Mistakes covers other planning and installation issues to check before starting your project.

Best Ways to Diffuse LED Strip Lighting by Application
Under-Cabinet LED Strip Lighting
Under-cabinet lighting needs enough brightness for the worktop without uncomfortable glare. Position the profile so the LEDs are hidden from normal standing positions while directing light onto the preparation area.
A lightly frosted diffuser often works well because it softens the source without sacrificing too much output.
Ceiling Coving
Coving already gives you an advantage because the strip is usually hidden. Position it so the light washes across the ceiling or wall rather than shining directly into the room.
The reflected surface helps soften the effect, so you may not need the strongest diffuser available.
Shelves and Display Lighting
Shelf and display lighting is often viewed from several angles, so profile position matters. A recessed or discreetly positioned aluminium profile can hide the source while directing light towards the display.
Don’t over-diffuse if brightness matters. The goal is to soften the light without making everything disappear into tasteful gloom.
RGB LED Strip Lighting
Diffusion can help RGB strips create smoother-looking colour effects where individual LED points or colour changes are visible. Use compatible strips, controllers, drivers or power supplies, and dimming accessories.
For a visible decorative feature, COB or a purpose-designed neon-style option may give you a smoother result.

Final Thoughts: Good Diffusion Starts With the Complete Setup
No single LED diffuser works best for every project. The right setup depends on what the lighting needs to do and how you want it to look.
Consider:
- LED type and density
- Profile depth
- Diffuser opacity
- Installation position
- Viewing angle
- Required brightness
If a seamless line of light is particularly important, higher-density or COB LED strip lights can give you a better starting point. If brightness matters more, you may be better off using a lighter diffuser and controlling glare through careful positioning.
Most importantly, test the strip, profile and diffuser together before permanent installation. It’s much easier to swap a diffuser on a short test section than after the full installation is fitted, wired and neatly hidden away.
Browse LED strip lights, LED aluminium profiles and accessories at Simple Lighting to build a compatible setup around the finish you want to achieve.


0 comments