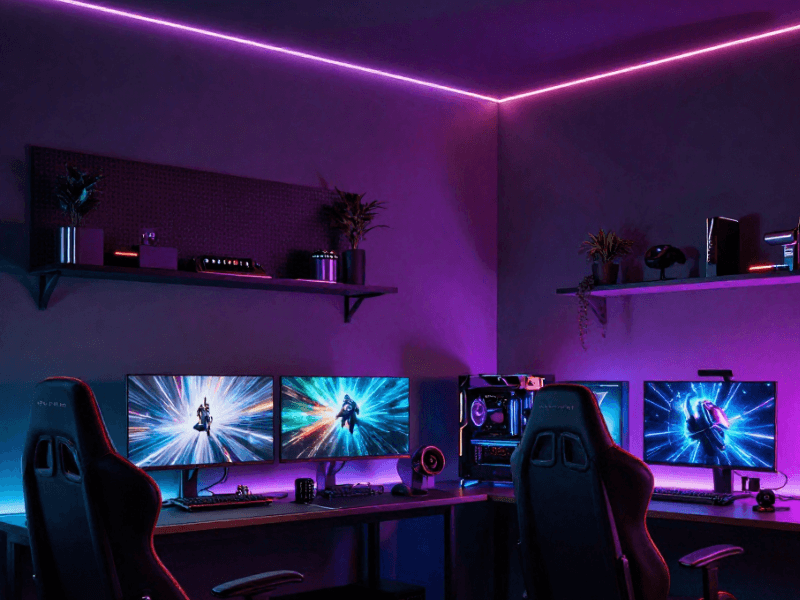
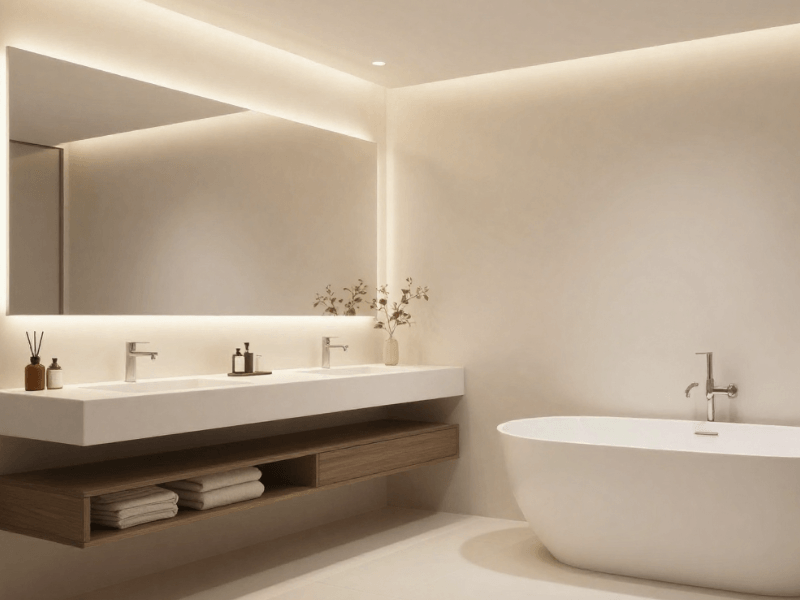
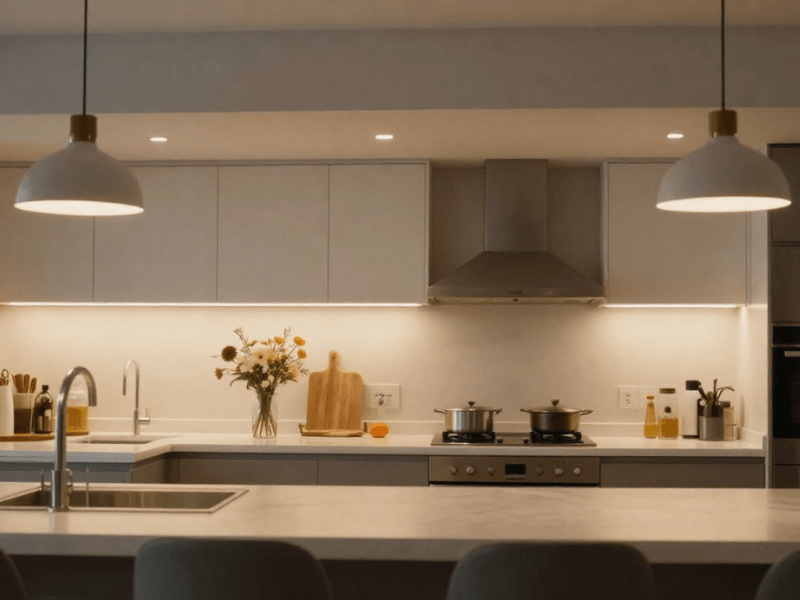
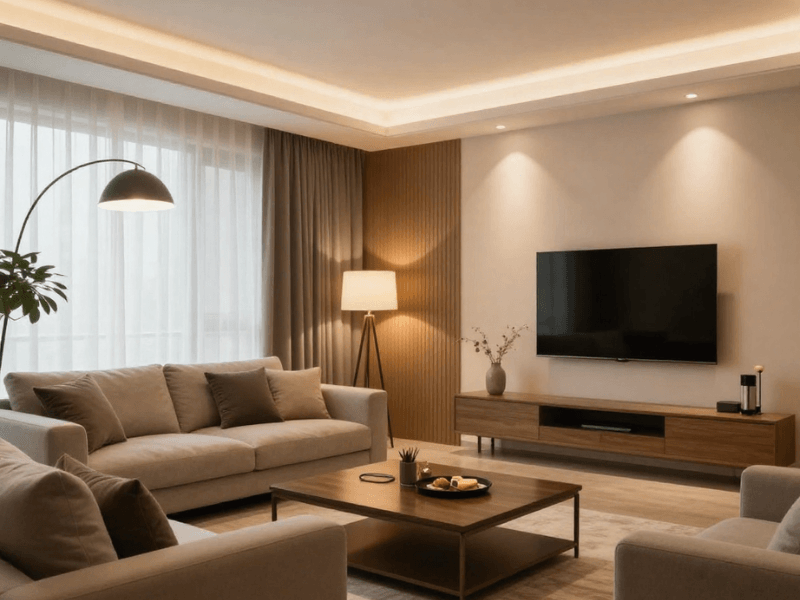

LED tapes are flexible, discreet and easy to adapt to all kinds of spaces. The aluminium profile you put it in, though, needs a little more thought.
A good LED aluminium profile can give an installation a cleaner finish, conceal the tape, hold a diffuser, and create a more structured mounting point. With the right setup, it can even help soften visible LED points and protect the tape from knocks and dust.
But there’s no single “best” aluminium profile for LED tapes.
The right choice depends on three things: where the tape is being installed, how you want the finished light to look, and whether your tape and accessories actually fit inside the profile.
So instead of starting with profile shapes, work backwards from the project:
- Choose the location
- Choose the mounting style
- Check the LED tape dimensions
- Consider profile depth and diffusion
- Select the accessories
This approach saves you from buying a profile that looks perfect online and makes absolutely no sense once it meets your cabinet, ceiling or shelf.
Start With Where You Want to Install the LED Tape
The installation location should be your first filter. Ask yourself:
- How much space is available?
- Will the profile be visible when the lights are off?
- Where should the light travel?
- Is the light mainly decorative or practical?
- Do you want a slim finish or a smoother-looking line of light?
Once you know the answers, the profile choice becomes much easier.
For Under-Cabinet and Furniture Lighting
A slim surface-mounted LED aluminium profile is often the easiest starting point for under-cabinet lighting. It can be fixed directly to an existing surface without cutting a channel into the furniture.
It works well for:
- Kitchen cabinets
- Shelving
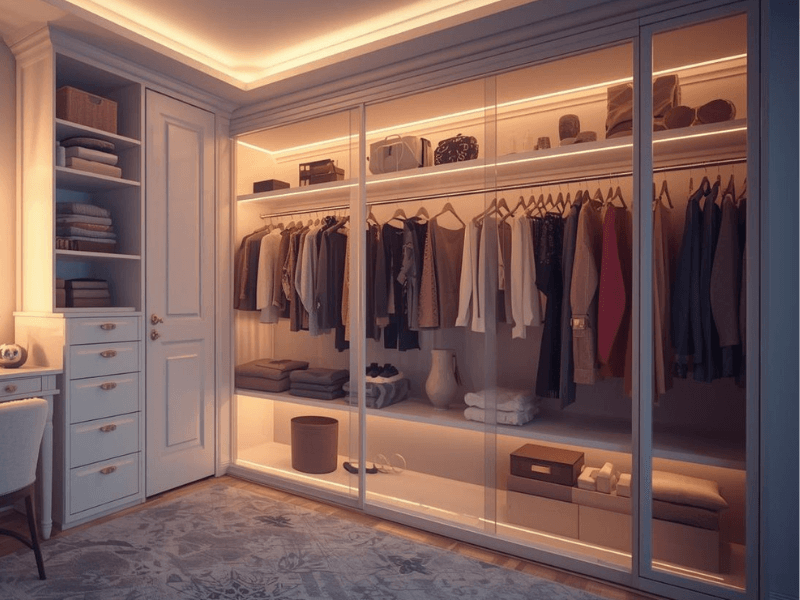
- Wardrobes
- Display units
- Desks and worktops
Position matters, too! For task lighting, focus on where the light lands on the worktop. For decorative shelving, hiding the source may matter more than maximum brightness.
A surface-mounted LED profile is usually the most straightforward choice for an existing cabinet. If the furniture is still being made and you want a cleaner built-in finish, a recessed profile may be worth considering instead.
You can also pair your profile with suitable under-cabinet LEDs or strip lights depending on the effect you want.
For Recessed and Built-In Lighting
Recessed LED profiles are designed for installations where the channel should sit flush or nearly flush with the surrounding surface. They’re a good option for:
- Bespoke joinery
- Shelving
- Cabinets
- Furniture
- Walls
- Ceilings
The main advantage is the neat, integrated finish. The catch is that the surface needs an accurately sized cut-out. A few millimetres can turn a tidy lighting project into an unexpected carpentry debacle.
Whenever possible, choose the profile before you machine the furniture or surface. That gives you far more control over the final fit.
If you’re planning the whole setup from scratch, our LED strip installation guides can also help you work out the tape, connections and power requirements before anything is cut.
For Corners and Angled Lighting
Corner LED profiles position the tape at an angle rather than directing the light straight down or forwards. They can work particularly well:
- Under wall cabinets
- Inside cupboards
- Along shelving
- In display units
- Around decorative corners
The angle changes both the direction of the light and how visible the LEDs are from normal viewing positions.
If reducing glare is important, test the proposed position before fixing the profile permanently. Moving it even slightly can change where the light falls.
For Ceilings, Coving and Architectural Features
Ceiling details and feature lighting usually put more emphasis on the appearance of the illuminated line itself. Larger profiles can be useful for:
- Coving
- Wall washing
- Recessed ceiling features
- Continuous lines of light
- Decorative architectural lighting
Here, profile depth and diffuser choice matter because the illuminated line may be highly visible. A deeper profile can give the light more room to blend before it reaches the diffuser.
For prominent installations, look at large LED aluminium profiles alongside suitable LED tapes rather than automatically choosing the smallest profile that fits.

Surface Mounted vs Recessed vs Corner Profiles
Once you know where the tape is going, you can usually eliminate at least one mounting style straight away.
|
Profile Type |
Best When |
Main Advantage |
Watch Out For |
|
Surface Mounted |
You're adding tape to an existing surface |
Straightforward installation |
The profile remains visible |
|
Recessed |
You want a flush, built-in finish |
Cleaner integration |
Requires an accurate cut-out |
|
Corner |
You need angled light |
Better control of light direction |
Position affects the final spread |
Surface-mounted profiles suit retrofits and existing furniture. Recessed profiles work better when you can prepare a channel and want a built-in finish. Corner profiles are for installations where the light needs to travel diagonally.
There’s no definite winner here. Choose the type that matches how your light needs to be installed.
Choose the Profile Based on Your LED Tape Size
Found a profile you like? Good! Now make sure the tape actually fits.
Never choose an aluminium profile from its external dimensions alone. Before ordering, compare:
- LED tape width
- LED tape height or component height
- Internal profile width
- Internal profile depth
- Connector dimensions
- Cable exits
- End-cap design
Check the Width of the LED Tape
Start with the width of your LED strip lights and compare it with the profile’s internal mounting area.
Not all LED tape uses the same dimensions. A profile that looks wide enough externally may have a narrower internal channel than expected.
Always check the individual product specifications rather than assuming one aluminium extrusion will fit every strip.
Don't Forget the Height of the LED Tape
LED tape contains components that sit above the circuit board, so width isn't the only measurement that counts.
This matters most with shallow profiles, where space between the tape and diffuser is limited.
Check the tape’s dimensions against the usable internal space. Don't just focus on whether the strip physically fits across the bottom of the channel.
Plan for Connectors and Cables
This is where perfectly good plans sometimes fall apart. The tape may fit; the connector attached to it may not.
Allow enough room for:
- LED strip connectors
- Soldered joins
- Cable entry and exit points
- End caps
- Changes in direction
Plan the complete installation before ordering. You don't want to find out that the cable has nowhere to go just when you're at the final step.
Check your LED tape accessories at the same time. That way, you'll know how everything will fit once you add the diffuser and end caps.
How Profile Depth Affects the Final Lighting Effect
Profile depth changes the distance between the LED tape and the diffuser.
As a general rule, more distance gives the light from neighbouring LEDs more opportunity to blend before reaching the cover. That can help create a smoother-looking line.
However, depth is only one part of the equation. The final appearance will also depends on:
- LED density
- Type of LED tape
- Diffuser opacity
- Profile design
- Viewing angle
Think in combinations, not components.
Shallow Profiles for Compact Installations
Shallow LED profiles are useful when space is limited, or if you want the channel to stay as discreet as possible. They suit cabinets, furniture and shelving where every millimetre counts.
Because the LEDs sit closer to the diffuser, individual bright points may be more noticeable with some tape and diffuser combinations. If the profile is hidden from view, that may not matter. If the illuminated line is visible, test the result first.
Deep Profiles for Smoother Lighting
Deep LED profiles create more space between the tape and diffuser. This gives the light more room to spread and overlap.
They can be a better choice for:
- Visible feature lighting
- Recessed lighting
- Display installations
- Architectural lighting
- Continuous-looking light lines
If a smooth finish is the goal, a deeper profile can work particularly well with COB LED strip lights or high-density tape.
However, don’t treat depth as a magic trick. A deep profile can't guarantee a completely dot-free result if the tape, diffuser and viewing angle are working against you.
For a closer look at how these factors work together, see our guide on how to diffuse LED strip lighting properly.
Which Diffuser Should You Choose?
Diffusers influence how much the individual LEDs are concealed and how the finished light appears. Choose one alongside the profile and LED tape, not as an afterthought.
Clear Diffusers
Clear diffusers generally prioritise light transmission over visual blending. They suit installations where the tape isn't viewed directly or where keeping more available light is important.
Individual LEDs may remain more visible, especially with lower-density tape or shallow profiles.
Frosted Diffusers
Frosted diffusers offer a useful balance between brightness and diffusion. They can soften visible LED points without obscuring the light source (unlike more opaque options).
They're a practical choice for many under-cabinet, furniture and shelving installations.
Opal Diffusers
Opal diffusers are often chosen when a softer, more blended appearance is the priority. They can provide stronger visual diffusion than clearer covers, although exact light transmission and blending will vary by product.
Match the Diffuser to the LED Tape
There’s no universal “best diffuser”. The finished result depends on four things working together:
LED tape + profile depth + diffuser + viewing angle
If a smooth line matters, test the combination before permanently installing a long run. Changing a diffuser on a workbench is far easier than doing it in a ceiling.
Browse compatible aluminium profile accessories if you need diffusers, end caps, or mounting components for your chosen product.

The Best Aluminium Profiles for Different LED Tape Projects
This is where the selection process becomes practical. Instead of asking which aluminium profile is best overall, ask which one is right for your specific installation.
Best for Under-Cabinet LED Tape
Best starting point: A slim surface-mounted profile.
Choose this when you are adding LED tape beneath existing cabinets and want a straightforward installation without routing a channel into the furniture.
Look for:
- A discreet profile height
- Enough internal width for the tape
- A suitable diffuser
- Secure mounting clips or fixings
- Enough room for connections at the ends
A frosted or opal diffuser may help soften the appearance if the LEDs can be seen from nearby.
Consider recessed LED profiles instead if the cabinetry is still being made and you want the lighting to sit flush.
Best for Recessed Furniture Lighting
Best starting point: A recessed aluminium profile sized to the planned cut-out.
Prioritise:
- Correct cut-out dimensions
- Suitable profile width
- Enough internal depth
- Compatible diffusers
- Suitable end caps
Choose the profile before the furniture channel is cut wherever possible. That's much easier than finding a profile to fit a slot that already exists (or one seemingly designed by someone who's never seen an LED strip).
Best for Corner Lighting
Best starting point: A corner profile with the light angle suited to the space.
Check:
- Direction of light
- Profile position
- Viewing angle
- Available mounting space
- Diffuser type
These profiles are particularly useful when you want to throw light across a surface rather than straight down. If glare is a concern, test the profile from the normal viewing position before permanently fixing it.
Best for Creating a Smooth Line of Light
Best starting point: A deeper profile paired with a suitable diffuser and dense LED tape.
For a smoother appearance, consider:
- A deep aluminium profile
- Frosted or opal diffusion
- COB LED strip lights
- High-density LED tape
- Greater LED-to-diffuser distance
The important point is that the smooth finish comes from the combination. A heavily diffused cover can't always rescue widely spaced LEDs sitting immediately beneath it.
Best for Outdoor or Protected Areas
For outdoor installations, choose the LED tape and electrical protection first. An aluminium profile alone does NOT make an LED tape installation waterproof.
Check:
- The IP rating of the waterproof LED strip lights
- Protection around joins and connectors
- Cable entry points
- Driver location and suitability
- Exposure to moisture
- Manufacturer installation guidance
Aluminium profiles can then be selected as a compatible mounting and finishing solution.
If the installation will be exposed to rain or moisture, make sure every component is suitable for the environment. Don't expect the aluminium channel to do a waterproofing job it was never hired for.
Common Mistakes When Choosing an Aluminium Profile
A few simple checks can prevent most profile-selection problems.
Choosing the Profile Before Measuring the Tape
Measure first. Check the tape width and component height against the profile’s usable internal dimensions.
Assuming a Diffuser Guarantees Dot-Free Light
It doesn’t. LED spacing, profile depth, diffuser type, and viewing angle all influence how visible the individual LEDs remain.
Choosing a Profile That Is Too Shallow for the Effect
A shallow profile can be perfect for a compact installation but less suitable when the illuminated line will be clearly visible. If smooth diffusion matters, consider whether a deeper profile would give the light more room to blend.
Forgetting About Connectors and End Caps
Plan for the entire channel, not just the tape. Make sure there's enough room for connectors, cable exits, end caps, and any other accessories required.
Buying on Price Alone
The cheapest profile is only good value if it actually suits the project. A poor fit, a wrong light direction, or a finish you dislike will cost more in frustration than you saved at checkout.
Our guide to common LED strip light mistakes covers more planning problems worth checking before you start.

How to Install LED Tape in an Aluminium Profile
This is a buying guide rather than a full installation manual, so we’ll keep this part mercifully short.
The exact process depends on the products being used, but most installations follow the same basic order.
Measure the Installation Area
Plan the profile length, LED tape length, and cable routes before cutting anything.
If you’re still working out the electrical setup, check how to calculate power requirements for LED strip lights and our guide to the best LED drivers for strip lighting.
Cut the Profile to Size
Use the correct cutting method for the profile and follow the product guidance. Measure twice; aluminium isn’t known for its forgiving nature.
Test the LED Tape
Connect the complete lighting system and check that the tape, LED driver, controls, and connections work before permanently fitting anything.
Mount the Profile
Use the fixing method recommended for the product, such as clips or screws. For recessed profiles, check the cut-out before pushing the channel into place.
Fit the LED Tape and Connections
Position the tape neatly inside the profile and make connections using compatible components. Don’t force connectors or cables into a channel that is too small.
For more detailed guidance, see how to install LED strip lights and connect LED strip lights to a power supply.
Fit the Diffuser and End Caps
Finish the installation with the compatible diffuser and end caps. And make sure the cables aren’t pinched or strained.
Check the Lighting From the Intended Viewing Position
Look at the final installation from where you will actually use it.
Check for:
- Visible LED points
- Glare
- Uneven lighting
- Light direction
- Overall finish
If something looks wrong, fix it before declaring the job done.
Quick Guide: How to Choose the Right LED Aluminium Profile
Still deciding? Use this quick process.
Choose a Surface-Mounted Profile if:
You’re fitting LED tape to an existing cabinet, shelf, worktop or other surface and want a straightforward installation.
Choose a Recessed Profile if:
You can prepare a channel in advance and want a flush, integrated finish.
Choose a Corner Profile if:
You need to direct light diagonally across a worktop, shelf or display.
Choose a Deep Profile if:
The illuminated line will be visible and smoother diffusion is a priority.
Choose a Shallow Profile if:
Installation space is limited and keeping the channel compact matters more than maximising diffusion.
Choose the Diffuser Based on:
The balance you want between useful light output and a softer, more blended appearance.
Always Check:
- LED tape width and height
- Internal profile dimensions
- Profile depth
- Diffuser compatibility
- Connector space
- End caps and mounting accessories
- Installation environment
A useful rule of thumb is simple: start with the location, then work towards the profile.
Don’t start with a profile and spend the rest of the project trying to persuade the installation to cooperate.

Final Thoughts: Choose the Profile Around the Project
The best aluminium profile for LED tape isn’t necessarily the biggest, deepest, or most expensive. It’s the one that
- Fits your LED tape
- Suits the installation
- Creates the lighting effect you want
Start with where the tape is going. Choose the mounting style. Check the internal dimensions. Then consider profile depth, diffuser choice, and accessories.
Once you’ve made those decisions, the profile choice becomes much simpler.
Explore LED aluminium profiles, strip lights, connectors, and compatible accessories at Simple Lighting to build the complete setup around your project.


0 comments