

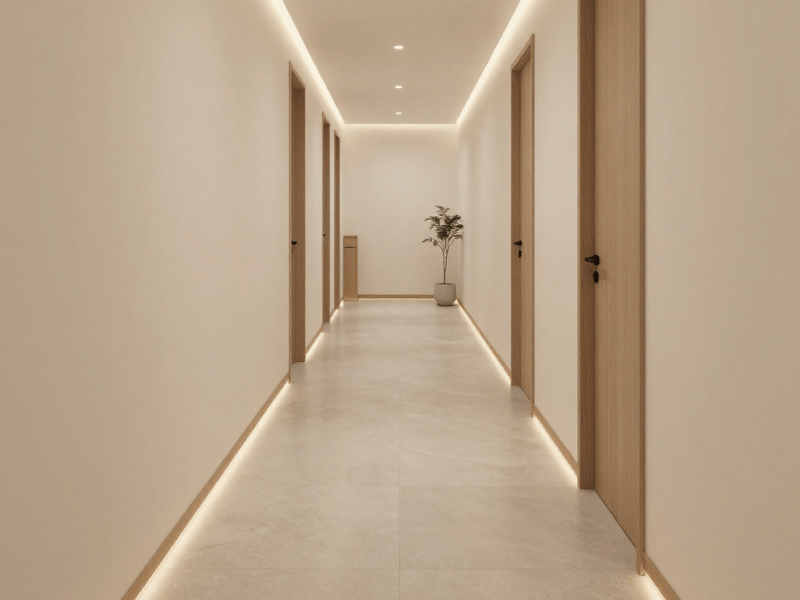

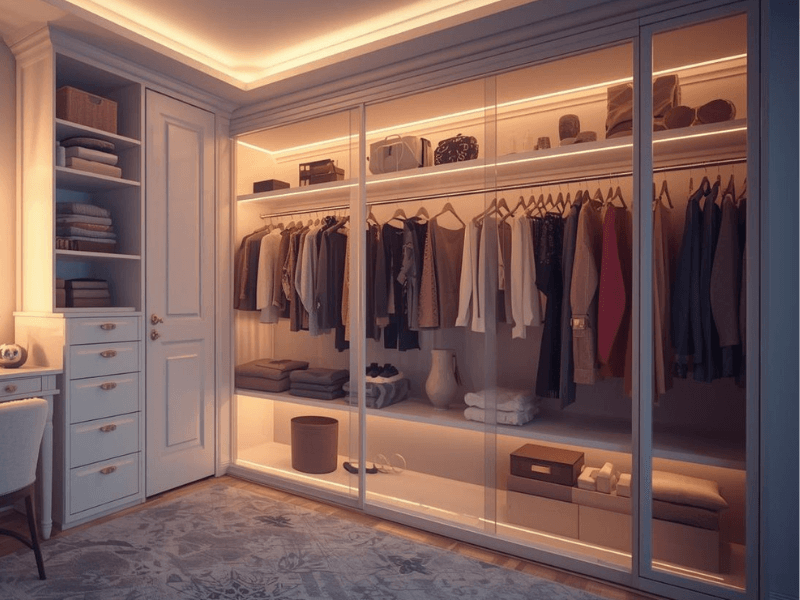


Kitchen plinth lighting used to belong in glossy showroom kitchens nobody could afford. Now you can have them without remortgaging the house!
Plinth lighting makes your kitchen feel smarter, cleaner, and far more expensive. It creates that floating kitchen effect designers love showing off online. You know the one. Cabinets appear to hover magically above the floor while your wallet quietly cries in the corner.
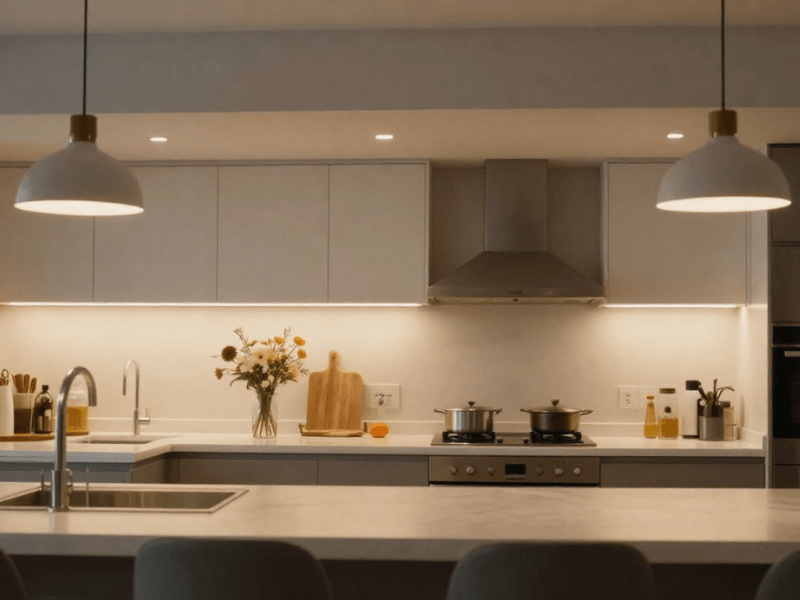
But plinth lighting is not just for looks! It also improves night-time visibility, adds soft ambient lighting, and makes open-plan kitchens feel more layered. Plus, modern LEDs barely touch your energy bill. Your kettle probably works harder.
The tricky part is installation. Poor placement can expose LED dots. Bad wiring can cause flickering. And cheap adhesive usually gives up faster than you do on your New Year’s resolutions.
This guide covers everything you need to know before installing kitchen plinth lighting, including:
- Choosing the quality LED strips
- Picking colour temperatures
- Planning cable routes
- Installing profiles properly
- Selecting drivers and power supplies
- Exploring smart lighting options
Whether you want subtle warm lighting or full RGB party mode, this guide will help you get clean, professional results.
What Is Kitchen Plinth Lighting?

Kitchen plinth lights are low-level fixtures installed beneath your kitchen cabinets or island units.
The plinth is the recessed section near the floor and beneath your cabinets. Most people ignore it completely until somebody installs lighting there.
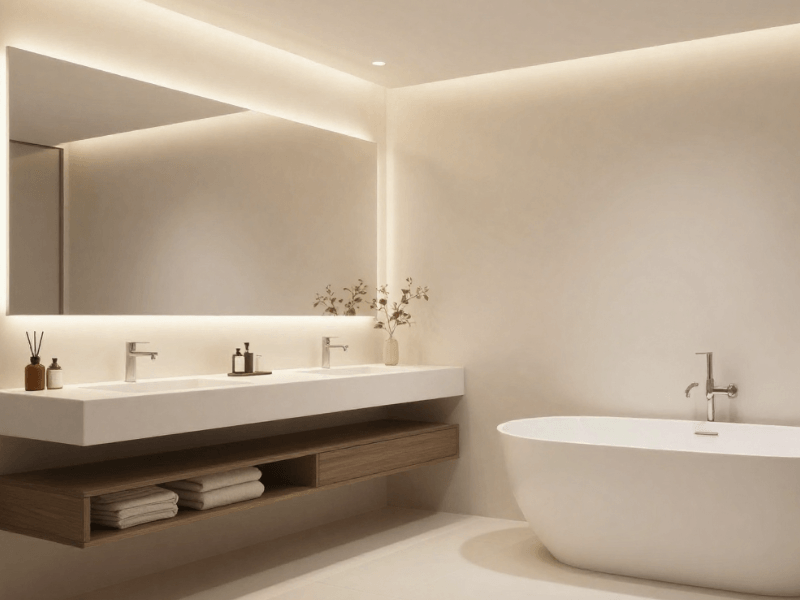
Plinth lighting creates a soft glow across the floor. Basically, it adds atmosphere without blasting the room with harsh brightness.
Normally, you install these lights behind or underneath the plinth board. When switched on, the light spills gently across the floor, creating the floating effect modern kitchens are known for.
Unlike ceiling lights, plinth lighting works as ambient lighting. It can soften the room and add depth. This is especially great for late-night kitchen raids. You can grab water at 2am without getting blinded by your ceiling spotlights.
Why Plinth Lighting Feels Different
Plinth lighting changes how your kitchen looks at floor level. That sounds oddly dramatic, but it matters.
Without plinth lighting, cabinets can look heavy and flat. Adding low-level lighting creates separation between the floor and cabinetry. Your kitchen immediately feels more premium.
It also works brilliantly in:
- Handleless kitchens
- Gloss kitchens
- Kitchen islands
- Open-plan layouts
- Contemporary renovations
Even smaller kitchens benefit from the lighting, which adds visual depth.
Plinth Lighting vs Under Cabinet Lighting
People often confuse plinth lighting with under cabinet lighting. But they do completely different jobs.
Under cabinet lighting:
- Illuminates worktops
- Helps with cooking tasks
- Sits beneath wall cabinets
- Focuses on functionality
Meanwhile, plinth lighting:
- Illuminates the floor
- Creates ambience
- Sits beneath base cabinets
- Focuses on aesthetics and mood
The best kitchens usually use both together. Kitchens deserve layers nowadays (apparently).
Choosing the Best LED Lights for Kitchen Plinths
Not all LED strips are suitable for plinth lighting. Some create smooth, premium lighting. Others look like a dotted runway beneath your cabinets.
Choosing the right LEDs makes a massive difference to the final result.
LED Strip Lights for Plinth Lighting
LED strips are the typical choice for plinth installations.
They’re flexible, compact, and easy to hide beneath cabinets. You can cut them to size and install them around corners or islands. They also create continuous lighting across long cabinet runs.
For most kitchens, LED strips offer the best balance between:
- Cost
- Brightness
- Flexibility
- Ease of installation
They work especially well when paired with aluminium profiles. More on those shortly.
Why homeowners prefer LED strips:
- Slim and discreet
- Easy to customise
- Energy efficient
- Available in multiple colour temperatures
- Suitable for smart home lighting systems
COB LED strips are becoming increasingly popular, too! This is mostly because people are tired of seeing LED dots everywhere.
COB LED Strips vs Standard LED Strips
COB stands for “Chip on Board”. It sounds technical because it is!
The main difference between standard strips and COB ones is the lighting effect.
Standard LED strips:
- Show visible light dots
- Create segmented lighting
- Cost less
- Work well in concealed installations
COB LED strips:
- Produce smooth, continuous lighting
- Eliminate visible dots
- Create a more premium finish
- Look better in exposed areas
If your plinth lighting will be visible directly, COB strips usually look far better. Especially in modern kitchens with reflective flooring. The smoother glow feels cleaner and more expensive. Standard strips can sometimes look patchy if positioned poorly.
COB strips also photograph beautifully. That matters more than most people admit!
Waterproof LED Strips: Do You Need Them?
Kitchens contain moisture, steam, spills, and the occasional pasta disaster. So yes, water protection matters.
Luckily, LED strips come with IP ratings. These ratings show how resistant the strip is to dust and water.
Common ratings include:
- IP20 - No water protection
- IP44 - Splash resistant
- IP65 - Water resistant
- IP67 - Heavier water protection
For most kitchen plinth installations, IP65 LED strips are the safest option. They handle:
- Steam
- Cleaning splashes
- Damp conditions
- General kitchen moisture
IP20 strips may still work in dry kitchens, but the protection from higher-rated fixtures adds peace of mind. Particularly near sinks or kitchen islands.
Choosing the Right Colour Temperature for Plinth Lighting
Colour temperature can change the entire mood of your kitchen. Choose poorly, and your expensive renovation can look like a supermarket aisle. But choose well, and your kitchen suddenly feels warm, stylish, and welcoming.
Warm White Plinth Lighting (2700K–3000K)
Warm white lighting creates a softer, cosier feel. It works beautifully in:
- Traditional kitchens
- Neutral colour schemes
- Wood-finish kitchens
- Family kitchens
Warm white lighting feels relaxing in the evenings. It pairs nicely with softer materials and warmer tones. If you want your kitchen to feel inviting rather than clinical, warm white usually wins.
Plus, it also works brilliantly for night lighting because the softer glow feels gentler on your eyes. Nobody wants retina damage while hunting for biscuits at midnight.
Cool White Plinth Lighting (4000K–5000K)
Cool white lighting feels sharper and more modern. It suits:
- Contemporary kitchens
- Gloss cabinets
- Minimalist spaces
- Monochrome colour schemes
Cool white creates cleaner visual lines and stronger contrast. Many homeowners choose it because it enhances the floating kitchen effect more dramatically. It also reflects well on polished floors and glossy surfaces.
But it has downsides. For instance, poor-quality cool white lighting can feel harsh. And cheap LEDs can sometimes create a cold, blue tone that makes your kitchen resemble a hospital corridor. Not ideal during dinner.
RGB & Smart Plinth Lighting
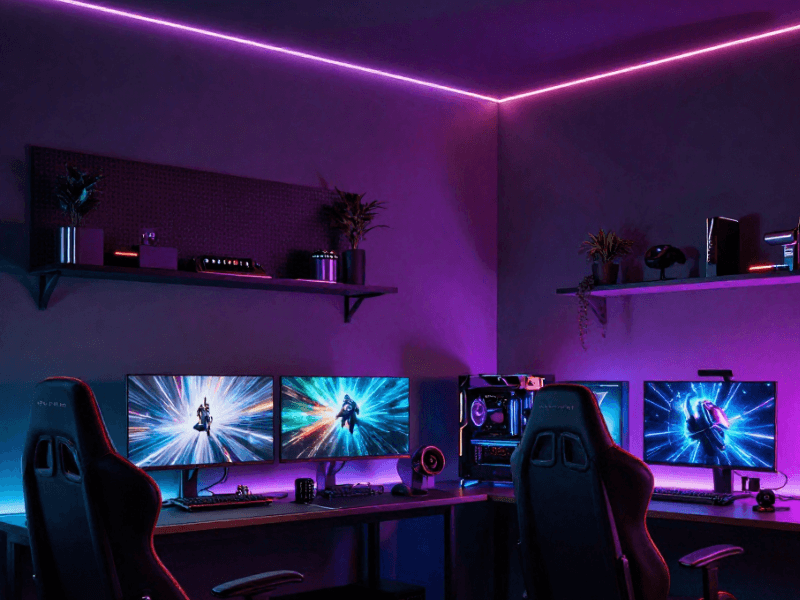
RGB lighting lets you change colours whenever you want. Useful? Sometimes. Fun? Absolutely!
Smart RGB plinth lighting works especially well in:
- Open-plan kitchens
- Entertaining spaces
- Media kitchens
- Modern renovations
You can:
- Change colours through apps
- Use voice control
- Create lighting scenes
- Schedule automatic lighting
- Sync lighting with music
Most systems work with:
- Alexa
- Google Home
- Smart home apps
Just try not to leave your kitchen permanently glowing bright green. Your guests might assume there’s radioactive activity.

Planning Your Kitchen Plinth Lighting Installation
Many installation problems start before the LEDs even leave the box. With good planning, you can prevent messy results.
Measuring Your Kitchen Plinth Area
Start by carefully measuring every cabinet run.
Include:
- Straight sections
- Kitchen islands
- Corners
- Return edges
Always allow extra length for:
- Connectors
- Corners
- Cable routing
Don’t guess measurements. That strategy rarely works outside baking shows.
Tips for accurate measuring:
- Measure twice
- Sketch your layout
- Mark power supply locations
- Identify hidden cable routes
- Plan where strips will start and end
If using aluminium profiles, include those measurements, too!
Deciding Where to Position LED Strips
Positioning affects both appearance and brightness. Your two main options are:
- Front-edge placement
- Recessed placement
Front-edge placement creates stronger floor illumination, produces a dramatic floating effect, and makes kitchens feel brighter. On the other hand, recessed placement hides LED strips better, reduces visible glare, and creates softer ambient lighting.
Most designers prefer recessed placement because it hides the LEDs more effectively. Visible LED dots instantly cheapen the finish, especially with glossy floors.
Avoid these common mistakes:
- Installing strips too close to the edge
- Leaving LEDs exposed
- Using uneven spacing
- Forgetting corners
Small positioning changes make a huge visual difference.
Choosing a Power Supply & Driver
LED strips need matching drivers. Incompatible ones cause:
- Flickering
- Overheating
- Shortened LED lifespan
- Inconsistent brightness
Calculate total wattage before buying anything. Here’s the basic formula:
Total strip wattage + 20% safety margin = required driver wattage
For example, if an LED strip uses 48W, add 20%. The required driver will be roughly 60W.
Also check:
- Voltage compatibility
- Indoor vs outdoor rating
- Dimmable compatibility
- LED controller compatibility
Cheap drivers often create buzzing noises and unstable lighting. Your kitchen should glow softly, not sound haunted.
Step-by-Step Kitchen Plinth Lighting Installation
This is where the magic happens. Or where you accidentally stick LED strips to yourself. It could go either way!
Tools & Materials You’ll Need
Before starting, gather everything first. You’ll need:
- LED strip lights
- Aluminium profiles
- Diffuser covers
- LED driver
- Connectors
- Adhesive pads
- Mounting clips
- Cable clips
- Screwdriver
- Measuring tape
- Cleaning cloth
- Wire cutters
Optional extras include:
- Smart controllers
- Motion sensors
- Dimmers
- Extension cables
Step 1 – Clean & Prepare the Surface
Preparation matters more than people expect. Dust, grease, and kitchen grime can quickly weaken the adhesive backing. Clean every surface thoroughly before installation.
Use:
- Isopropyl alcohol
- Dry cloths
- Degreasing wipes
Avoid:
- Wet surfaces
- Loose paint
- Dusty timber
- Uneven areas
Allow surfaces to dry completely before attaching anything. Skipping this usually ends with dangling LED strips weeks later. Nothing says “luxury kitchen” quite like adhesive failure beside your dishwasher.
Step 2 – Install Aluminium Profiles
Aluminium profiles improve both appearance and performance. They can:
- Keep LED strips straight
- Improve heat dissipation
- Protect strips from damage
- Create cleaner lighting lines
Profiles also make installations look far more professional. Without them, strips can appear uneven or sag slightly over time.
Installation tips:
- Measure profiles carefully
- Cut accurately
- Pre-drill screw holes if needed
- Keep spacing consistent
Most profiles include diffuser covers. These soften the lighting and reduce visible dots.
COB strips paired with diffusers deliver especially smooth results. Very showroom. Very expensive-looking. Slightly smug.
Step 3 – Cut & Connect the LED Strips
LED strips can only be cut at marked cutting points. Ignore those marks, and the strip may stop working entirely. It makes for a very frustrating lesson.
Before cutting:
- Double-check measurements
- Test the strip first
- Confirm connector compatibility
And use sharp cutters for clean edges.
- When connecting strips:
- Match polarity correctly
- Avoid twisting cables
- Secure loose connectors
- Keep bends gentle
Poor connections often cause flickering or dead sections. Take your time here; rushing electrical work rarely becomes a charming story later.
Step 4 – Connect the Driver & Test the Lighting
Before hiding cables, test everything fully. Seriously, don’t skip this! You don’t want to dismantle half the kitchen later because one connector failed.
During testing:
- Check brightness consistency
- Look for flickering
- Test dimmers
- Confirm smart controls work
- Inspect corner connections
Keep drivers accessible where possible. Hidden permanently behind sealed cabinets, drivers can become a problem for future-you.
For good measure, here are some cable management tips:
- Use cable clips
- Avoid loose hanging wires
- Keep cables away from heat
- Hide cables behind plinth boards
Step 5 – Final Finishing & Cable Management
The final details separate clean installations from messy ones. Take a few extra minutes to tidy everything properly. Focus on:
- Hidden cables
- Straight lighting lines
- Secure fixings
- Even brightness
- Smooth corners
Stand back and check the lighting from multiple angles. You shouldn’t see:
- Exposed wiring
- Uneven glow
- Visible adhesive
- Harsh LED glare
Done properly, the lighting should look effortless. And that’s despite you spending three hours crouched awkwardly beside a cabinet!
Hardwired vs Plug-In Plinth Lighting
Both installation methods work well. The best option will depend on your kitchen setup and confidence level.
Plug-In LED Systems
Plug-in systems are ideal for simpler DIY installations. They:
- Install quickly
- Require less wiring knowledge
- Work well in existing kitchens
- Cost less initially
They’re especially useful for retrofitting older kitchens.
The downside is visibility. You may need to hide plugs and cables carefully.
Hardwired LED Systems
Hardwired systems create a cleaner finish. They suit:
- Full kitchen renovations
- New kitchen installations
- Premium projects
- Smart home integrations
Hardwired lighting usually feels more seamless because cables stay completely hidden.
However, electrical work may require a qualified electrician. Especially if:
- You’re adding new circuits
- You’re modifying mains wiring
- Building regulations apply
Electric shocks ruin kitchen upgrades surprisingly quickly.

Smart Kitchen Plinth Lighting Ideas
Smart lighting adds flexibility and convenience. And occasionally, it can spice up your dinner parties.
Modern systems can:
- Change brightness automatically
- Activate through motion sensors
- Respond to voice commands
- Create timed lighting scenes
Smart plinth lighting works especially well in open-plan homes. You can soften the kitchen lighting during evenings without turning the entire room dark.
Motion Sensor Plinth Lighting for Night-Time Use
Motion sensors are genuinely useful, not just gimmicky tech nonsense. They activate soft lighting automatically when you enter the kitchen.
Perfect for:
- Night-time drinks
- Early mornings
- Family homes
- Avoiding bright ceiling lights
Motion sensors also improve energy efficiency by turning lights on only when needed. Your sleepy midnight self will appreciate them deeply.
Common Kitchen Plinth Lighting Installation Mistakes
Even expensive lighting can look terrible when installed badly. These are the mistakes homeowners regret most:
Choosing Visible Strip Placement
Visible LEDs ruin the floating effect. Recess strips properly or use diffusers to soften the light.
Incorrect Driver Sizing
Undersized drivers cause flickering and instability. Always calculate wattage correctly.
Poor Cable Management
Loose cables instantly make installations look messy. Hide cables wherever possible.
Using Cheap Adhesive
Low-quality adhesive fails quickly in warm kitchens. Use proper mounting methods when possible.
Ignoring IP Ratings
Kitchens contain moisture. Choose suitable waterproof protection near sinks and cooking zones.
Uneven Lighting Placement
Inconsistent spacing creates patchy lighting. Measure carefully before installing anything. Your kitchen should glow evenly, not resemble a failed runway experiment.
How Much Does Kitchen Plinth Lighting Cost?
Costs vary depending on quality and complexity. Basic DIY setups can stay fairly affordable. Premium smart systems climb quickly once you start adding extras.
Typical costs include:
- LED strips
- Drivers
- Profiles
- Smart controls
- Installation labour
Budget installations:
- Standard LED strips
- Basic drivers
- Plug-in systems
- Simpler layouts
Premium installations:
- COB LED strips
- Aluminium profiles
- Smart integrations
- Hardwired systems
The good news is that LEDs cost very little to run. Modern LED strips use minimal electricity while lasting thousands of hours. So your kitchen can look expensive without spiking your energy bills.

Final Thoughts: Is Kitchen Plinth Lighting Worth It?
Absolutely!
Kitchen plinth lighting delivers one of the biggest visual upgrades for surprisingly little effort. It makes your kitchen feel more polished, more modern, and far more expensive than it probably was. Which, honestly, is the dream.
And it’s not just about looks either! Plinth lighting improves night-time visibility, softens harsh overhead lighting, and adds depth to the entire room. Even a simple LED setup can completely change the atmosphere!
The key is installing it properly. Good positioning, reliable drivers, and quality LED strips make all the difference between a seamless designer finish and lighting that looks like it came from the bargain aisle.
If you want the best results:
- Choose high-quality LED strips
- Use aluminium profiles for cleaner light diffusion
- Plan your cable routes carefully
- Match your driver correctly
- Pick a colour temperature that suits your kitchen style
Smart lighting features are also worth considering. Motion sensors, dimming, and app control add convenience without much extra effort. And if you are investing time into your kitchen, it makes sense to use lighting built to last.
At Simple Lighting, you can explore:
- Plinth lights
- LED strip lights
- Aluminium profiles
- LED drivers and power supplies
- and more!
Whether you want subtle warm lighting or a full floating-kitchen transformation, the right setup can completely change how your kitchen looks and feels.
You can also get more kitchen lighting insights here: Kitchen Lighting Ideas: The Ultimate UK Guide.


0 comments