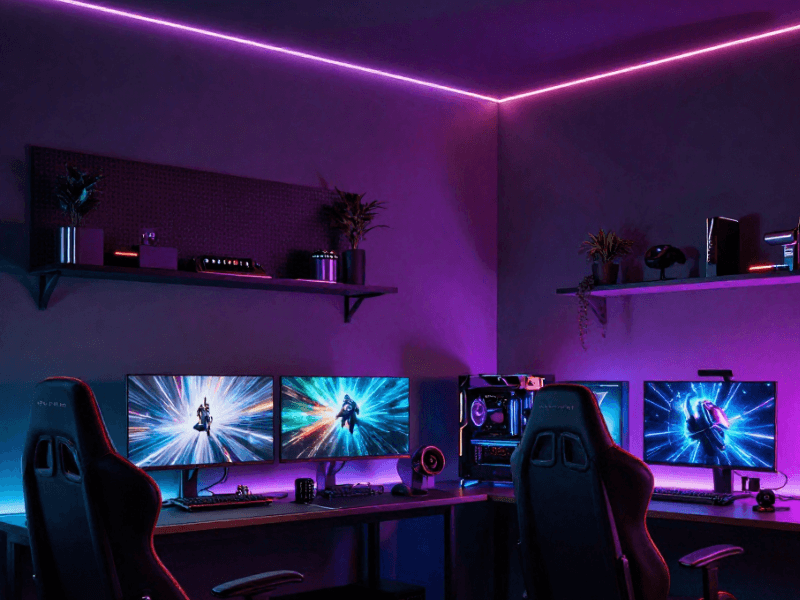

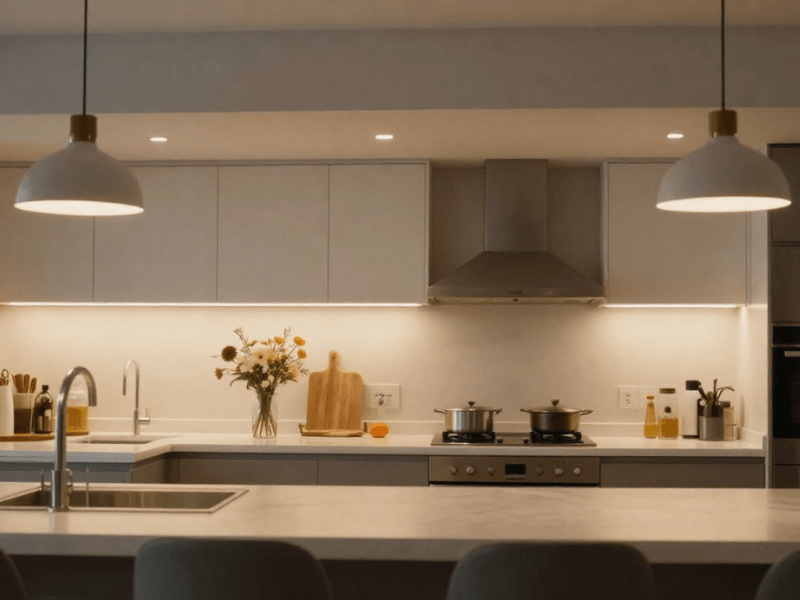


If you’ve been inside a modern UK home, then you’ve seen LED strip lighting throughout the residence. One minute you notice them glowing underneath kitchen cabinets, the next they’re tucked neatly into shelving, running along plinths, or adding a soft glow behind a TV unit.
In every sense, LED strips have become the “all-around light” of the modern home. The lighting world’s version of a Swiss Army knife. They’re slim, adaptable, and they can be cut to size.
But here’s the catch: you cut them in the wrong spot, and you risk the strip not working properly. One wrong snip can leave you with dead sections, flickering LEDs, damaged circuits, or a strip that simply refuses to turn back on.
The reason is simple: it’s broken. A tiny mistake has surprisingly dramatic consequences.
But on the flip side, cutting LED strip lights is actually very simple when you know what you’re doing. Most strips are designed with clearly marked cutting points, making the process beginner-friendly and safe.
A steady hand, a little patience, and a sharp pair of scissors are all it takes to cut an LED strip.
And in this guide, we’ll walk through how you can go about cutting LED strip lights safely. We’ll cover everything you need to know:
-
How to identify cut points
-
The tools you’ll need
-
How to reconnect strips
-
Common mistakes to avoid, and
-
A few clever tips that can help your installation go from a “simple DIY” to a professional-looking finish
Can You Cut LED Strip Lights?
I meant what I said above. Yes, you can cut LED strip lights. In fact, one of its biggest selling points is customisation. It doesn’t matter where you’re installing the lights or what the layout looks like. LED strips can adapt to fit any space you need.
However, there’s one very important rule: you must only cut LED strip lights at their designated cut points. These are marked sections built into the strip’s circuit design. Cutting anywhere else can interrupt the electrical flow and permanently damage the strip.
It’s also worth knowing that not every strip works the same way. Standard LED strips usually have fixed cutting intervals, which is why markers are needed, while newer cut-anywhere LED strips offer much more flexibility.
What Are Cut Points on LED Strips?
If you check your LED strips closely, you’ll see either:
-
A small scissor icon
-
Printed cutting lines
-
Exposed copper pads
These represent the cutting points. You can treat them as safe zones where manufacturers intend the strip to be trimmed.
The copper pads on the strip allow power to continue flowing through the strip or into connectors after the strip is cut. So every time you cut, make sure each side has a copper pad!
Cutting outside these marked areas can damage the electrical pathway. The results?
-
Dead LED sections
-
Flickering lights
-
Power failures
-
Broken circuits that can’t easily be repaired
LED strip lights might be flexible, but they’re not completely freestyle. Precision is still expected from installers like you!
Standard LED Strips vs Cut-Anywhere LED Strips
Standard LED strip lights have fixed cutting intervals. Depending on the strip type, you may only be able to cut every 25 mm, 50 mm, or 100 mm.
This is usually fine, especially for large installations with standard-length layouts. But when you’re trying to fit awkward cabinet lengths, you can end up with an extra 40mm of strip dangling or be 40mm short.
That’s not ideal, especially with smaller installations where it can be too obvious.
This is where cut-anywhere LED strips shine.
Instead of fixed cut points, these advanced strips allow trimming at almost any point along the strip. That gives you much greater flexibility, especially for:
-
Kitchen cabinet lighting
-
Floating shelves
-
Alcoves
-
Furniture lighting
-
Bespoke cabinetry
If you want a seamless installation without awkward gaps or wasted strip lengths, then a cut-anywhere LED strip should be your go-to.
Tools You Need to Cut LED Strip Lights Safely
In reality, LED strip lights aren’t difficult to work with, but using proper equipment when preparing your strips makes the process cleaner, safer, and far less frustrating.
You don’t need complex tools to install. Just a few essentials will do the trick:
-
Sharp scissors are usually enough for most standard strips. Dull ones will only damage the circuits.
-
Wire cutters can help with thicker, waterproof versions (those come with thick protective coatings).
-
A measuring tape is used to make sure you don’t cut too short or too long. Always abide by the rule: “Measure twice, cut once.”
-
LED strip connectors are essential if you plan to reconnect strips or join sections together. You can typically find straight and L-shaped connectors.
-
Aluminium profiles can improve both the appearance and lifespan of your installation, protecting it from external damage and acting as a heat sink.
-
If you’re comfortable with a bit of DIY electronics work, a soldering kit can also help create stronger, more permanent connections.
Why Using the Right Tools Matters
For one, it’s convenient to use tools meant for the job. But it also directly affects how well your LED strip lights perform after installation.
Sharp cutting tools create cleaner edges, which helps preserve the copper contact points. Jagged or crushed cuts from a dull pair of scissors or a knife can damage these delicate areas, making reconnection difficult.
More specifically, the right tools help with the following:
-
Prevent accidental circuit damage
-
Improve alignment of the connectors
-
Create safer electrical connections
-
Reduce installation time
-
Improve the overall finish
How to Identify Where to Cut LED Strip Lights
Cutting the strips is not the most important part of the entire process. Knowing where to cut is. Thankfully, cutting points are usually easy to identify
Thankfully, manufacturers usually make these points easy to identify once you know what to look for.
Finding the Scissor Markings
Most LED strip lights include printed cutting guides directly on the strip itself. The first ones you should look for are scissor symbols. If you don’t find them, look for straight or broken printed lines. If there’s still none, then just look for the copper pads.
These markings indicate safe cutting zones where the strip’s electrical circuit is intentionally separated.
On some strips, especially COB LED strips, the markings may appear smaller or more closely spaced. Waterproof strips can also hide markings slightly beneath silicone coatings, so take your time inspecting them carefully.
Different manufacturers use slightly different layouts, but the principle stays the same: cut only where indicated.
Understanding Cutting Intervals
Cutting intervals can vary by LED strip. Depending on the strip type, you may be able to cut every:
-
25 mm
-
50 mm
-
100 mm
The spacing usually depends on voltage, LED density, strip design, and the chip technology used.
For example, higher-voltage strips (24V) can accommodate longer intervals because they can power longer segments than lower-voltage strips (12V). This is the same reason why 24V strips are more ideal for longer runs.
But this strength is also a weakness, as they tend to be slightly less flexible for detailed layouts.
COB LED strips also tend to offer tighter cutting intervals compared to standard SMD strips. That makes them especially useful for installations where precision matters.
What Happens If You Cut in the Wrong Place?
Simply put, cutting in the wrong location can completely interrupt the strip’s electrical circuit. Any of the following can happen:
-
Sections of the LEDs are no longer working
-
Flickering lights
-
Inconsistent brightness
-
Permanent circuit damage
In some cases, the strip may become unusable beyond the incorrect cut point, which means you’ll have less of the strip length you need.
Minor damage can occasionally be repaired with soldering, but heavily damaged strips are often difficult or impossible to restore properly.

Step-by-Step Guide to Cutting LED Strip Lights Safely
Now for the practical part. When broken into simple steps, cutting LED strip lights safely is straightforward. And no, you don’t cut right away.
Step 1: Measure the Installation Area
Start by measuring the exact area where the strip will be installed. This will let you know how long your LED strip run needs to be.
Take your time here. Accurate measurements help avoid:
-
Wasted strip lengths
-
Gaps in lighting
-
Awkward overlaps
If your installation includes corners, shelving sections, or obstacles where your strip needs to go, factor them into your measurements as well.
A few extra minutes spent planning now can prevent regrets later on.
Step 2: Disconnect the Power Supply
Before cutting anything, make sure that the power supply is completely disconnected. Think about it: running electricity, a metallic pair of scissors, and the frail human body. Not an ideal mix, if you ask me.
So, never cut LED strip lights while powered. Otherwise, you risk the following:
-
Damage the strip
-
Cause short circuits
-
Damage the power supply
-
Create electrical safety risks
Even low-voltage lighting systems should always be handled carefully. Switch everything off and unplug the system fully before working on the strip.
Step 3: Locate the Correct Cut Point
Find the nearest designated cut point based on your measurements. For awkward lengths, decide which of the two you can live with: a few millimetres over or a few millimetres under?
Double-check your measurements before cutting. Then check them again. Tiny errors can make a surprisingly big difference when working with cabinet lighting or tight installations.
Step 4: Make a Clean Straight Cut
Using sharp scissors or cutters, make a clean, straight cut directly through the marked line or copper pads.
Avoid:
-
Angled cuts
-
Jagged edges
-
Crushing the strip
A smooth cut helps preserve the copper contacts and improves the chances of successful reconnection later. This part doesn’t require brute force. Gentle, controlled cutting works best.
Step 5: Test the Remaining Strip
Before permanently installing the strip, connect the strip’s power supply to test it. This should help you confirm:
-
The strip functions properly
-
Connectors are aligned correctly
-
No circuits were damaged during cutting
Why test? It’s far better to spot a connection issue before everything is firmly mounted inside cabinets or hidden behind furniture. Trust me, you don’t want to do all the hard work only to find out at the end that one part of the strip does not work.
If part of the strip doesn’t light up, here’s what you need to do:
-
Check connector alignment - Inspect copper contacts, as it could just be a simple loose connection.
-
Verify polarity - Some power supplies need the exact polarities to be connected for the lights to work.
-
Confirm the cut was made at the correct point - I can’t stress this hard enough: Cutting outside the cutting points causes problems.
How to Reconnect Cut LED Strip Lights
There will be instances when you want to reconnect sections together. Thankfully, there are several ways to do this depending on your experience level and installation goals.
Let’s discuss in detail below.
Using LED Strip Connectors
One of the most widely used LED strip accessories is the connector, as it is the easiest solution for most people. These are solderless connectors, so you don’t need extra tools or skills to connect two strips.
Common types you’ll find are:
-
Clip-on connectors (the most common type)
-
Corner connectors (L-shape and T-shape)
-
Gapless connectors (no visible dark spots on the connection point)
-
Extension wire connectors (strip to wire connection)
Most connectors simply clamp onto the copper pads, creating an electrical connection between strip sections.
Pro Tip: Make sure the connector matches your strip width, voltage, LED type, and the number of pins
Soldering LED Strip Lights
For a more permanent and reliable connection, soldering is often the better option. The catch? You need to know how to solder, a skill many of us don’t have.
Benefits of soldering include:
-
Connections last longer
-
Handles movement better
-
Reduced connection failures
-
Provides stronger electrical contact
Soldering is preferred for permanent installations expected to last longer and professional projects.
Tips for cleaner solder joints:
-
Use a fine-tip soldering iron
-
Avoid overheating the strip
-
Tin both surfaces lightly first
-
Apply flux
-
Keep solder joints small and neat
Messy solder joints can create connection problems or even short circuits. Clean, precise work matters here. Get a professional to help you if you’re having trouble soldering the strips.
Joining LED Strips Around Corners
A traditional (messier) way to install LED strips around corners is to bend or fold them to fit the layout. But this comes with a risk of damaging the internal circuitry. LED strips might be flexible, but they’re not indestructible.
Instead, use:
-
Flexible corner connectors
-
Short extension cables
-
Pre-made corner joiners

Common Mistakes When Cutting LED Strip Lights
1. Cutting Outside Marked Points. You’d think that with the obvious cutting marks, people would not cut on the wrong spot, but this is the biggest mistake by far.
2. Using Blunt Scissors. Blunt tools bite and crush rather than cut. That can damage copper pads and create uneven edges, making reconnection difficult.
3. Forgetting to Disconnect Power. Cutting powered strips is risky for both the strip and the installer. Also, it can potentially damage both the strip and the power supply.
4. Damaging Copper Pads. The copper contacts are the lifeline for reconnecting your strips. Scratching, tearing, or cutting through them can affect performance and even make the strip unusable.
5. Incorrect Connector Alignment. Poorly aligned connectors often cause flickering, uneven lighting, and a complete power loss. Take the time to line everything up correctly.
6. Ignoring Polarity. LED strips rely on correct positive and negative connections. Reversed polarity can stop the strip from working altogether. Always match the markings carefully.
How Different LED Strip Types Affect Cutting
Not all LED strip lights are built the same, which means they don’t behave the same way when cut. Different strip types come with their own quirks, challenges, and advantages.
Cutting COB LED Strips
COB LED strips use tightly packed LED chips to create smooth, dot-free lighting. Compared to the standard LED strip, these strips produce continuous light output, have reduced spotting, and come with their own diffusion.
LEDs are densely packed in COB strip lights, which is why precise cutting becomes even more important to maintain a clean finish. This is also why they typically have tighter cutting intervals. They’re the ideal choice for installations that need precise cuts.
Cutting RGB LED Strip Lights
RGB LED strips add a colour-changing function to your setup. The difference with standard LED strips? They usually have more pins to independently control the red, green, and blue diodes along the strip.
This means there are more copper pads (usually four) to cut than there are on the standard strip (two).
After cutting your RGB strips, make sure to:
-
Match the correct pin count
-
Follow polarity markings carefully
-
Use compatible RGB connectors
If you’re using smart RGB systems, make sure your controller still supports the modified strip length after cutting.
Cutting Waterproof LED Strips
This is where it gets a little tricky. Waterproof LED strips usually include a silicone or epoxy protective coating. While great for durability, this extra layer makes cutting a bit more challenging.
You may need to:
-
Carefully peel back the silicone around the cut points
-
Use stronger cutters (wire cutters will do)
-
Reseal exposed ends after cutting
Resealing matters because exposed sections can compromise the strip’s IP rating. For bathrooms, outdoor lighting, or kitchen splash zones, maintaining waterproof protection is especially important.
Do You Need Aluminium Profiles After Cutting LED Strips?
Technically? No. But practically? They’re often a very smart addition.
Aluminium profiles can dramatically improve both the appearance and performance of LED strip installations.
After cutting your LED strips, the exposed ends can sometimes look unfinished. Aluminium profiles help tidy everything up while also adding physical protection.
How Aluminium Profiles Improve LED Installations
It can be hard to make a completely straight line of light with exposed strips. Aluminium profiles provide a clean finish you’ll typically see in professional installations.
Profiles also help manage heat dissipation to avoid overheating, which can extend the lifespan of your strips.
Thanks to the built-in diffusers, light output is improved, reducing visible LED dots and creating a smoother lighting effect. So, don’t think of them as just strip protectors, as they can do more than that.
In short, aluminium profiles help your installation look less like a “DIY experiment” and more like a professional lighting project.
Smart LED Strip Light Considerations
Smart lighting opens the door to modern lighting conveniences, such as app control, voice assistants, scheduling, and colour customisation. In other words, your lights can be controlled through a single device.
But what about cutting smart LED strip lights? The good news is that most smart LED strips can still be cut safely, just like standard LED strips, as long as you cut only on the designated cut points.
However, smart lighting systems usually involve controllers, RGB wiring, or app connectivity, so they require a little more planning before making any cuts.
When cutting your strips, consider the reconnection. You’ll need compatible connectors and make sure that the pins line up correctly. Incorrect alignment can cause colour issues, syncing problems, or complete signal failure.
Some smart LED strip lighting systems also have recommended maximum strip lengths (typically 5 or 10 metres), so always check with the manufacturer/supplier. Trimming or extending the strip may affect performance if not done properly.
A little extra care helps keep your smart lighting system running smoothly, with all the colour-changing magic still intact.

Cutting LED Strip Lights the Right Way
All things considered, cutting LED strip lights safely is simple. Once you understand where the designated cut points are and how the strip’s circuits work, the process becomes very beginner-friendly.
Our biggest advice is to take your time and don’t rush the installation process, especially the cutting part. Take to heart the rule we live by: “Measure twice, cut once.”
Accurate measurements, careful cutting, and proper reconnection methods can make the difference when you’re aiming for a professional-looking installation.
More things to take note of:
-
Only cut the strips at the marked points
-
Use proper tools and high-quality connectors
-
Test the strip before final installation
Whether you’re upgrading kitchen cabinets, installing plinth lighting, adding shelf lighting, or building a full smart lighting setup, knowing how to properly cut your strips can guarantee ultimate performance.
If you’re looking to upgrade your lighting setup, Simple Lighting offers a wide range of strips and accessories to check out.
Visit our website and browse cuttable LED strip lights, explore cut-anywhere LED strip options, compare connectors and aluminium profiles, or take the first step towards upgrading to smart LED strips.


0 comments