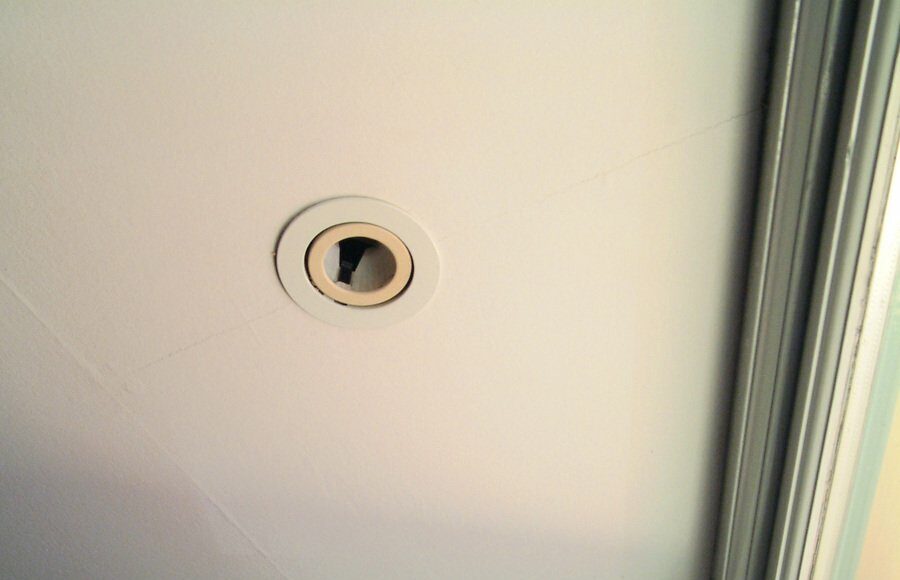
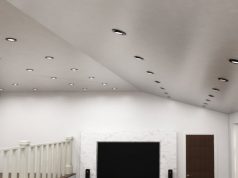
Downlights (also known as recessed lights) are getting more and more popular nowadays, mostly due to their stylish and elegant look. They have a unique design because they are not supposed to clearly look attached to the ceiling but rather as an integral part of it.
They are particularly useful if you want to illuminate an interior with a low ceiling because, in this way, you can provide proper lighting without disturbing your taller relatives or friends. Downlights perfectly combine both practical and decorative advantages, so they are highly appreciated in the lighting market. Most commonly, you can find them with LED bulbs inside.
Step-by-Step Guide on How to Install Downlights in Your Existing Ceiling
You may wonder, though, if it is necessary to call a professional electrician after buying them. In our opinion, if you have at least some basic DIY skills and useful tools, you should be able to install recessed lighting on your own.
In order to help you with that, we have prepared a comprehensive guide explaining the whole process step by step. Let’s do this!
Step 1: Search for the Joists
If you want to install downlights in your ceiling, you need to know where the joists are in it. A stud finder will surely prove useful for this task! You just need to turn it on and keep it flat against the surface you want to search.
Move the tool slowly on the ceiling up to the point when you see it lighting up or hear it beeping. To know where the edge of a joist was detected, mark this spot with a pencil. Do it all across the surface to be aware of which areas you should omit while installing the lights.
If you do not have a stud finder, you can simply knock on the ceiling to check if it results in a hollow noise. If an echoing sound can be clearly heard, it means there is no joist behind it. However, in the case of a solid thumping sound, the probability of hitting a joist is high.
Step 2: Locate the Piping and Wiring of the Downlights
Apart from the joists, you should locate the piping and wiring in your ceiling so as not to harm them. When you choose a place to install a recessed light, first move a wire and pipe detector back and forth over the surface and check if the tool notifies you in any way. If not, mark the spot with a pencil. If you cannot do it on your own, ask a home inspector, electrician, or plumber to do that for you.
Step 3: Mark the Spots for the Lights
When you already know where not to install downlights, you need to select the spots where you actually will mount them. Mark suitable locations between the joists – it is best to draw a dot where you want the centre of the light to be inserted. Remember to keep around 3-4 inches on either side of the dot to fit the downlight in your ceiling correctly.
Step 4: Space the Additional Lights
While adding additional lights, bear in mind that they should be spaced 4-5 ft apart. Mark all the spots where your downlights will be installed. If they are properly distanced from each other, they will provide your interior with an appropriate amount of light without making it too bright at the same time.
Step 5: Measure the Lights
To know what holes you need to make in order to install the downlights, you have to measure their rear diameter. Put the light down and use a tape measure to check the size of the part that will be mounted inside your ceiling.
Bear in mind not to measure the trimmed side of the light. Otherwise, your holes will be too big to fit the downlights. If you still have the packaging, you can also just check the information placed there.
Step 6: Prepare a Hole Saw
Provide your drill with a hole saw of the same size as the cut-out you have measured. This accessory has a ring-shaped blade that can be joined with the end of your drill. If you have a selection of blades, pick the one enriched with carbide or diamond grits so as to achieve the cleanest holes.
Rotate the chuck counterclockwise in order to loosen it, and mount the hole saw onto it in such a way that the blades can face out. To secure it, turn the chuck clockwise this time.
Step 7: Drill the Holes with a Hole Saw
Cut the holes for the lights in your ceiling with the hole saw. Keep the blade perpendicular to the ceiling, and make sure that the middle bit fits the mark you have made with your pencil before. Start the drill, and apply just a little pressure so that the middle bit can go into the ceiling.
Remember that the saw blade should stay flat in order not to cut the hole crooked. Work with just short bursts up to the moment you feel the blade pop out from the other side. To protect from plaster or drywall falling on your face, do not forget to put on a dust mask and safety glasses.
Step 8: Get Rid of the Cut Ceiling Piece
When you break through the other side, take the saw out through the hole. For safety reasons, turn off your drill completely. Then, put the end of a screwdriver between the saw’s side and the fragment of your ceiling that landed inside it. Pry that piece out of the blade and get rid of it.
Step 9: Turn the Power off in the Electrical Control Box
The most significant thing to remember when you are about to wire something or do any other repairs or upgrades of this kind is to go to the electrical control box in your home and turn off the power. To check if there is no voltage for sure, it is recommended to test the outlets and wires with a wire tester.
Step 10: Install the Wire
There are two options – either to connect the downlights to a switch you already have or to expand the circuit with a new one. Use a wire tape to feed a 14/2 cable through the wall in such a way so that it lines up with the spot where you want to mount the light. In the 14/2 cable, there is one neutral wire, one ground, and one hot. If you already have a junction box, it is also a good idea to install a downlight there after getting rid of the existing lighting feature.
Step 11: Strip the Wires
Both wires on the recessed light and the wall need to be stripped at the ends. The wire stripper and clamp should be opened the last 1/2 inch of the 14/2 wire between the jaws. Then, you ought to pull wire strippers towards the end cable so that the insulation can be taken off. When you are finished, do the same to the cable attached to the recessed light. You will find black or red, white, and uninsulated wires.
Step 12: Splice the Downlight Wiring
The matching wires should be joined with special wire caps. To do that, take two ends of the black wires together, pointing straight up. Then, use your pliers to twist the ends in such a way they could be spliced properly.
Take a wire cap and twist it clockwise onto the connection, and the exposed end will get a safe cover. Do the same for white and uninsulated wires. It may happen that your lights have connection boxes. If that is the case, line up the wires from the 14/2 cable to place them across the matching wires in the box. To make it all stable, tighten the screws.
Step 13: Prepare the Lights to be Mounted
Keep the spring clips against the light’s sides. Note that your downlights are provided with spring-loaded metal clips snapping open while being released. Take those spring clips underneath and move them up to make them lie flush with the light’s base.
Continue to hold them down to make sure they do not snap open during the installation. If you are dealing with a surface-mounted downlight, there will be no spring clips, and you will just have to push and snap it to the mounting plate that you previously attached.
Step 14: Put the Light in the Hole
Place the light in the hole and push slightly up to the moment when you hear the clips snapping. Check if all the wires are put in the hole before the downlight, and keep on pushing the light into the ceiling so that the clips can be inserted in the hole.
After a snapping and clicking sound, delicately lower the light back down to check if the spring clips manage to support it entirely. Do not let go of the recessed light too quickly because if the clips do not work correctly, it can fall out and break.
Congratulations! You have just mounted the first downlight at your home. When you are finished with all of them, bring the voltage back and enjoy your new lighting!
How long do LED downlights last?
- Fire Rated, LED, GU10, Dimmable Downlight, Fixed – Various Finishes, Incl Quick Connectors
- Recessed GU10 Spot Light Chrome, Brushed Chrome or White Finish
- Fire Rated Downlight, GU10, Fixed – White Finish, With Quick Connectors
LED downlights can last from 30,000 hours to 50,000 hours, depending on use. They can last even longer if you take care of them properly and ensure that they are not mishandled.
What is great about LED lighting is that they don’t suddenly burn out, unlike some traditional fixtures. They undergo a cycle called lumen depreciation, wherein the LED light slowly dims after reaching its expected lifespan. So, basically, you get to use your LED downlights longer than their supposed duration!


