


- Using connectors
- Soldering together
Understanding LED Tape Light Components
Did you know that there’s an entire system that works when powering your stunning LED tape light installation? Besides the tape light itself, there are other critical components necessary to make the whole setup. This includes:- Tape Light: It’s a flexible, ribbon-like circuit board with LED chips on one side and adhesive backing on the other. The tape light is what you see, and it produces the luminance.
- Power Supply: This electrical device regulates the power distributed to the LED tape.
- Connectors: They join two strip lights to create a single, continuous glow.
- Controller: This is responsible for managing your lights. Depending on the tape lights, you can use a wall, smart, or remote control to switch to different colours, create various effects, etc.
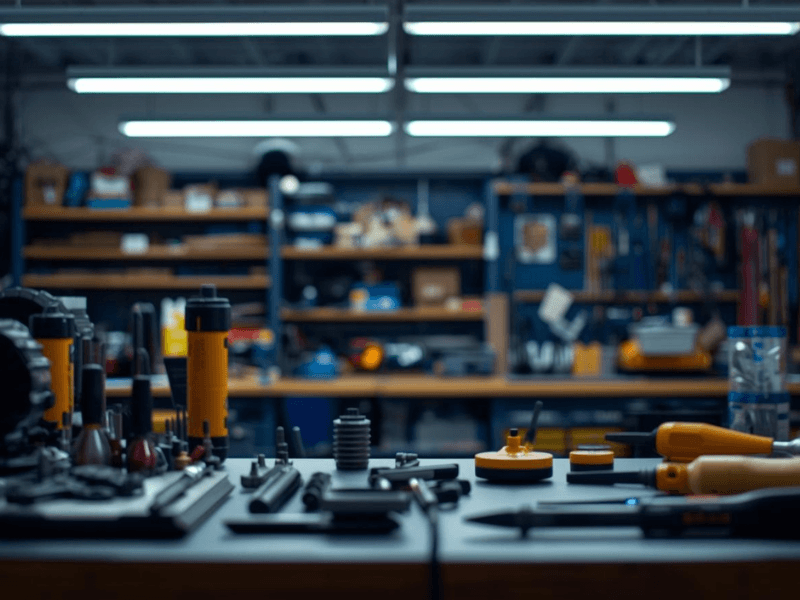
Tools and Materials Needed
Now that you know the primary components of an LED tape lighting system, it’s time to proceed to the installation process. What tools and materials should you prepare?- LED tape (RGB LED tape light, dimmable LED tape light, etc.)
- Wire Stripper
- Soldering Iron
- Compatible Connectors (clip-ons or fold-overs)
- LED driver
- LED controller (if applicable)

Preparing the LED Tape Light
Before connecting the LED tape, you must go through the primary steps of the installation. Here's a quick step-by-step process that you can follow!- Clean the surface where you’ll stick the tape light.
- Cut the strip to your desired length. However, ensure that you only cut along the cutting marks indicated on the tape light.
- Wire the tape to the LED driver. Guarantee that the LED driver has a higher or similar wattage capacity as the tape you'll connect.
- Link the LED driver to the controller, and you’re done!
Connecting the LED Tape Light
Connecting an LED tape can be done in two ways: using connectors or soldering.Using Connectors
There are two types of connectors: clip-ons and fold-overs. Choose a connector suitable for your LED tape. To be sure, consult your supplier or read the product guide.- Slide the LED tape into the connector. It does not matter which connector you choose because you’ll be doing the same thing.
- Align the wires with the colours on the tape light. The dots on the cutting marks must be aligned with the connector.
- Close the connector depending on the type you are using. If it's fold-over, press down the flap until it latches. If it’s a slip-on, squeeze the buttons on each side to secure the tape light.
Soldering
Work in a well-ventilated space since you are burning metal. Wear protective gear like gloves and safety goggles. For people with long hair, better tie them, and avoid wearing super loose clothing that may get caught.- Solder the end of the wires.
- Add a small dot of solder to each contact point on the LED tape. This is next to the cutting marks.
- With the iron, attach the wires with their matching contact points.


0 comments