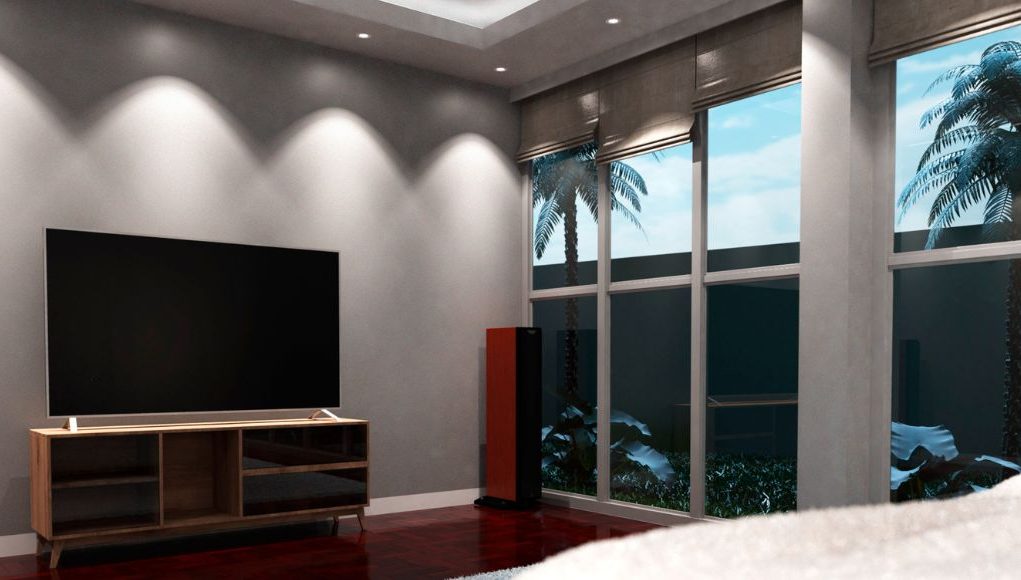
LED downlights are the best lighting solution if you want to achieve a clean and open space with adequate illumination. It incorporates a modern accent to the room and introduces an alluring ambience. Since it sits flush against your ceiling, there won’t be any obstruction in your vertical space, giving you more options with your interior design.
So, are you enticed to join this trend? If so, here are some tips to help you get started!
Tips to Install Downlights
When installing downlights, whether mini downlights or regular ones, remember one thing: prioritise your safety! If you’re unsure about any of the procedures, call for an electrician instead of powering through. Although you’ll end up paying extra, at least you’re safe, and your fixtures are mounted correctly.
Now that’s settled, here are some clever ways to add downlights to your home!
Tip #1: Identify the Correct Location
Location is crucial with lighting. So, before doing anything else, plan and select the perfect place for your lights. Downlights produce a gentle glow, softening the fine lines of a space. It’s ideal to use them as accent lighting to highlight significant features of a room, like feature walls, nightstands and gallery walls. Just don’t forget to check for any obstructions (pipes, wires or structural beams).
To be more precise, create a blueprint and put markings to ensure that everything is in position before you start trimming!
Tip #2: Mount Safely with Care
After determining the locations most suitable for your downlights, you can now proceed to the next step, which is switching off the main power supply. You can either switch off the power in just the room you’re working on, or if it doesn’t bother anyone, you can turn off the electricity throughout your home. This will prevent you from getting shocked, which can lead to a severe problem if it goes out of hand.
Also, guarantee that you’ve read the manufacturer’s instructions before starting. You can only DIY the installation if you have sufficient experience. Otherwise, it’s advisable to get an electrician. Dabbling with electrics can be dangerous, especially in the hands of those who don’t know what they’re doing.
Tip #3: Choose Fire-Rated Downlights
Although there are many recessed lightings that can give you a flawless and even look, aesthetics should not be your only consideration. It would be best if you also thought about the safety of your home. Therefore, choose a fire-rated one instead of going with any type of downlight!
Downlights with fire rating can help reduce the risk of fire spreading to other rooms through the ceiling and walls. Remember, when installing recessed lighting, you have to cut a hole in your ceiling. This compromise its fire integrity, increasing the chances for a more rapid fire spread. However, fire-rated downlights are designed with a special pad that inflates when exposed to a specific temperature, blocking off any gaps where the fire may enter. With this, you’ll have more time to escape, and the damage to your home’s structure is minimised.
Tip #4: Get GU10 Downlights + LED Lamps or Opt for an LED Downlight
Since you’re installing your downlight through your ceiling, opting for one with less heat production is better. So, you can either get a GU10 downlight and pair it with a GU10 LED lamp or use an LED downlight. Both are energy-efficient alternatives that will enable you to reduce your electricity bill and experience an eco-friendly home.
An LED downlight and bulb have less heat output, produce better light quality and come in various colour temperatures. With this, you can further customise your lighting experience and select the LED colour that would fit your needs!
Tip #5: Pattern the Finish with your Style
Since downlights are recessed, the only thing visible once it’s installed is the bezel. It’s not like pendants and wall lights that you can showcase the beauty of the entire fixture. The bezel may be pretty small, but it can end up ruining your design scheme if you don’t choose the right finish.
To know which to get, consider the colour palette of the room. Ask yourself, do you want the bezel to blend in or stand out? If you wish for the bezel to blend in, get a finish that’s similar to the colour of your ceiling. Get a black bezel if it’s black and a white one when it’s white. Alternatively, try a brushed or polished chrome finish if you want something contradicting!
Tip #6: Try Designing Clever Placements to Add Depth
You may need a professional lighting designer if you want to try this technique with your downlights. If this is your first time dealing with downlights, this method may not be ideal and following the formula will give you better results. You may end up creating more shadows than light in you are not familiar with balancing out the amount of brightness.
However, if you know what you’re doing, feel free to break from the usual and attempt to incorporate clever placements that can introduce more depth and dimensions to your space. Why not try putting two adjustable downlights close together to get a more substantial light output?
Tip #7: Add Dimmers
Whenever possible, consider pairing your downlights with a dimmer switch. With a dimmable lighting fixture, you’ll be able to play around with the intensity of your lights and set the mood however you prefer. In addition, dimming your lights can extend their lifespan and reduce your electrical consumption since it’s not working at 100% all the time!
There are many things to consider when installing a lighting fixture. Whether it’s a downlight, wall light, pendant light or an under-cabinet light, researching before installing will enable you to get the best outcome possible. Consider these tips for your next project and if you have any lighting needs, visit our website, Simple Lighting! Aside from indoor, outdoor and commercial lighting solutions, we also have an extensive collection of lighting accessories, perfect for various lighting systems!


