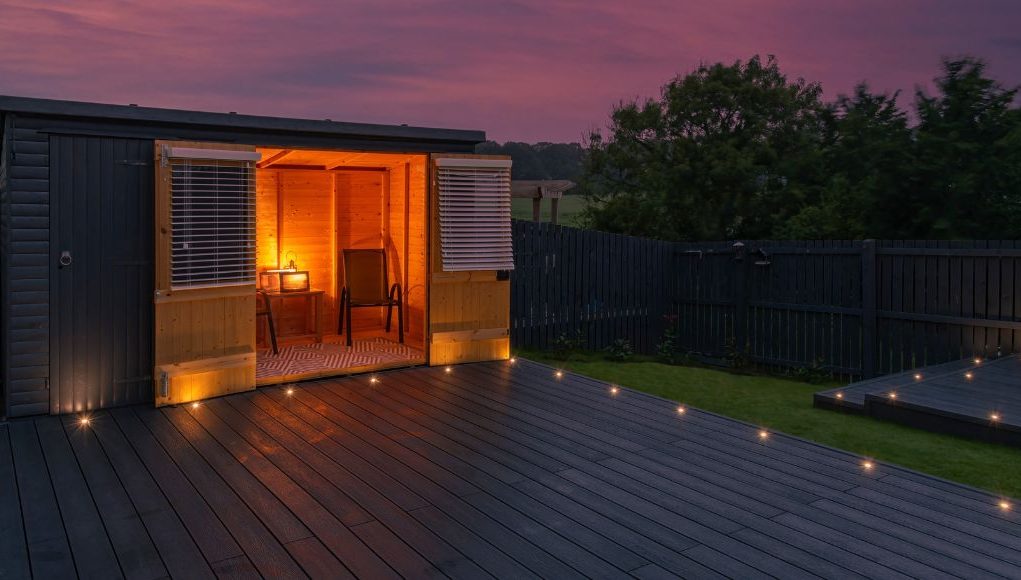
Leaving your decks without outdoor lighting is a waste because it does not showcase the beauty of the space. Once it’s dark, you’ll barely notice it, and it can be a hazard since there’s low visibility. Adding a few light fixtures is an excellent finishing touch to your lovely decks. It will allow you to relax, sit, and enjoy your semi-outdoor space, even if it’s evening.
When planning your deck lighting, you need to determine how your approach will be. It’s easy to scroll through various fixtures, but finding the one that fits your needs can be challenging. Sympathetic lighting can cast a delightful glow over your seating areas and brighten steps and other furniture pieces. Aside from that, low-voltage lights are easier and safer to install and can be used with existing or new decks.
Proper Distance of Decking Lights
When designing the layout of your fittings, the maximum distance between each deck light should be around 120cm. Before you start cutting, it’s best to measure and mark out where each fixture will be to minimise mistakes. Also, in case you’re having trouble deciding where to position your fixtures, remember that there are extension kits that’ll enable you to add more fittings!
Wiring Decking Lights
Finding a power outlet to wire your lights is crucial for deck lighting. It would be best to have it nearby, at least 5m from your deck. If you don’t have one and your nearest power source is too far, you’ll need to have one fitted. Go to a professional because outdoor wiring requires care and is more complicated because of external factors like rain, weather changes, etc.
Installing Deck Lighting
Now that you have sorted all the pre-installation requirements, you’re ready to mount your decking lights. Although before anything else, safety comes first! If you have zero experience installing light fixtures, call for a professional instead of doing it yourself. It’ll be safer since they know everything about electrics, and you’ll have more peace of mind while using your deck lights.
On the contrary, if you’ve already done it a few times and just need to refresh the steps, here’s an easy guide to mounting your deck lights!
Step 1: Remove the Fascia Board
If you’re installing your fixtures on the fascia board, remove it from the deck. It’ll enable you to avoid noggings and bolts when determining the position of the fittings.
Step 2: Position Over the Centre of the Deck Board
If you’re mounting your deck lights directly onto your deck board, position it over the centre of the deck board. Make sure that you don’t put your lights over any joists.
Step 3: Lay Out the Deck Lights
Arrange your fittings on your deck where you want them to be. This will enable you to visualise how your lights will look once they’re placed side by side with your deck. Just bear in mind, as mentioned earlier, that your fixtures should not be more than 120cm apart. Use a tape measure or any measuring tool to guarantee that everything is spaced out evenly. You should not yet insert your lights into your deck in this step.
Step 4: Mark the Wood
Once you’re satisfied with the positioning of your lights, use a set square to precisely mark the wood. After, reattach the fascia (if you removed it) and drill the mounting hole with a 24mm drill bit. Although, the size of the drill bit will depend on the cut-out hole of your lights. Depending on your fitting, you may need a bigger or smaller drill bit. You can check it on the product description or the packaging of the deck light!
Step 5: Smooth Out the Edges and Insert the Cable
Remove all the deck boards blocking the hole where you’ll insert the cables. Then, feed the wires through the spots that you made. You can sand it down to get a smoother finish around the hole’s edges.
Step 6: Drill Holes Through Noggings and Joists
Grab your 24mm drill bit and drill holes through the noggings and joists of your deck. This is necessary so the cables can pass through.
Step 7: Position the Deck Light
Once the cables are fed through the holes, position the deck lights into the holes you made on the deck or fascia. Make sure it fits snuggly so your fittings will not suddenly fall out.
Step 8: Connect Each Fitting
After putting each deck light through the holes, connect each head to the next so you’ll have a series wiring. If you don’t plan to extend your lights or you have the exact amount that you need, add the included blanking plug to cover the last fitting’s socket.
Step 9: Add More Fittings (if necessary)
If you plan to put in more lights, repeat the same process of positioning, marking, drilling, and connecting. Add as much as you need, and place a blanking plug on the last socket.
Step 10: Connect to an LED Driver
Connect your driver to the socket closest to the plug. Make sure that you have the correct LED driver to ensure that your lights will work properly.
Step 11: Put the Driver and Mains Cable Inside the Deck
Don’t let your driver and mains cable sit outside your deck for a cleaner look. Tuck them inside your decking, so they’re not visible when you secure the boards back in place. Then, switch the power on to test if your deck lights are working.
Step 12: Reattach the Deck Board
When you see that your lights are working, you can secure the deck board back to its original position. After, you can start chilling out on your deck with your stunning deck lights!
Installing deck lights is relatively simple, especially if you have the right tools, a nearby power outlet, and enough experience. Again, ensure that you always take extra precautions when you’re doing the installation yourself. Don’t forget to switch off the main power before you wire your lights to your power supply. If you need high-quality deck lights, visit our website, Simple Lighting! We have an entire collection with various colours, finishes and sizes.


