


Reminders Before Starting
Before installing spotlights in the ceiling, you must thoroughly plan and prepare everything. How many downlights should you have? What tools do you need to prepare? Can your existing power supply support your new fixtures? Once everything is ironed out on paper, that's the only time that you'll buy your supplies and prepare your tools. That way, you won’t waste any of your resources and will be able to execute the procedure smoothly!How Many Downlights Will You Need?
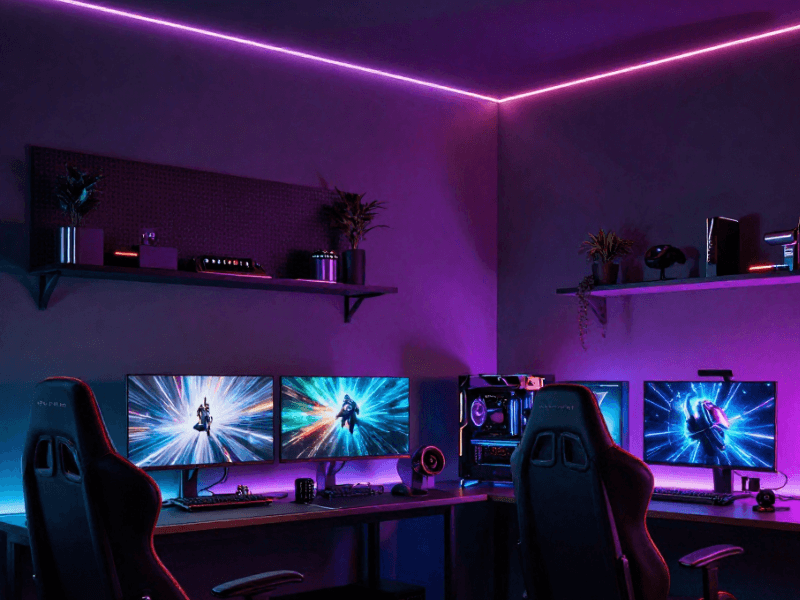
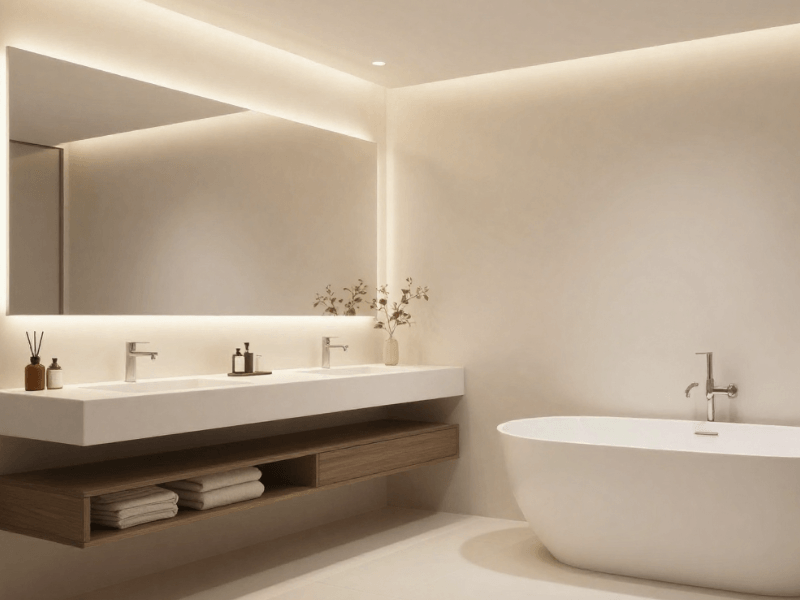
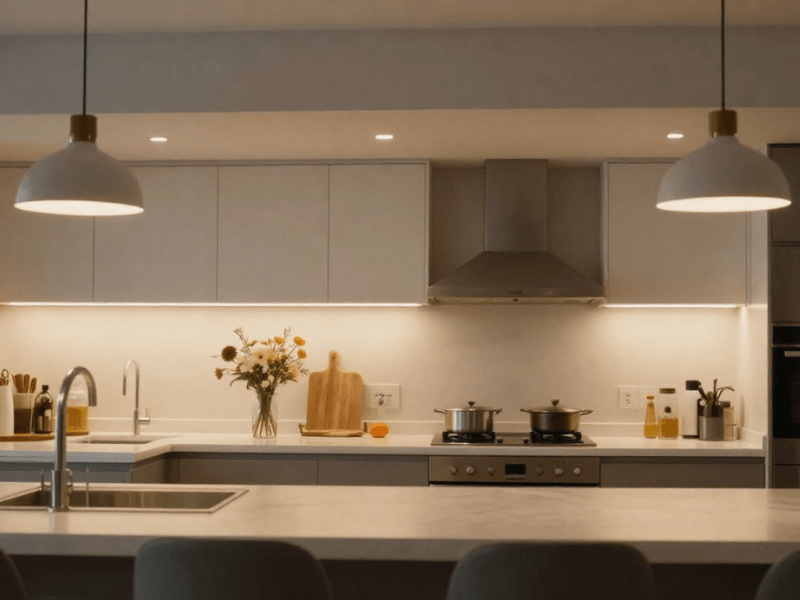
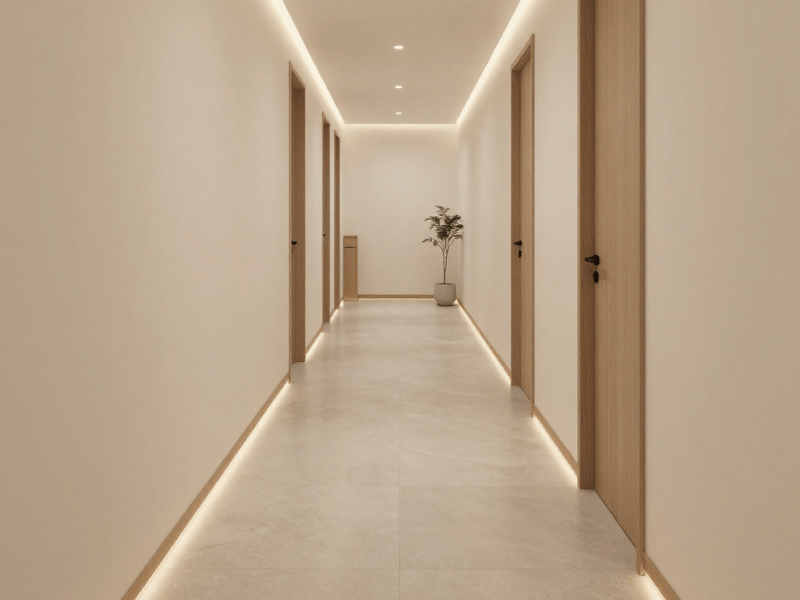
Although there are a prescribed number of lumens per room, it still goes down to your personal preference and the purpose of the space. Naturally, a busy kitchen will require more fixtures than a cosy bedroom. However, if you also use your bedroom as a workspace, you'll probably need more to ensure that you have enough illumination. Identify your needs, and you'll be able to know how many to get. Ideally, you should measure and plot the placements of your downlights to guarantee that it's evenly spaced and you'll have the correct number of fixtures. That way, you'll know how many downlights each room needs.What Tools Should You Prepare?
When installing downlights, you'll have to prepare the following:- Pencil
- Chaser
- Saw
- Tape Measure
- Hand Drill
- Hole Saw Drill Bit
- Small Drill Bit (for making pilot holes)
Can Your Existing Lighting Circuit Support Your New Downlights?
Usually, circuit breakers will have circuits with 6amps. For you to know how many amps your breaker can load, divide the total watts by the voltage. If you're unsure about your computation, ask an expert to take a look. It'll put you more at ease since electricians are the ones who will check your breaker.How to Install LED Downlights?
Before starting, ensure that you switch off your breaker to guarantee that you're mounting safely. Once you're sure that there's no electricity flowing through the wires, here are the next steps:- Measure where you want to position your downlights. Also, mark where the central point of your lights will be. Once it’s all done and you’re satisfied with the placements of your fixtures, drill small pilot holes.
- Ensure that there are no obstructions or pipes in the area you plan to install your lights. The easiest way to check is by using a stud finder to locate your joists. However, if you don’t have access to one, insert a wire folded at a 45-degree angle through the pilot holes and rotate it 360 degrees. Naturally, there's interference if the wire gets caught in something. If that happens, you may have to rearrange your setup.
- Go through the detail on the packaging of your downlight and look for the cut-out hole requirement. Before cutting, mark the size on the ceiling. After, trim the cut-out hole to the correct measurement. It's critical in this part that you get it right because if you don't, two scenarios could happen. Your downlight will not fit, or your lights will fall off the ceiling. Either of the two is not ideal for your lighting setup. So, make sure you double-check before cutting!
- After cutting the cut-out hole, place the correct wiring through the hole and connect your LED downlights. To secure it onto your ceiling, hold the two springs backwards and insert it until your downlight sits flush against the surface. Once the springs are released, they will lay flat with your ceiling, holding it in place.
- Once your downlights are installed, add a GU10 bulb and switch the main power back on. Test if everything is working, and you're done! If you are wiring multiple fixtures, you may want to check one before continuing with the rest. This way, if you did make a mistake, you'll be able to correct it immediately. It saves you all the trouble of redoing everything. Just make sure to switch the mains circuit off whenever you connect your lights, so you're 100% safe from electric shocks.


0 comments