


Christmas is all about “magic.” Soft glows, sparkling accents, and creative light displays everywhere you look. They all come together to capture that unmistakable festive atmosphere. But what if this year, instead of looking for magic, you create it?
That’s right. One of the most exciting ways to bring magic to your home? Custom Christmas signs and shapes made with LED Neon Flex. What is LED Neon Flex?
They’re like if LED strip lights and classic neon lights had a baby: vibrant neon light effects with the flexibility and versatility of LED strips. See those colourful strings of light used in gaming rooms? Yes, same thing.
LED Neon Flex lets you design anything from glowing “Merry Christmas” messages to whimsical tree outlines, sparkling stars, or even a full Santa silhouette. It’s the perfect medium for festive DIY projects.
And in this post, we’ll walk you through how you can be the LED Neon Flex master crafter that you really are. So, get your notes ready. We’re diving in.
Why LED Neon Flex Is Perfect for Custom Christmas Designs
LED Neon Flex lights offer the same retro glow of classic neon signs. Only they’re easier to work with, cheaper and safer to run, and endlessly customisable. They also run on low-voltage circuits (12V or 24V) and are cool to the touch (no components heating up), making them safe for homes with children, pets, or busy areas.
Neon Flex features make them ideal for everything from subtle indoor accents to bold, weatherproof outdoor displays. You can shape it into letters, motifs, outlines, and symbols with minimal effort.
And the best thing, design-wise, is that it comes in a wide range of colours. You can get warm white and ice white to bold reds, greens, and RGB models that change colour on command.
They’re highly durable too, made with a pliable silicone or PVC outer body that protects the LED inside. Meaning they can resist knocks, moisture, and weathering. Just make sure to get one with a high IP rating.
Comparing Neon Flex to Traditional Neon & LED Strips
If you’re too young to remember what neon lights were, they’re basically glass tubes shaped into designs that produce a beautiful cyberpunk glow, but with a downside. They require delicate glass, gas-filled chambers, and specialist installation. Not exactly ideal for DIY Christmas projects.
LED Neon Flex, on the other hand, has the properties of LED strip lights but with the classic neon glow. None of the downsides mentioned above.
Here are some of its advantages:
- Smoother, continuous glow than LED strips, where individual diodes are often visible.
- Long lifespan, often reaching 30,000–50,000 hours.
- Weatherproof options, perfect for porches, garden fences, and outdoor displays.
- Great flexibility allows the strip to bend in tight curves
- Can run continuously for hours without a noticeable increase in energy bill
LED Neon Flex essentially combines the best qualities of neon and LED lighting into one festive-ready solution.
Creative Potential: Shapes, Letters, Words, and Icons
One of the joys of LED Neon Flex is how free-form your creativity can be. You can craft:
- Christmas trees with tiered branches
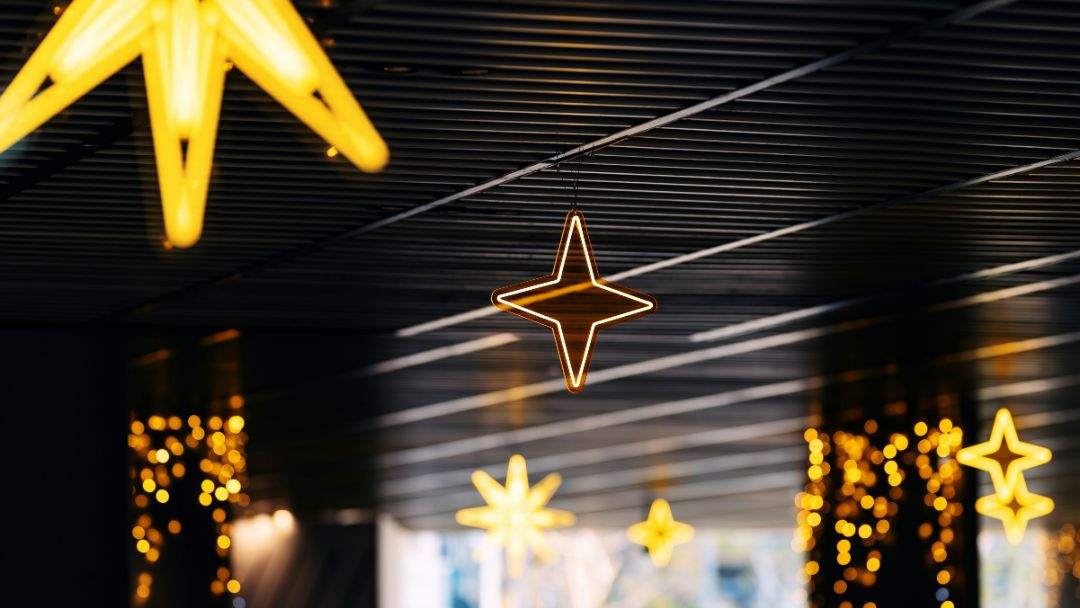
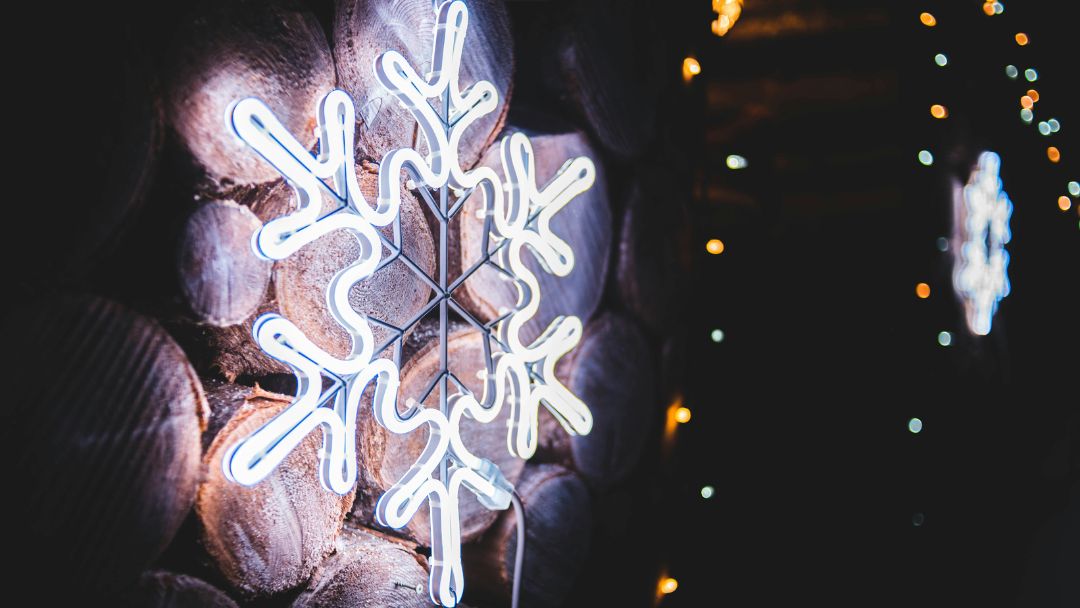
- Stars and snowflakes, from simple outlines to more intricate geometric designs
- Candy canes, perfect in classic red-and-white
- Santa or reindeer silhouettes
- Festive words like Joy, Ho Ho Ho, or Let It Snow
You can go small and simple or create a full multi-piece scene. Hey, whatever suits your space and imagination. Because, as it so happens with lighting, your imagination is usually the limit.
Planning Your Custom Christmas Signs & Shapes
We know you’re excited to bend and shape your lights, but hold your horses. Before bending and installing your Neon Flex, you need to have a plan. You know what they say, “A little planning goes a long way.” And it does.
Sketching, measuring, and mapping out your design helps ensure everything fits your chosen spot and looks balanced once lit. You don’t want to live with a skewed layout, parts with missing lights, or an unrecognisable design, do you?
Choosing the Right Colours for Your Theme
Your colour scheme sets the tone for your final display.
- Warm white creates a classic Christmas cosy ambience, ideal for windows, mantels, and living rooms.
- Cool white or ice white suits more modern or frosty winter themes.
- Red and green instantly evoke traditional Christmas signage.
- RGB or RGBW allows colour-changing sequences, gradients, or dynamic effects for attention-grabbing displays indoors or for outdoor lighting.
Also, try matching your Neon Flex colours to your existing decorations. For example:
- Pair warm white neon with gold ornaments and wood textures.
- Choose red neon to complement Santa decorations or nutcracker displays.
- Use multicoloured neon for playful children’s rooms or home-made window scenes.
Measuring, Mapping & Layout Tips
Once you’ve chosen your design, measure the area where your sign or shape will sit. Remember our motto for installing lights: Measure twice, cut once.
Tips for getting accurate measurements:
- Sketch your shape to scale on paper or cardboard.
- Mark each bend or curve so you know where to form the neon.
- Measure the full route of your design to estimate how much Neon Flex you’ll need.
- Leave extra length for connectors or power-supply placement.
- If placing designs on walls or windows, lightly outline the shape with masking tape first to guide your installation. This also helps you to visualise the actual installation of your design better.
Selecting Indoor vs Outdoor Flex Options
If your display will be outside (think along a porch railing, on a fence, or attached to the side of a shed), make sure you use IP-rated LED Neon Flex (IP65 or higher). These versions are built to withstand rain, frost, and the occasional festive downpour. (It’s just rain.)
Indoor installations, on the other hand, offer more flexibility. You can choose slightly slimmer profiles, softer silicone finishes, or plug-and-play options that simply connect to a power supply. An IP20 rating is okay.
Mounting methods may also vary:
- Indoors: adhesive channels, wall clips, or freestanding frames.
- Outdoors: will need more robust methods, such as screw-fixed mounting clips, waterproof connectors, and elevated cable routing for safety.
Step-by-Step Guide to Making Custom Christmas Shapes
Alright. You’re finally ready to start creating your own Christmas signs and shapes. And to tell you the truth, creating neon shapes is surprisingly straightforward. The following steps apply whether you’re making a small window star or a large outdoor message sign.
Materials and Tools Needed
You can’t start creating without materials to work on.
- LED Neon Flex (cut-to-length or pre-cut)
- Mounting clips or aluminium profiles
- Connectors and end caps
- LED driver (12V or 24V – make sure to match the strip)
- Fixings (screws, adhesive, and zip ties)
- Measuring tape
- Scissors or cutters
- A pencil or marker
- Optional: wire frame or wooden board for shaping
Pro Tip: Some DIYers also use printed templates taped to a surface to guide the curves precisely.
Bending & Shaping Your Neon Flex
LED Neon Flex is designed to bend horizontally OR vertically, depending on the model. So make sure you check with the supplier!
Tips for smooth shaping:
- Make bends gradually and avoid twisting the strip.
- For tight corners (e.g., stars or snowflakes), create small, gentle angles rather than sharp bends.
- Use a template under your flex for consistent curves.
- For letters, maintain even spacing between strokes to keep the glow balanced.
- If creating freestanding shapes, attach the neon to a wire frame. This adds strength and ensures perfect symmetry.
For example, to craft a glowing Christmas tree outline, sketch three or four descending “branch” tiers, then follow the drawn line with your Neon Flex, bending gradually at each point. The result? Looks fantastic in windows, hallways, and garden displays. Don’t forget to pat yourself on the shoulder for a job well done.
Mounting Your Neon Flex Securely
Once shaped, you’ll need to mount your design.
Wall Mounting
Use clips or profiles to hold the neon firmly in place along your sketched outline. Ensure clips are evenly spaced to avoid sagging (usually somewhere between 30 – 50 cm intervals).
Window Displays
You can mount Neon Flex directly onto window glass using adhesive clips or, better yet, stick it to a transparent acrylic board to create a movable panel. This makes it easy to “transform a window into a festive scene” that shines both indoors and outdoors.
Freestanding Signs
Attach your design to a wire frame or shaped board to create garden ornaments, porch decorations, or dramatic entryway features. This also makes it easy to move your displays if needed.
Hiding Cables: Run cables behind furniture, along skirting boards, or through window frames where possible. Another good option is using trunking or clips for a tidy, professional finish.
Creative Ideas for Your Christmas Signs & Shapes
Creative juices not working? Don’t worry, we got you. Below are Neon Flex inspirations you can work on right away.
Festive Words and Messages
Text-based neon signs bring instant cheer and work beautifully in almost any room. Popular phrases include:
“Merry Christmas”
“Ho Ho Ho”
“Let It Snow”
“Noel”
“Jingle Bells”
You can install these:
- Above a mantel for a warm, cosy glow
- Across a window for your neighbours and passersby to see
- Along a hallway or staircase for a functional yet stylish lighting
- On a feature wall as a seasonal centrepiece
Script-style templates are particularly effective because LED Neon Flex can easily follow the sweeping curves of handwriting.
Seasonal Shapes and Icons
When you think of shapes that represent Christmas, what do you think of? Probably a few of the following:
- Trees, from minimal outlines to multi-layer designs
- Stars, simple or geometric
- Snowflakes, with delicate branching designs
- Candy canes, ideal in red-and-white
- Santa, sleighs, or reindeer outlines
By the way, no one’s stopping you from combining shapes to create a mini scene. A tree next to a star with a “Merry Christmas” banner above, for example?
Combining Neon Flex with Other Lighting
Layering your lighting makes displays appear richer and more three-dimensional.
Try pairing Neon Flex with:
- LED strip lights for subtle backlighting
- LED fairy lights woven around your neon frame
- Spotlights to highlight the surrounding décor
- LED floodlights to illuminate a large neon scene outdoors
Pro Tip: When backlighting designs, mount Neon Flex slightly raised from the wall, allowing a soft “halo” glow to form behind it.
Outdoor Statement Pieces
If you want to create a Christmas display that neighbours stop to admire, LED Neon Flex is your best friend.
Use it to outline:
- Garden arches
- Fences or gates
- Porch frames
- Shed roofs
- Raised planters
- Pathway borders
Outdoor-friendly, IP-rated Neon Flex combined with weatherproof connectors ensures your display remains safe and reliable throughout winter.
Smart Control & Energy-Saving Tips for Your Neon Displays
Christmas time is undeniably a season with higher energy bills, thanks to all the added lights for decorations. What can we say, Christmas magic has a cost. But it doesn’t have to be astronomical. Because LED Neon Flex is efficient by design, just by using it, you’re already saving a lot compared to when you use traditional Christmas lighting.
And yet we’re here to tell you that you can go even further with your savings, thanks to smart lighting and control.
Using Timers and Remote Controls
Timers make life easier during the hectic festive season. Set your display to turn on at dusk and off automatically before bedtime. That way:
- You never forget to switch the lights off
- You avoid running them all day
- Everything illuminates at the perfect time every evening
Remote controls also make brightness adjustments simple without unplugging anything.
Incorporating RGB/RGBIC Controllers
If you’re using RGB or RGBIC Neon Flex, a controller allows you to utilise:
- Fading colours
- Sequenced patterns
- Festive red/green loops (it’s the Christmas colours!)
- Snowy white/blue gradients
- Slow or fast animation effects
These dynamic displays are great for windows, children’s bedrooms, or outdoor decorations.
Maximising Visual Impact with Minimal Power Use
The goal: To get the most out of your neon display while using as little energy as possible.
Here’s what to do:
- Use reflective surfaces (like glass or white walls) to amplify the glow
- Position lights where they’ll be seen from multiple angles
- Dim the brightness slightly; LEDs still look stunning at lower levels
- Use layers strategically so each element enhances the others
The result? A gorgeous display that’s both visually striking and energy-smart.
Bring Your Holiday Vision to Life
LED Neon Flex is the Christmas decoration you must not sleep on. They’re versatile and inspiring, perfect for festive DIY decorating. Though reminiscent of the classic neon tube lights, LED Neon Flex has an unmistakably smooth, modern glow that works beautifully indoors and outdoors.
And with a little planning, you can transform any wall, window, or garden space into a dazzling Christmas scene. Ready to start your custom Christmas decor project? Explore Simple Lighting’s LED Neon Flex collection and bring your holiday vision to life.
To learn how to use fixtures other than LED neon flex, see Christmas Lighting Ideas for UK Homes.


