


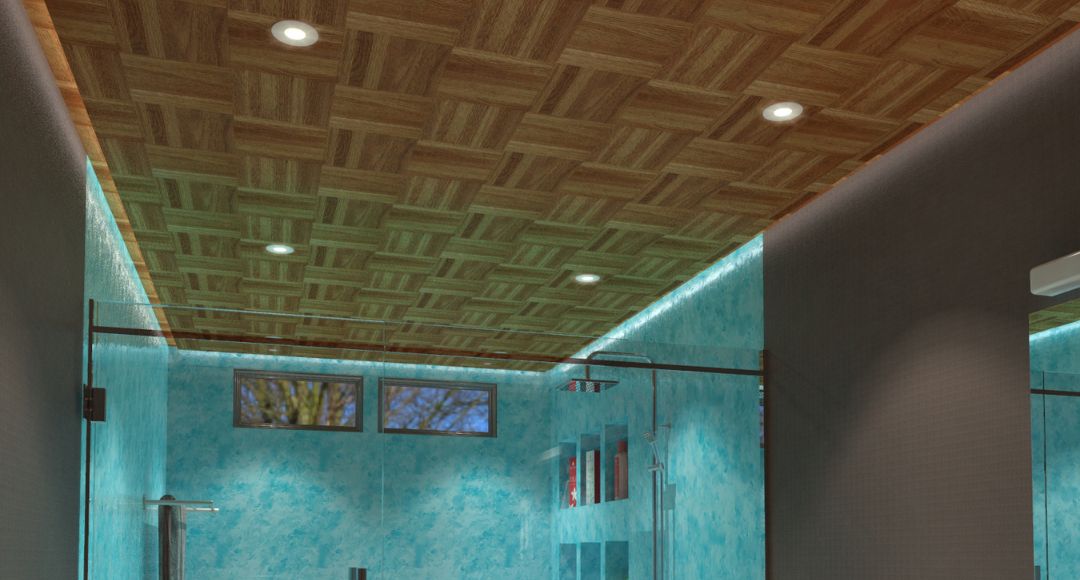
LED downlights are excellent for use everywhere in your home, including the bathroom. They’re energy-efficient, long-lasting, low-maintenance, eco-friendly, and cost-effective. While LED downlights are expected to last for years, they are not meant to last forever. With all the innovations in the lighting industry, using newer models will benefit you more as they are expected to offer better features.
How difficult is it to change bathroom LED downlights? Based on my experience, it’s easy if you have the right tools and equipment and know the process. Here are the basic steps to give you a brief rundown!
- Switch off the power
- Remove the existing LED downlight
- Trim the cut-out hole (if necessary)
- Wire the downlight to the power supply
- Install the fitting
- Test if the installation is working
Signs to Change Your Bathroom Ceiling Light
As I said before, LED downlights are expected to last for years. So, how do you know when to make them retire?
If your LED downlights have been around for more than ten years, they’re less cost-effective than when you first got them. Technology is fast evolving, and new updates bring more benefits. While changing your bathroom ceiling light is unnecessary, I recommend switching them out when you have the budget to stay updated with the more energy-efficient models.
Aside from that, I recommend upgrading your bathroom lighting if it’s not functioning as you intend. If you’ve lived in the same house for years, you’ll notice your needs change over time. When the lighting system in your bathroom cannot supplement your requirements, consider saving and planning a makeover.
Preparing for Replacement
You need to prepare several things before you’re ready to unbox your new bathroom downlights and GU10 LED bulbs. Safety is a top priority in any electrical installation. Even if installing downlights is pretty straightforward, I strongly suggest calling an electrician if you doubt your DIY-ing skills. They have the expertise and knowledge to guarantee that the entire process is performed safely and correctly. Electricians will also ensure that your lighting system is in compliance with electrical codes!
Step-by-Step Guide
Say you are experienced and knowledgeable about mounting light fixtures and have the tools and equipment to perform a high-quality installation. If so, read along as I share a foolproof step-by-step guideline that will make installing downlights quicker and easier!
Step 1: Gather all the required tools and equipment
Here are the things that you need to prepare in advance:
- Screwdriver
- Wire stripper
- Wire connectors
- Tape measure
- Voltage tester
- Ladder
- Safety gloves and goggles
- Mounting bracket (if needed)
Step 2: Switch off the power
Go to the circuit breaker and shut the power down in your bathroom. To ensure that no one will accidentally switch it back on, leave a note saying that you’re doing electrical work and that it should be left off.
Step 3: Remove the existing LED downlight
Disconnect the installed downlight. Remove the bulb first, or remove the entire downlight in one go if possible. If you mount your current downlight, removing it won’t take long. Reflecting on my personal experience, if you know how things are installed, you’ll know how to remove them!
Step 4: Trim the cut-out hole
If the downlight you will install requires a bigger cut-out hole, you’ll need to match it. Drill until you have the correct measurements.
Step 5: Wire the downlight to the primary power supply
Check the wiring instructions provided by the manufacturer of your lights. It’s more accurate and will touch on the specific details the fixture needs.
Generally, this step involves stripping the ends of the wire and connecting the matching colour wires. Then, secure everything with wire connectors and tuck the connection into the ceiling.
Step 6: Install the fixture into the ceiling
Insert the downlight into the cut-out hole and secure it with the mounting clips or brackets that come with your lights. Ensure that the fitting sits flush with the ceiling. If the bulb is not integrated with the downlight, add GU10 LED bulbs if it has a GU10 lamp holder. If not, find a lamp that is compatible with the fitting.
Step 7: Test if the installation is working properly
Once everything is secure, switch on the breaker and check if your new bathroom ceiling light works. If it is, you can pack up and clean the space!
- IP65 Shower Fixed Fire Rated Downlight – Brushed Chrome
- 6w IP65, Short Can Dimmable, Fire Rated Downlight – White, Black or Brushed Chrome Bezel
- 8w LED Fire Rated Downlight, Matt Black Bezel
Maintenance Tips for Longevity
Now that you’re ready to begin a fresh chapter with your lights, it wouldn’t hurt to learn a few tips to guarantee that they will last long enough until your next update!
Here are some tips I learned while maintaining my own downlights!
- Clean the light fixtures to remove dust and dirt build-up. This will ensure that your lights will continue to deliver top-quality illumination even if years pass. Sometimes, dust and dirt are hindering your lights from producing the brightness you need!
- Occasionally check for loose wiring. If you’re already cleaning, take it a step further and scan for connection problems. This will confirm your lights are in excellent condition and lessen the chances of damaging the fixture!
- Replace malfunctioning downlights as soon as possible. Don’t wait a long time before replacing the faulty fixture. If left unattended, it may cause more significant issues. The sooner you can get it changed, the better!
Conclusion
Reading this article will give you a lot of insights and tips on changing bathroom LED downlights.
You’ll be surprised because it’s not as daunting as you may initially think. If you have all the necessary tools and equipment, are knowledgeable about electrical installation, and did your homework, reviewing the product manual and installation instructions, you’re all set! Reference this guide and follow the manufacturer’s instructions for your lights. Then, you’ll have perfectly mounted and working downlights in a few moments!
If you are sourcing premium-quality bathroom LED downlights, visit our website, Simple Lighting! We have an extensive collection, so you’ll find one that suits your style and requirements!


