


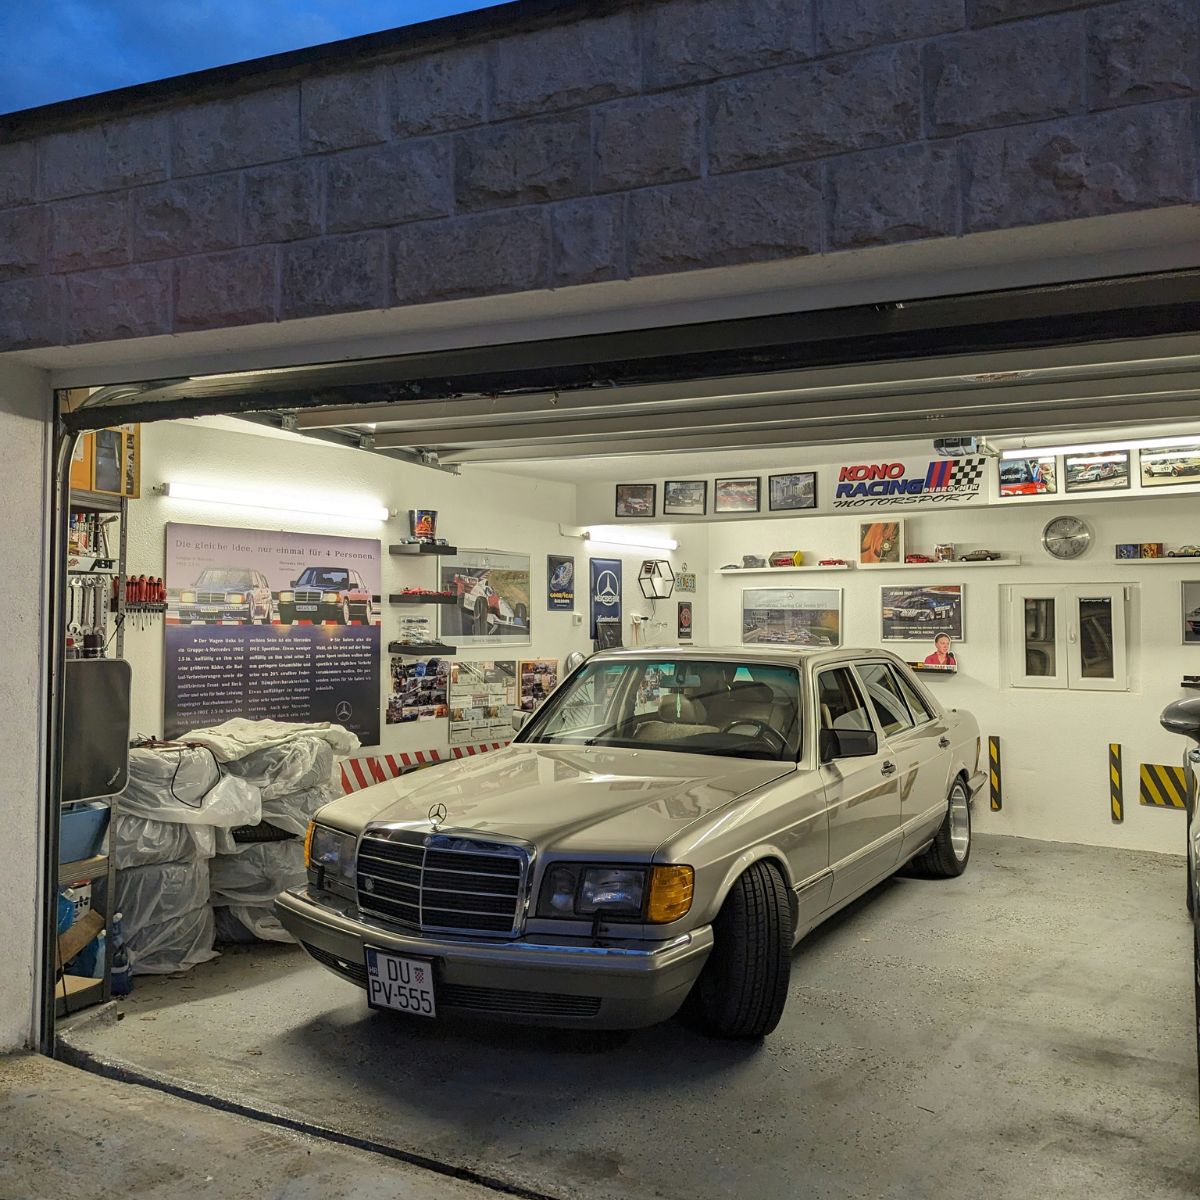
Let’s be honest. Most garages aren’t exactly inspiring spaces. (Probably why you’re here.)
They’re often cluttered with old paint tins, unused gym equipment (ahem), and boxes of “might still use items” that haven’t been opened in years. But another fact is that every garage has a serious potential to be a bright, functional workshop. All it takes is careful planning and the right lighting.
When was the last time you stepped into a garage and felt like you could easily spend hours (or the whole day, even) in it?
Imagine walking into your garage. It’s well-lit, every tool has its place, your workbench glows under crisp task lighting, and the ambience feels welcoming —so it’s hard to resist. All you need to change? Your lighting.
In this guide, we’ll give you a step-by-step process on how exactly you can turn your garage into the perfect DIY workshop… without breaking the bank. By the end of this post, you’ll understand that you don’t need a huge budget to level a space’s functionality, style, and efficiency.
You just need smart design choices and a bit of creative thinking.
Disclaimer: We’re not here to teach you how to be the next Apple, Microsoft, or Amazon (all of which started in garages), but what we’re here for is to make sure you have good and proper lighting, whether or not you make something in your workshop that would shake the world.
No pressure. Let’s jump right to it, then!
Step 1 – Define the Purpose of Your Workshop
We’re not talking Vision and Mission statements, no. What you need to do is start by asking one key question:
“What will I use this space for most?”
A garage workshop can serve many roles, each with its own requirements:
- Woodworking or furniture making — Demands bright, accurate lighting and dust-resistant fittings.
- Car restoration or mechanical work — Needs ample overhead lighting and safe, well-positioned sockets.
- General DIY repairs — Benefits from flexible, all-round illumination and accessible storage.
Knowing your primary goal helps you design efficiently. For example, a bench for electronics or model work needs brighter, focused lighting than a general repair bay where you’ll move around larger items.
Also consider these non-lighting factors:
- Power requirements – Do you need multiple outlets or high-voltage access?
- Noise levels – Will soundproofing help if you’re running power tools?
- Space usage – Will you need room for large materials or movable equipment?
By defining your purpose first, you’ll make smarter decisions about layout, lighting layers, and storage solutions later on.
Step 2 – Plan Your Layout for Efficiency and Flow
All right. So now you’re set on what kind of workshop your garage will be. It’s time to design a layout that makes sense for how you work. We’re talking about efficiency. It isn’t just about fitting everything in your garage. It’s about creating smooth movement between tasks.
The “Triangle Rule”
You can borrow the triangle rule from kitchen designs, since it works brilliantly in workshops too. Picture three key points:
- Workbench – your main workspace
- Tool storage – where frequently used items live
- Power access – sockets or extension units for your tools
Keep these within easy reach of one another in a triangle shape, to minimise unnecessary steps and clutter.
Visualise Before You Build
Before drilling or installing anything permanent, sketch your layout or use masking tape on the floor to mark where benches, shelves, and walkways will go. There are also new apps now on your phone that can help you visualise your space, but nothing beats being actually IN the space for this.
Visualising helps you test practicality. Can you open tool drawers comfortably? Do you have room to manoeuvre a large plank or bike frame? Will there be unwanted shadows?
Design Tips for Flow and Function:
- Keep the central floor area clear for flexibility. Rolling tool chests or mobile benches can help make your space flexible.
- Mount lights and tools on walls or ceilings to maximise workspace.
- Consider creating zones: one for heavy-duty work, one for detail tasks, and one for storage. This should prevent you from going in circles when working on something.
- Install pegboards for tools. They’re space-efficient and visually tidy.
Step 3 – Brighten the Space: The Power of Good Lighting
Here’s a common theme in garages: shadows, glare, and dull bulbs. If your garage has any one of these, then you have poor lighting. Ask any DIYer: poor lighting is one of the biggest frustrations (and hazards) in a workshop.
Fortunately (and surprisingly not commonly known to every garage owner), lighting is also one of the easiest upgrades you can do with the most impactful results. A well-lit garage uses layered lighting, just as professional studios or kitchens do. Let’s break it down.
Ambient Lighting – Illuminate the Whole Space
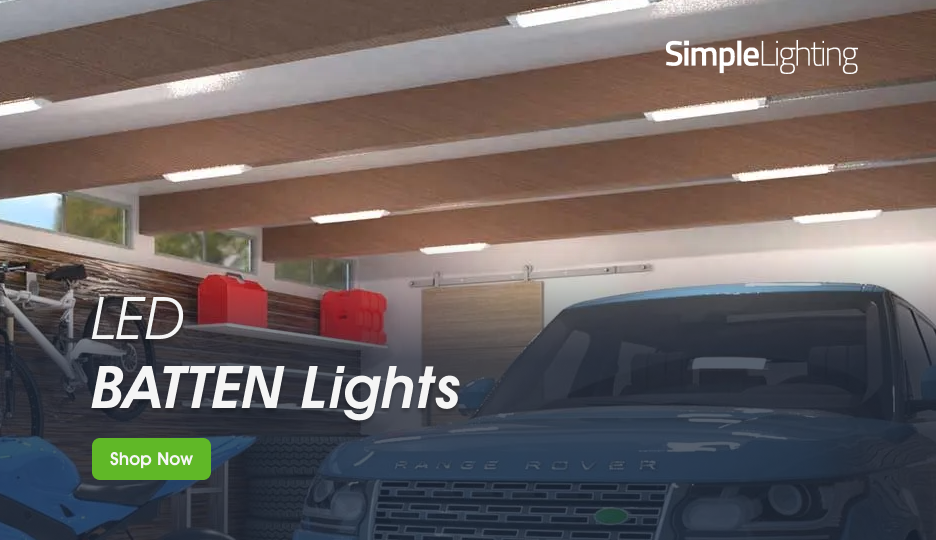
Your first priority is uniform, general lighting that covers the entire area. Ceiling-mounted LED batten lights or panel lights are ideal for garages because they provide bright, even illumination without flickering or hotspots.
- Recommended colour temperature: 4000K–5000K for daylight-style clarity. Warmer tones are for the living room or bedroom. Here, you want good visibility.
- Ideal brightness: Aim for 75–100 lumens per square foot for workshop-level visibility.
Pro tip: Install multiple battens rather than a single central bulb. It eliminates shadows and helps you see clearly from every angle.
Simple Lighting’s LED Batten Range is perfect for this. They’re sleek, energy-efficient, and available in IP65-rated options for damp garages. Say goodbye to your gloomy garage. With proper ambient light, your garage will instantly feel bigger, safer, and far more inviting.
Task Lighting – Precision Where It Counts
Even with bright ceiling lights, some jobs need focused illumination. That’s where task lighting comes in. It ensures every detail is visible where accuracy matters: over your workbench, angle grinder, or saw table. (You don’t want these areas dim.)
Consider:
- Adjustable work lamps with flexible arms.
- Under-shelf LED strip lights for shadow-free visibility.
- Magnetic or clamp-on task lights you can reposition as needed.
Look for LEDs with a high Colour Rendering Index (CRI) of 90+ (if possible) so paint shades, wood grains, or wire colours appear true and not washed or over-saturated. You don’t want your reds to appear pink when you’re working on your workbench now, would you? A high CRI light is the kind of lighting that helps you spot imperfections before they become problems.
Accent & Safety Lighting
People think that accent lighting is just decorative. But did you know that it also adds function and safety?
For example:
- LED strip lights under cabinets or along tool racks create soft visibility during evening work.
- Motion-sensor floor or wall lights can illuminate pathways, helping you see obstacles and trip hazards more clearly.
- Low-level perimeter lighting helps prevent tripping and enhances ambience.
You can even use smart LED controllers to adjust brightness or colour tone depending on your activity. Remember: bright white for focus, warm amber for relaxation (if your garage is your escape place).
Step 4 – Keep It Safe and Practical
Workshops are busy, high-energy spaces. Safety should always come first. A few smart precautions go a long way in preventing accidents and protecting you and your gear.
Electrical Safety
- Ensure all sockets are properly installed and grounded.
- Avoid overloading your LED drivers. Always check the total wattage of your lights.
- For damp or unheated garages, choose fittings rated IP65 or higher to resist moisture and dust. Water and electricity don’t get along after all.
- Route cables neatly using trunking or clips. You should not have any loose wires across walkways.
Storage and Fire Safety
- Keep flammable materials (like solvents or paint) away from lights or power sources.
- Never mount lights near heat-producing machinery.
- Use aluminium profiles for LED strip lights. They act as heat sinks, preventing the strips from overheating and prolonging their lifespan.
Safety Reminder
- Always turn off mains power before wiring or fitting new lights.
- Install motion sensors for automatic shut-off. They’ll improve your security and energy efficiency.
- Keep a small fire extinguisher nearby, especially if you work with lights and electrical tools.
A little preparation ensures your creative space stays safe, reliable, and code-compliant.

Step 5 – Organise for Productivity
A tidy workshop isn’t just about aesthetics. It’s efficient and productive. It saves time, reduces frustration, and keeps your projects flowing smoothly. Good organisation also complements your lighting setup by ensuring nothing blocks the brightness (creating shadows) where you need it.
Make Use of Every Surface
- Install vertical shelving for paint tins, boxes, and tool cases.
- Use pegboards or slat walls to hang tools for easy visibility.
- Add magnetic strips for screwdrivers, wrenches, and drill bits. No rummaging required.
Integrate Lighting Into Storage
One clever trick: add under-shelf LED strips or drawer lights to brighten storage zones. With these installed, you’ll never fumble for a tool again. These lights can even be motion-activated for convenience.
Quick Organisation Checklist
Answer these questions:
- Can you reach your most-used tools within three steps?
- Can you easily see every item on your bench?
- Are cables and extensions safely tucked away?
If you answered “no” to any of these, it’s worth a quick reorganisation. It’ll definitely help boost your garage’s safety, efficiency, and productivity. And yes, messy wires aren’t aesthetic.
Step 6 – Add Comfort and Personal Touches
Just because it’s a garage doesn’t mean it should feel like a neglected child compared to the other rooms in your home. Think about it: The more comfortable and inviting your workshop is, the more time you’ll want to spend in it.
Control the Environment
- Add insulation or rubber flooring tiles to reduce cold and fatigue from standing.
- Use a portable heater or fan to make it usable all year round.
- Consider soundproofing panels if you often use noisy tools — your neighbours will thank you.
Design for Inspiration
Think beyond functionality. Your workshop is your personal space. Here are some ideas on how you can inject personality into your workshop:
- Paint the walls with light colours to help enhance brightness.
- Install accent LED lighting behind shelves or displays. LED strips can fit in tight spaces, so they can greatly help with this.
- Use smart controls or dimmers to adjust the atmosphere for different projects or activities.
The idea is to have a workshop that also doubles as a creative retreat. It’s transforming your garage from a mere utility space into a proper studio with the help of small (yet crucial) details. Yes, like your lights.
Step 7 – Maintenance and Long-Term Upkeep
So you have your dream workshop up and running. Now, a bit of ongoing care will keep it bright and efficient for years to come.
Keep Lighting at Its Best
- Dust your fixtures and LED panels regularly. Dirt build-up can cut brightness, which is counterintuitive to what we’re trying to achieve here.
- Check for loose fittings or flickering bulbs, which can indicate connection issues.
- And if you still have traditional lights installed in your garage (fluorescents, halogens, etc.), it’s time to replace them with new energy-efficient LEDs
Stay Safe and Sustainable
- Inspect cables, plugs, and extension cords for damage every few months.
- Upgrade to smart lighting systems or motion sensors for reduced energy use.
- Dispose of old bulbs responsibly through local recycling programs. Check with the manufacturer for instructions on recycling your lights.
A well-maintained lighting system not only saves money but also ensures your workshop stays safe, efficient, and inspiring every time you switch it on.
Building the Workshop that Works for You
Your garage has the potential to be far more than a place to park or store boxes. You can turn it into a space to fuel your DIY passion—with thoughtful design, a touch of creativity, and proper lighting (of course).
The perfect DIY workshop needs to be bright, safe, and uniquely yours. You could be restoring a car, crafting furniture from scratch, or repainting your bicycle…
Whatever project it is you’re working on, you can’t do it well with a workshop that won’t work with you. That’s why, when upgrading your garage, think about how you’ll move, work, and see within the space, then mould your lighting around it.
Simple Lighting offers a wide range of LED battens, strip lights, and task lighting solutions designed to help you create the garage workshop of your dreams.
You can find more garage lighting tips here: How to Choose the Best Lighting for Your Garage.


