


When it comes to versatility, LED strip lights are in a different league from most LED lights. Because they are flexible and come in many varieties, you can use them anywhere! However, what if you want to restyle your home and reinvent your space? What if your lease is up and you need to move to a different place? Does that mean that you’ll have to leave the LED strips that you stuck under your table or behind your monitors? Will you still be able to use them?
If you invested a lot in LED strip lights to decorate and illuminate your space, don’t worry because you can still reuse them! Even if you utilise the adhesive backing, there’s always a way to re-stick them into your new interior design.
LED strip lights are the best lighting solution, especially for renters, since you can take them anywhere you go. They’re not like other light fixtures that, once you install, need to stay where you mount them.
Is it possible to remove LED strip lights once you stick them?
Unless you’re removing your strip light because you’ll give your wall a fresh coat of paint or you have to move, it’s best if you don’t remove your strip lights. Remember, one of the reasons why strip lights are popular is because of the sticky adhesive backing that makes installation a breeze. That adhesive backing is planted securely on your wall, and it can most likely peel off the paint while you remove the lights.
However, removing your strip lights cleanly off your walls is not impossible. It’s just that it will take time, patience and the ability to be careful. You need to mentally prepare yourself that removing them may not be as fast as when you mount them.
On top of that, you need to take note that you might encounter an LED strip that has a very strong adhesive that a clean removal may not happen. In that case, you have two choices, either just leave the strip or prepare to repaint the walls. Regardless, most models have an adhesive that, while they’re strong and sticky, you can peel them off cleanly when you apply heat. Here’s how you do it!
How to use heat to peel LED strip lights off the wall safely?
While the results may be different depending on the model you’re using and the condition of your wall paint, heating the adhesive backing of the strip is one of the easiest and most common ways to safely peel off your strips.
Step 1: Unplug and Heat
Like all the other lighting fixtures that you’re installing or removing, the first thing that you need to do is to unplug the unit. Even if your LED strips are low-voltage, you can still experience electric shock if you don’t unplug them. Once that’s done, it’s time to start heating.
Expect the adhesive backing will not easily come off since it’s designed to stick securely on your surface for years. If you’re not careful, you might end up damaging the surface as you remove the strips. Applying heat can loosen the stickiness of the strips but before you do this, make sure that you’re strip lights are indeed up for that. Different manufacturers use different components, specifications, and designs. So, to be safe, research or directly ask your supplier.
If you have the go signal with applying heat, use a hairdryer and move it along the length of the strips slowly. It’s better to use low to medium heat to prevent damaging your lights. This process needs a lot of patience because you need to guarantee that the adhesive has already loosened and softened. Continue doing this until you notice that the strip is easier to pull.
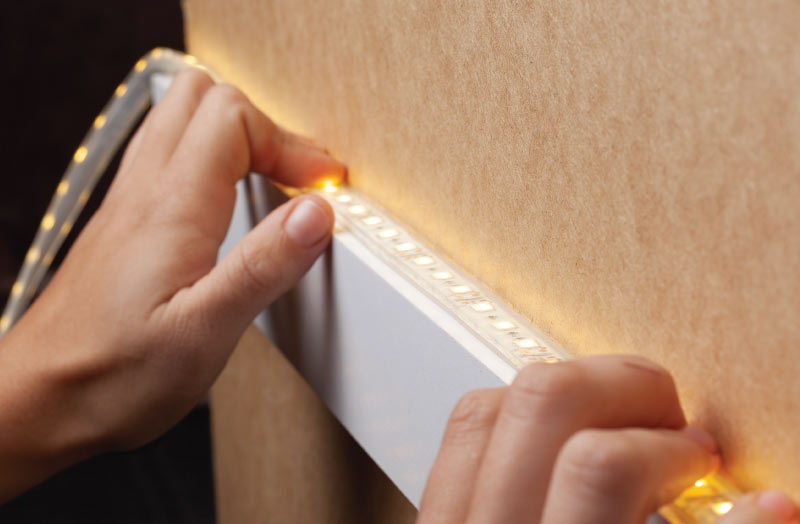
Step 2: Look for the Ends and Corners
It’s easier to peel at the end of the strip. It does not matter if you start with the one nearer to the plug or not. Find a corner that you can conveniently reach and use a flat object to slide underneath. It can be a coin, card, butter knife, or whatever item you want, as long as you don’t chip your paint off.
The adhesive has already softened by this time, making it easier to slide the object underneath. Continue wiggling the flat object once the corner is loose until you reach the other end. If the adhesive is really tough, call for someone to continue warming up the backing as you slide your way through. Gently pull the strip, and don’t stop until you’re all done. Once the adhesive start to harden, you may risk ruining your walls.
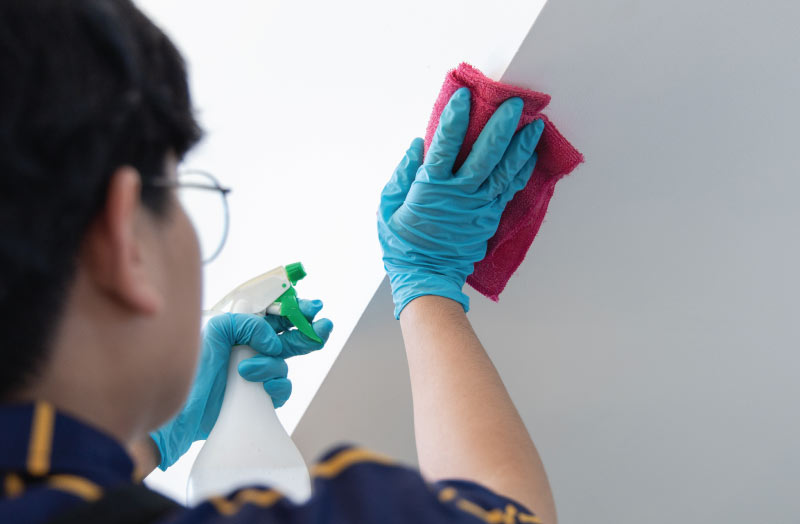
Step 3: Clean the Residue
Once all your strip is free, you’ll see and feel some sticky residue on your wall. Don’t worry. Your walls are still safe at this point. You just need to clean it until everything is gone. Wet a soft sponge or a rug with water and use it to rub the residue in a circular motion. You can also use your thumb as long as you’re careful not to cause any scratches.
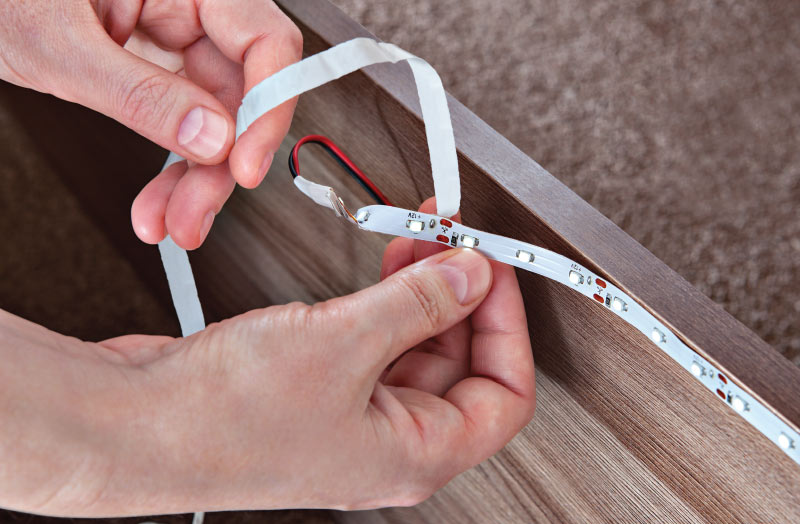
Step 4: Add a New Adhesive and Reuse
When you already know where you’ll reapply your strip lights, get a command strip or a double-sided mounting tape to replace the adhesive backing. After, you’ll just redo the process when you first mounted your lights!
That’s it! Now that you know you can remove and reattach your strip lights whenever you want (although it may take a lot of effort), it’s time to check out other variations that may look great in your home! Our website, Simple Lighting, houses high-quality tape lights that are guaranteed to last longer and produce an exquisite light output. So, if you’re ready to start shopping, visit us!


