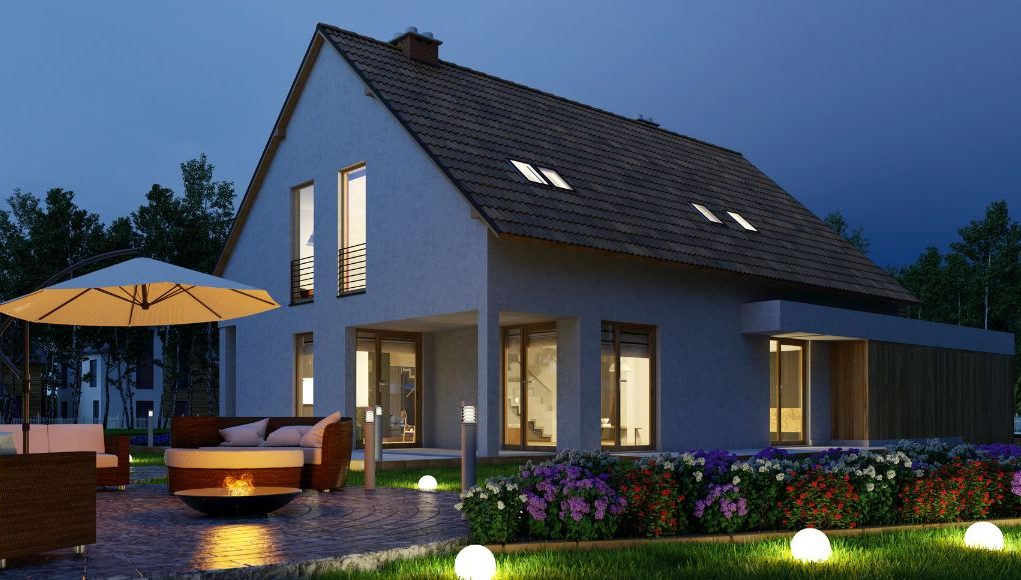
Aside from enhancing the façade of your home, outdoor lighting has many benefits. It can brighten the pathway to your door, preventing tripping and slipping. Also, it can help you see the person outside your doorway and deter people with ill intent. Plus, it lets you make the most out of your backyard or patio during warm summer evenings!
So, if you’re convinced to add a few more outdoor light fixtures to your home, here’s a guide on installing them.
Safety Reminders
Before anything else, if you do not have any electrical background or are not confident in DIYing, call for a professional to do the mounting instead. It’s better to pay extra instead of sacrificing the safety of your home and everyone living in it, including you!
However, if you’re still sure that you can do it and have experience and just need a little reminding of the process, be reminded of these safety precautions.
Remember to always turn off the main power at the consumer unit. Before you begin any electrical procedures, use a socket tester and confirm if the circuits are dead and okay to work on. After you’re done, recheck with a socket tester before you start using it.
Guarantee that you’re following all your building and wiring regulations to ensure the safety of your home. Consult an electrician or a person with certification if you’re not certain. Never risk anything, and make sure that you’re safe. Aside from all that is mentioned above, here are other safety rules that you need to observe:
- Switch off the fuse box and isolate the circuit you plan to work on by taking out the circuit fuse. Safe keep it in your pocket to avoid losing or accidental replacement.
- If you can, turn off the breaker and lock it.
- Leave a note on the unit to advise that you are working on the circuit.
- Double-check if the circuit is dead using a socket tester.
How to wire an outside light?
You can mount your fittings onto your exterior walls to brighten your front and back doors. Also, you can attach them to the corners of your home to illuminate your pathways. As for wiring, you can connect them by spurs from your power circuits or existing lighting.
If you plan to do this, it’s better to use an RCD so the power will switch off immediately if there’s something wrong. Some modern homes and units have RCD, but if you’re living in an older model, you may need to wire one separately. RCD protection is necessary for some electrical devices. If you’re not sure whether you have it or not, check with an electrician.
Another critical thing to note is that when installing lights outdoors, guarantee they are waterproof and designated for outdoor use.
Procedure:
- Drill a hole where you want your lights to be so it’ll go downhill toward the outside. Line the hole using a plastic conduit and feed the wires through.
- Connect the cable cores to the proper terminals inside the fixture, or link the flex cores with strip connectors. Use PVC electrical tape and wrap the wires tightly to keep moisture out.
- Mount the fitting to your wall and add a bead of silicone sealant to prevent moisture from entering.
- Inside your home, run the light power supply cable back to an appropriate position for cutting into your main lighting circuit cable using a four-terminal junction box.
- Affix a switch and wire a 1mm2 two-core-and-earth cable back to where your junction box is.
- Isolate the circuit and check if the power is off with a voltage tester. After, cut through your main circuit cable and perform the appropriate connections in your junction box.
How to wire external lights while running a spur from a power circuit?
When you decide to run an outdoor wall light off your primary power circuit (which is necessary, especially if you plan to install a high-wattage floodlight), you must first identify an appropriate socket to line the spur. That circuit must have RCD protection.
If you want to reinforce your home’s security, get a flood light with PIR (passive infrared sensors) motion detection. When the sensors detect movement, they will automatically switch your lights on. In addition, you can also use the same floodlight for automatic low-level lighting from morning to evening.
Procedure:
- You’ll have to line the spur using a 2.5mm² two-core-and-earth cable and connect it to the “feed” terminals of a fused connection unit with a 5-amp fuse. If it comes with a switch, you can use it to switch your lights on/off – or you’ll require a separate switch.
- From your fused connection unit’s “load” terminal, connect a 1mm² two-core-and-earth cable directly to the fixture (if there’s a switch in your unit), or link it to a four-terminal junction box – from which you can line separate switch drop and light supply wires.
How to connect outdoor lights (low-voltage graden lights)?
A low-voltage setup is the safest and easiest to mount when it comes to garden lighting since most garden fixtures are on spikes (you just push into the ground). These fixtures draw power from a transformer using an ordinary two-core cable.
If you’re looking for hassle-free light fixtures for your garden, opt for solar-powered garden lights. Aside from being easy to install, these lights will brighten your space without adding a single penny to your electricity bill!
Procedure:
- Plug the 12v transformer into a convenient socket inside your home, garage or shed since you have to shield it from the weather. The cable you’ll need will depend on the load and circuit length. You can pass the line through a hole that you drill in your wall, window or door frame.
- Plug the hole with a silicone sealant to prevent moisture from coming in. Since it’s a low-voltage setup, it’s safe to leave the cables on or just beneath the surface. However, it’s best to bury it around 450mm deep to avoid tripping. To mark your cables, add an electrical route marker tape above the cable’s path at a depth of 150mm.
It’s challenging to wire lighting fixtures outdoors, especially if you have zero experience. Hiring a professional will benefit you more because they can efficiently get the job done and guarantee that your lighting setup will work and be safe. If you have any lighting needs, whether indoors or outdoors, you can visit our website, Simple Lighting. We have an extensive collection that will surely help you address your needs!
What is the brightest outdoor LED flood light bulb?
- 300W LED Floodlight with Photocell in Black Finish
- 200w IP65 LED Floodlight, 6000K IP65 Black
- 150w LED Floodlight With Photocell Sensor in Cool White
Do LED flood lights use a lot of electricity?
No, LED flood lights use less electricity compared to traditional fixtures. LED flood lights are indeed one of the brightest LED lighting solutions. So, the concern may be that it will require a lot of electricity. While the wattage consumption of the LED flood lights listed above may look astronomical, compare it to the wattage consumption of traditional fixtures.
An HID LED flood light will require 300w to produce the same lumen output as our 100w Cool White 6000K LED Flood Light, which only runs at 100w.


