


Since their release, LED downlights have continued to grow their influence over modern lighting designs. Well, given all its benefits, it’s not a surprise! But do you have all the information on this supposedly incredible lighting solution? What are LED downlights, and how do you install them?
Understanding LED Downlights: Types and Applications
LED downlights are adaptable, allowing them to fit various applications. However, what enables it to be versatile? It’s their many varieties! You will find many types of LED downlights in the market. Each type will have sub-categories, and those sub-categories will have other categories. If you look at it point blank, you’ll be surprised how many LED downlights you can find!
So, to make it easier for you to navigate, here are some of the LED downlights you should know!
- Fixed LED Downlights – As the name implies, fixed LED downlights have a steady gimbal that emits light downwards. Once you mount the fixture, there’s no changing where your beams will be pointing.
- Adjustable LED Downlights – If a fixed LED downlight has a steady gimbal, an adjustable LED downlight has a movable one. Because of this, you can quickly re-direct the light beams by tilting them up or down!
- Fire-Rated LED Downlights – Unlike regular LED downlights, a fire-rated one has a built-in intumescent pad. When exposed to a particular temperature, this pad activates, sealing off any entry points surrounding the fitting where a fire might slip through. A fire-rated downlight can restore the fire integrity of your ceiling, so if you want to guarantee your home’s fire protection, this is the one for you!
- Bathroom LED Downlights – A typical indoor LED downlight would have an IP20 rating. Unfortunately, those are not suitable for bathroom use. It would be best to have a bathroom LED downlight because it has an IP65 rating, which is safe to install even in your bathroom’s zone 1.
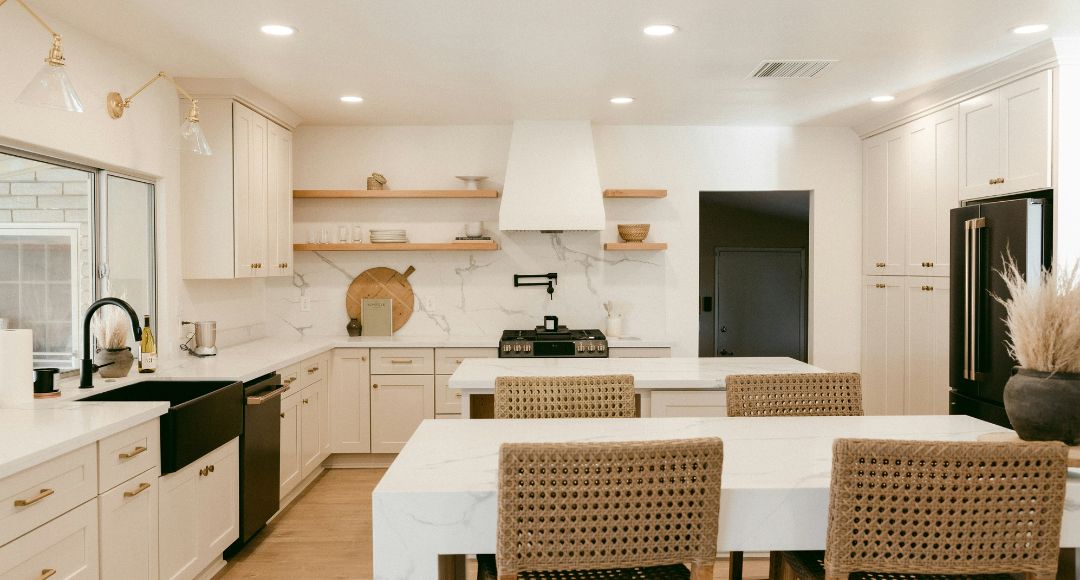
When it comes to the application of LED downlights, you can do pretty much anything with it. You can use it in your kitchen, bathroom, living room, dining room, hallways, storage room, garage, shed and more. The only thing that you must do is find the specific LED downlights that will accommodate the application you intend. Find the right features and technical specifications, and you can do whatever you want!
Safety First: Preparing for the Installation Process
Before proceeding with the installation, there are a few precautions that you should observe. First, switch off the main power supply before connecting anything. If you live with someone, leave a note to notify them. Second, prepare and use the appropriate tools. If the instructions say to use a pliers, don’t use a screwdriver. Third, employ a stable ladder. Don’t step on your furniture pieces or create a makeshift ladder.
Above all, don’t DIY if you’re not confident. There’s nothing wrong with calling an electrician to do it for you. It’s even safer for you and your home because the lights will be mounted correctly and safely!
DIY Tools and Materials: What You Need
What do you need to prepare? Besides the LED downlight model and the bulb (if not integrated with the fitting), you’ll need the following:
- Drywall saw
- Drill
- Drill Bits
- Hole Cutting Drill Attachment
- Wire Stripper
- Screw Driver
- Lineman’s Pliers
- Voltage Tester
- Stud Finder
- Safety Glasses
- Electrical Wire
- Electrical Tape
- Fish Tape Reel
- Wago Connectors
The materials and tools will depend on the model of your LED downlights. The list may increase or decrease depending on what the fixture has built-in.
Choosing the Right Location: Planning Your Layout
You don’t just randomly select the area when positioning your LED downlights. You have to plan and consider several factors before you start installing. How big is the room, and what are your lighting needs? Those are the two questions that you need to think about.
As a general guideline, position your LED downlights two feet away from that wall. Avoid making shadows and evenly space your fixtures for a cleaner look. Once you’re done measuring and computing, mark everything with a pencil!
Cutting Holes: Step-by-Step Guide
LED downlights are mounted recessed onto your ceiling; therefore, you must trim cut-out holes. When doing this step, ensure that you precisely follow the marks and dimensions. Not bigger or smaller. If it’s too big, the fitting will fall out; if it’s too small, the downlight will not fit. Use a hole saw to guarantee a precise cut!
Wiring the LED Downlights: Connecting the Circuit
To wire your lights, feed the power cable through the hole. Then, wire the power source to your LED downlight. Connect black to black, white to white, and green to green. Secure the wires tightly to avoid disconnection and any malfunction.
The wiring process may change depending on the model that you have. Some LED downlights have wireless terminal blocks and push-fit connectors, streamlining the installation procedure. So, still, go through the installation guidelines of your LED downlight model to know what to do.
Installing LED Downlights: Placing and Securing
Mount the housing and insert the downlight after connecting the LED downlight and the main power supply. You should follow the instructions given by the manufacturer because you may have spring clips or twist and lock. Depending on which your LED downlight has, the securing method will differ. Then, add the bulb if it’s not integrated with the fixture.
Ensure that your downlights are attached to your ceiling. It should sit perfectly flush to say that you did an excellent job.
Testing and Troubleshooting: Ensuring Proper Functionality
Before packing your tools, check if the LED downlight is functioning correctly. Just guarantee that you’re doing the testing safely. Don’t remove the safety goggles and gloves when doing this to prevent getting electrocuted.
If you experience malfunctions like flickering, check the connection if it’s loose; if everything seems to be fine, but your lights are still not working correctly, it’s better to call an electrician.
Alternatively, when everything works perfectly, do the finishing touches and pack up!

Conclusion: Enjoying the Fruits of Your DIY Labour
Installing LED downlights may be daunting, but once you start reaping the fruits of your labour, you’ll think everything is worth the effort. When installing, always lean on the side of precaution and if you’re unsure of anything, ask a friend who is well-versed in lighting installation or call a professional. If you plan to add more LED downlights in your home or convert your old fittings into LED downlights, visit our website, Simple Lighting! Our extensive collection will allow you to find the perfect one for your space and lighting requirements!


