Installing decking lights is an ideal way to illuminate your outdoor area. By adding deck lights, you get to enjoy your decking day and night. Not only does a deck with lights add atmosphere and stylish aesthetics to your outdoor space, but they also make it safer for you, your family, and your guests. Adding decking lights to your outdoor decor could even boost your property value!

The installation process is a safe and straightforward task, and it can quickly be completed over a weekend. Take your time to read the installation instructions that come with your specific decking lights, as they may differ from the process that we have laid out.

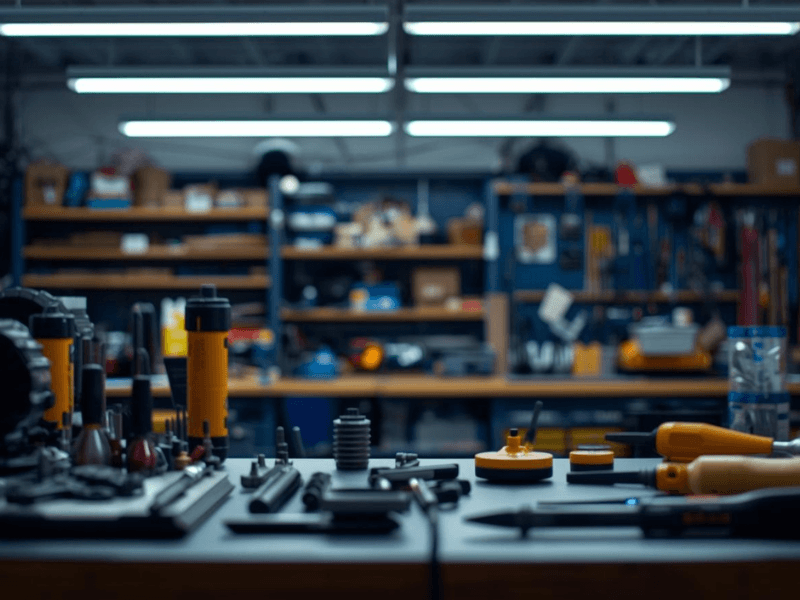
Tools Needed for the Job

As well as the decking lights, you’ll need the following items to complete the task. Most DIY enthusiasts are likely to have them in their toolboxes.

  • Electric drill
  • Wood drill bit
  • Tape measure
  • Try square
  • Pencil
  • Safety goggles
  • Protective gloves

While it’s always tempting to get started and complete the job as fast as possible, if we want the task done well, a little planning will ensure that it all goes smoothly.

So to start with, sketch out a blueprint of where you want to install the light fixtures. It doesn’t have to be a professional blueprint with precise measurements, but it will give you a good idea of where the lights will go. Sketch out your deck on a piece of paper and mark out when you want to position the lights.

Ideally, you’ll want to go out onto your deck at night time and consider the lighting. For instance, are there areas on the decking that would benefit from more light than others? Where do people usually sit or congregate on the deck? Are there particular features you’d like to illuminate, such as steps or walkways?

Taking a few moments out of your evening to sketch out this blueprint will ensure that you don’t start drilling holes in your decking without adequately considering the correct placement of the lighting.

It should also be noted that you will require an external 13 amp plug socket that needs to be situated within five meters of your decking. If you don’t already have one, you will need to get one fitted by an electrician qualified to do so.

Safety Considerations

Installing your deck lights is a safe task that can be easily carried out by any DIY enthusiast safety precautions should still be in place.

First, if you don’t have the external 13 amp plug socket required, you’ll need to purchase one and have it installed by a skilled professional electrician, it’s not worth taking the risk in fitting it yourself.

We are sure we don’t need to remind you but wear safety goggles when drilling, you’d be surprised at how many eye injuries occur when drilling into the wood without adequate protection. Protective gloves are also a good idea rather than ruining your weekend with a splinter in your thumb.

Our final safety tip is don’t plug the lights into the outdoor socket until all the light fittings are secured safely.

How to Install Deck Lighting Step by Step

You’ve sketched out your blueprint, gathered your tools, and considered your safety; you are now set to install your decking lights.

Step 1

If you plan to add lights to the fascia board, start by removing this board, this will ensure that you will steer clear of any noggins and bolts when you choose where to locate your light fittings. If you add the light to the top of your deck, ensure that they aren’t positioned directly over the joists but instead in the middle of the deck board.

Step 2

Lay the lights out where you have planned to place them, bearing in mind that they shouldn’t be positioned greater than 1.2 meters apart. Use your measuring tape to make sure the lights are uniformly spaced apart. For now, the lights should not be plugged in. If you are satisfied with where the lights are positioned, use your try square to precisely mark the wood. Then the fascia can be reattached.

Step 3

It can be slightly daunting drilling holes into your deck, but it’s a necessary step, and you can’t achieve the task otherwise. The fixtures of decking lights can be different, so make sure the wood bit that you are going to use matches the light fixture. Once you’ve selected the correct bit, drill the mounting holes.

Step 4

Remove the deck panels and drill holes in the joists to connect the cables. Feed the light cables through the mounting holes and then put the light fittings in place. Once they are all nicely in position, you’ll need to connect the head of each light to the next one in the sequence.

Step 5

When all the lights are connected, use the blanket plug to cap the final socket. Find the socket that is nearest to the plug socket and connect it to the drive cable. Tidy the driver and mains cable away inside your decking so that they aren’t conspicuous.

Step 6

Now for the exciting part, switch the lights on to test that they are all working. If everything has turned out well and the lights are okay, then replace the decking panels that have been removed.

You can now enjoy relaxing evenings with friends and family out on your deck and enjoy your handiwork.

Final Thoughts

Installing in-deck lighting is a straightforward and affordable task that will make your decking stand out and look amazing at night. Ensure that you purchase the best decking lights that you can afford. LED lights are an excellent choice as they are long-lasting, low energy, and low cost. Remember that one of the essential steps in the process is actual planning, so don’t neglect it. Following these few simple steps to install decking lights will give your garden a whole new night-time vibe.

LEAVE A REPLY

Please enter your comment!
Please enter your name here