


LED strip lights are practically everywhere these days. You’ll see them in bedrooms, kitchens, behind TVs, inside cupboards, and even wrapped around garden fences like a budget fairyland. That’s because they’re easy to use, look great, and cost about the same as a takeaway.
Now you might be wondering, “Can LED strip lights damage walls or paint?” And once you’ve stuck them to a surface, how do you get them off without taking half your paint with it?
The TL;DR is yes, they could. But not always, and definitely not if you do things properly. Let’s break it all down below.
How Do LED Strip Lights Stick to Walls?
Most LED light strips kits come with adhesive already stuck to the back. Just peel and stick, and the job’s done. It’s about as satisfying as putting a sticker on a brand-new notebook.
However, not all adhesives are created equal. Some are gentle and polite. Others act like superglue that’s had too much coffee.
Among the latter is an adhesive called PSA (Pressure-Sensitive Adhesive). Basically, the harder you press, the more it sticks. Leave it long enough, and it bonds with your wall like it’s taken out a mortgage.
Additionally, you can use other methods to slap strip lights on your walls, including:
- Mounting clips – little plastic clips you screw in.
- Aluminium profiles – fancier, reusable, and help with heat.
- Double-sided tape – risky if you choose the wrong kind.
Clips and channels are the safer bet for long-term use. Adhesive is excellent if you’re lazy, impatient, or just love living on the edge.
So, When Do LED Strips Actually Wreck Your Walls?
LED strips don’t go around smashing paint for fun. But under the wrong conditions, they can indeed mess things up.
Poor Paint Jobs Are the Real Villains
If your wall’s been painted with some no-name £5 tin from the corner shop, don’t expect miracles. Bad paint doesn’t stick well in the first place. So, when you slap LED strips on it, the adhesive just takes the paint with it when you remove them. Like peeling a sticker off a banana.
Too Much Stickiness
Some brands use adhesive so strong that it could hold up a bookshelf. Sounds great until you try to remove it and end up pulling a chunk of plaster off with the strip. Brilliant.
Heat Can Be a Problem (Sometimes)
Quality LED lights don’t get hot. But cheap ones? They can warm up, especially if left on for hours. Heat softens paint and adhesive, which leads to glue seeping into the paint. Once it cools down again, it sticks even harder. Like cling film with a grudge.
Fresh Paint Is a Trap
Paint might feel dry after a few hours, but it actually takes up to 30 days to fully cure. Stick anything to a freshly painted wall, and you’re just asking for heartbreak. Always wait a whole month before applying LED strips.
Bad Surfaces = Bad Results
Dusty walls, greasy kitchens, bumpy textures—none of these are ideal for adhesives. The glue won’t stick properly, which leads to sagging strips, patchy adhesion, and higher chances of damage later.
The Usual Suspects: Surfaces Most at Risk
Some walls just aren’t cut out for LED strips. If you’re thinking of sticking lights to any of these, maybe reconsider:
- Wallpaper – it’ll tear. Every. Single. Time.
- Textured plaster – adhesion is spotty, and removal is chaos.
- Freshly painted walls – as discussed, just don’t.
- Old, flaky paint – LED strips are not a miracle cure.
A general rule of thumb to remember: If your wall looks like it’s seen things, don’t test it with sticky lights.
How to Use LED Strips Without Destroying Everything
Right, here’s the part where we stop moaning and offer some actual help. Here’s how to use LED strips safely—and avoid turning your wall into a disaster zone:
Clean the Wall First
Seems obvious, but many skip this step. Dust, grease, and grime make adhesives useless. Wipe with a damp cloth. Let it dry. Then apply.
Test Before You Commit
Stick a small piece of strip in a hidden spot. Leave it overnight. Peel it off slowly. If your wall stays intact, you’re in the clear.
Use Mounting Clips or Channels
This is the safest route. They hold the strip in place, reduce heat buildup, and don’t rely on glue. Your future self will thank you.
Avoid Fresh Paint Like the Plague
You’d be shocked at how many people paint one day and slap on lights the next. Be patient. Let the paint cure. No shortcuts.
Opt for Removable Adhesive
If you insist on using sticky LED lights, look for ones labelled “removable” or “low-tack.” Or use something like 3M Command strips. More expensive? Yes. Cheaper than replastering? Also yes.
Remove Carefully
Ready to take the lights down? Don’t yank. Use your hairdryer to warm up the adhesive. Then peel slowly and gently. No sudden moves; this isn’t a heist film.
But What If It’s Too Late?
If you’ve already damaged the wall, you’ve got two choices: panic or fix it.
For minor paint removal:
- Lightly sand the area.
- Wipe clean.
- Touch up with matching paint.
For bigger damage (holes, peeling, etc.):
- Fill with wall filler or spackling paste.
- Sand once dry.
- Prime and repaint.
Yes, it’s a bit of work. But it’s not the end of the world. Also, you’ll probably do a better job this time around. Lesson learned.
Final Verdict: Are LED Strip Lights Dangerous to Walls?
Only if you use the LED lights recklessly.
With a bit of planning (and maybe five minutes of cleaning), you can enjoy all the glow without sacrificing your walls.
Stick responsibly. Use clips or channels if you’re fancy. And whatever you do, don’t stick them to wallpaper. Unless you enjoy peeling things off in tiny pieces while crying.
One Last Thing…
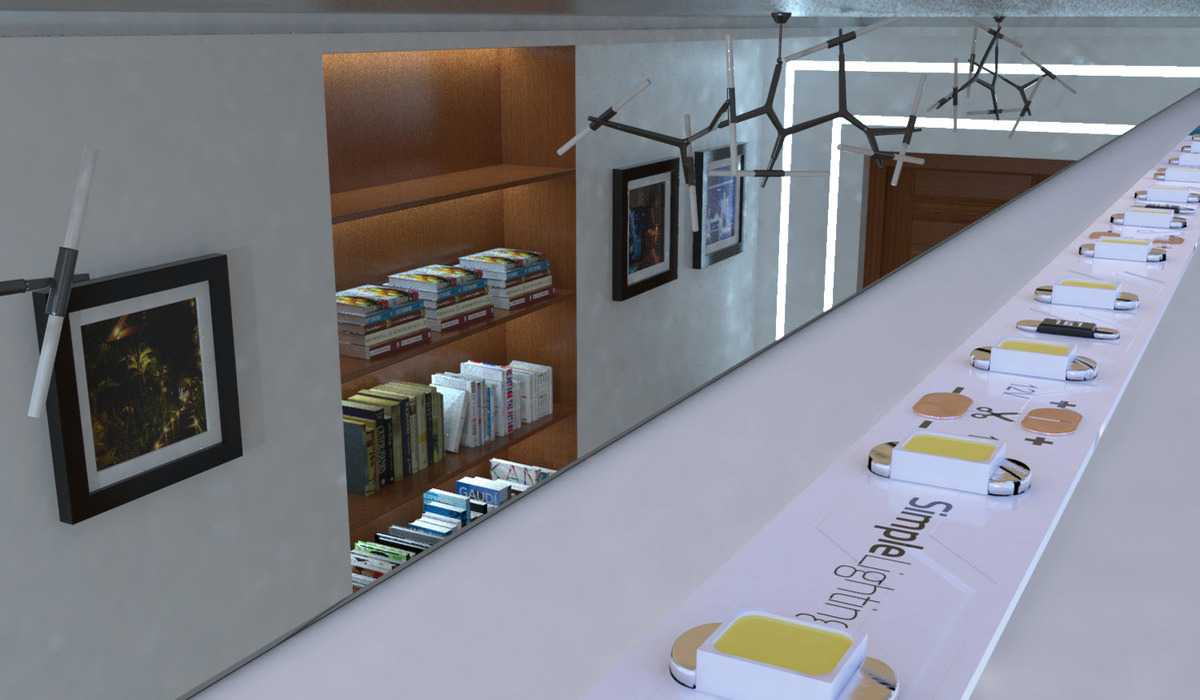
If you’re going to light up your space, make sure you get quality LED lights.
Simple Lighting offers just that! We have top-quality LED strip lights that actually stick, stay cool, and won’t turn your wall into a DIY horror story.
It doesn’t matter if you want mood lighting for your room or an under-cabinet glow for your kitchen. We’ve got solid, damage-free options that don’t cut corners.
Visit our website today!


