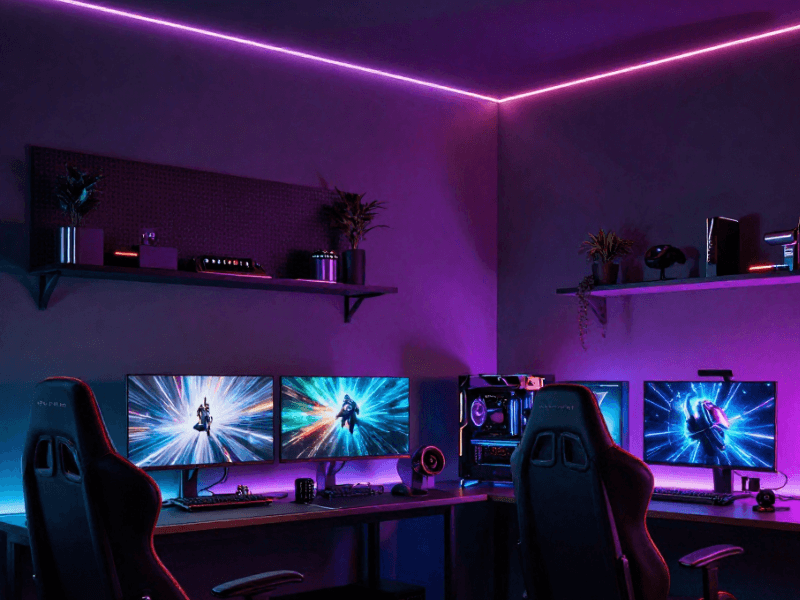
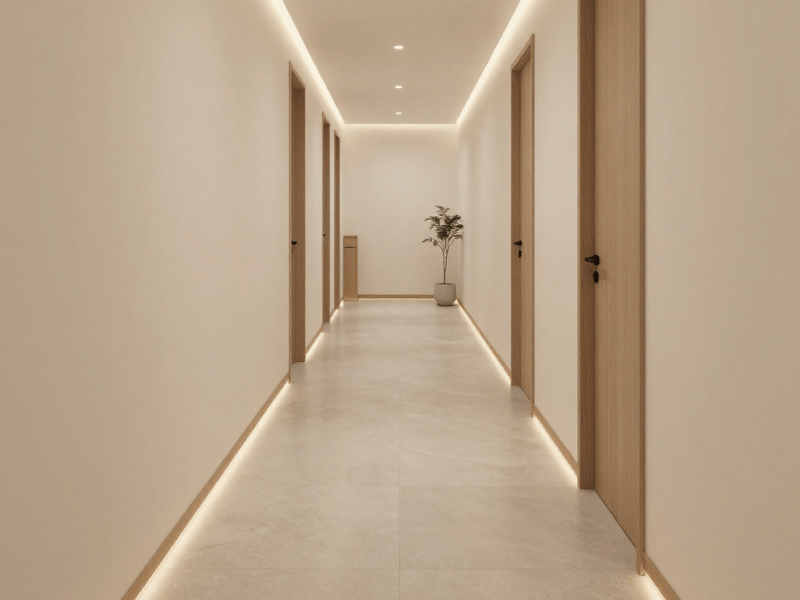
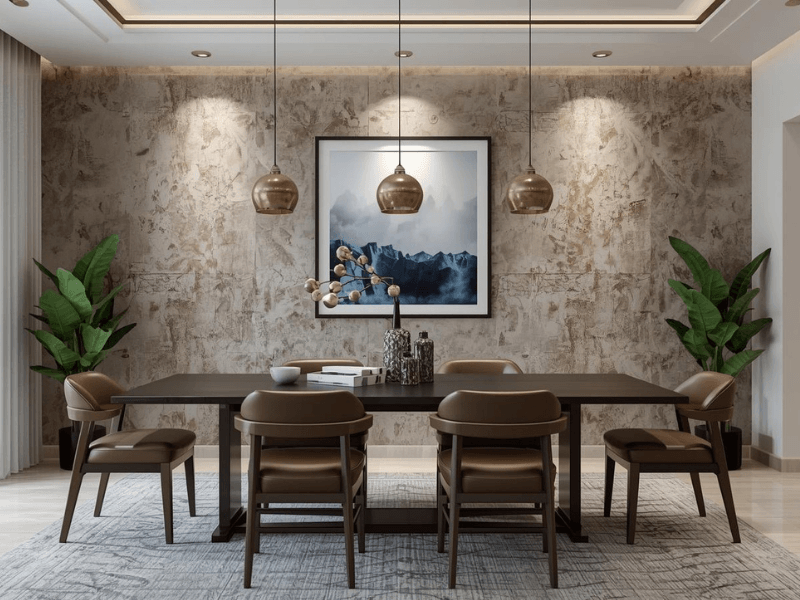
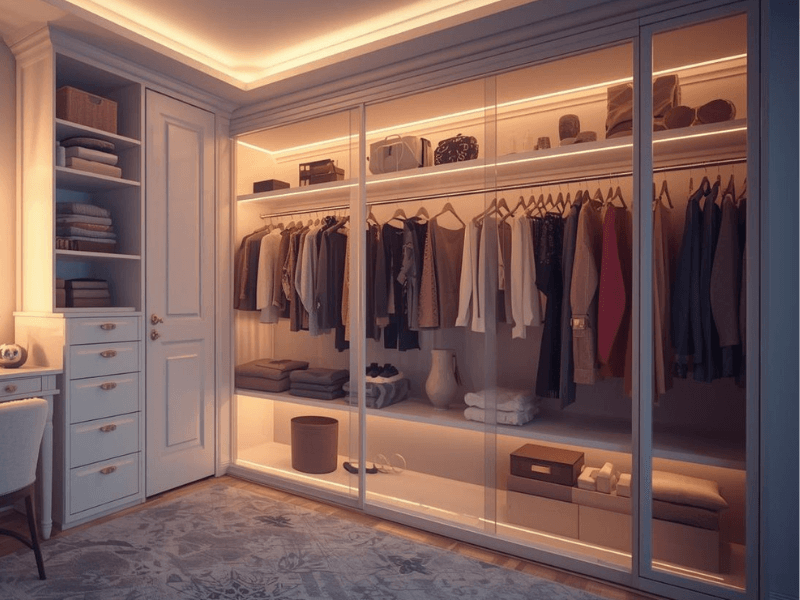


LED downlights are a versatile ceiling light that can be used in kitchens, bathrooms and commercial environments. There are even some LED downlights that are suitable for use outdoors! Here are a few things to consider when picking your LED downlights.
Technical Specifications
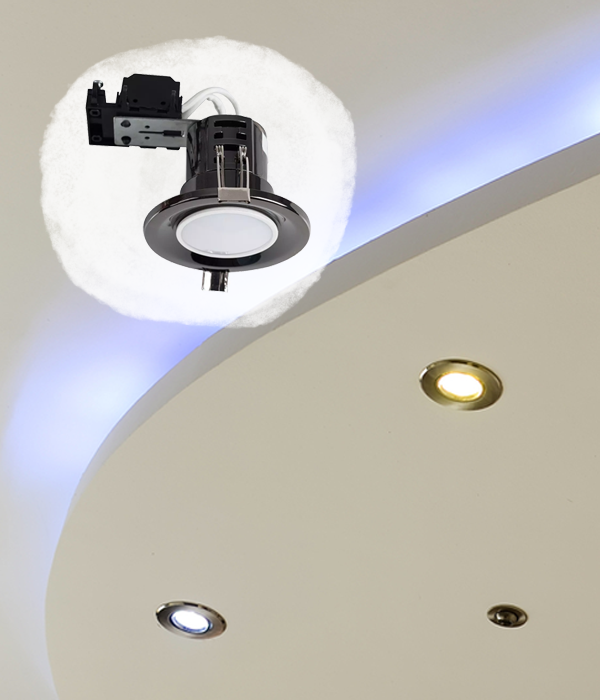
LED downlights are available in a range of different specifications to suit just about any application. The first specifications to consider should be lumens and wattage.
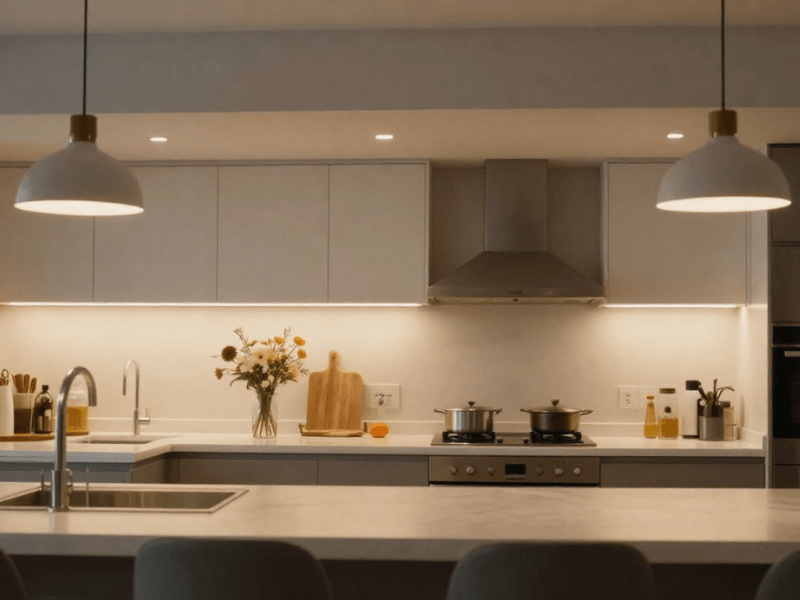
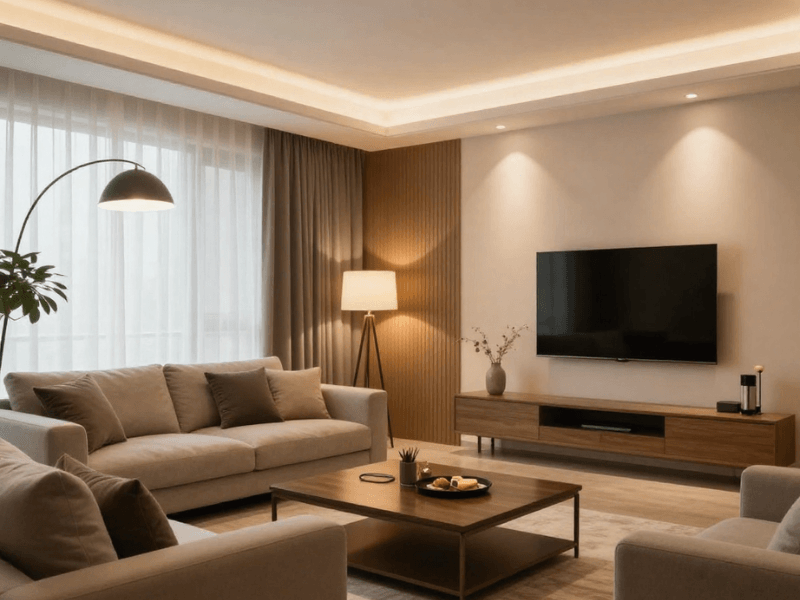
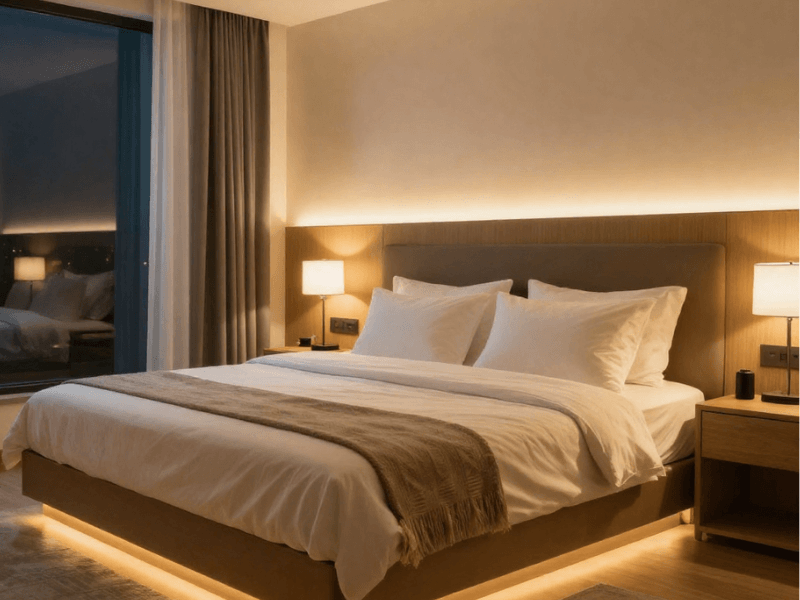
The wattage of an LED downlight will tell you how much power a fitting will use, and the lumen rating will tell you how bright it is. The average LED bulb for home use is often between 300 and 800 lumens. Another important specification to consider is the LED downlight's colour temperature. Colour temperature is measured in Kelvin. Warm white, at around 2700-3200 Kelvin, is suitable for relaxing spaces, such as living rooms or bedrooms. Cool white at around 4000K, however, is clearer, so it works well in kitchens and bathrooms.
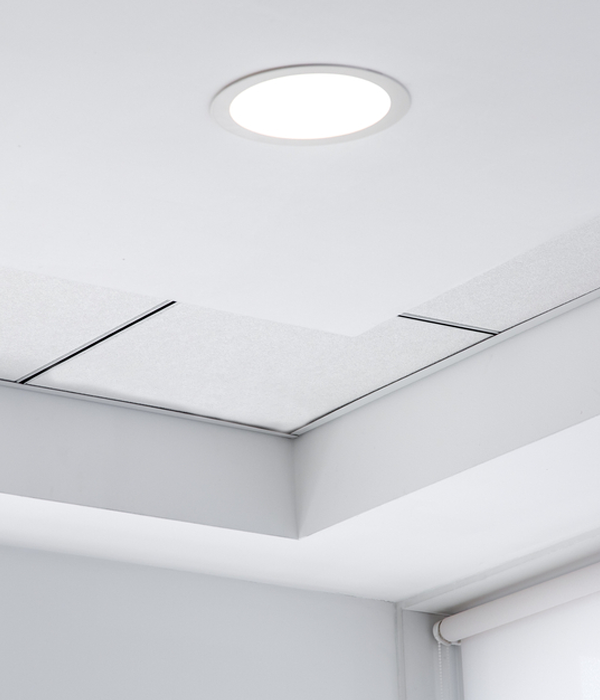
fire rated LED downlights
Fire-rated downlights are becoming increasingly common in both homes and businesses. Fire-rated LED downlights are tested in 30, 60 and 90-minute fire-rated ceilings, and must pass stringent safety tests. If you cut into a ceiling, you must restore it to its original condition so that it retains its natural ability to act as a fire barrier. This is where fire-rated LED downlights come in.
Are LED lights dimmable?
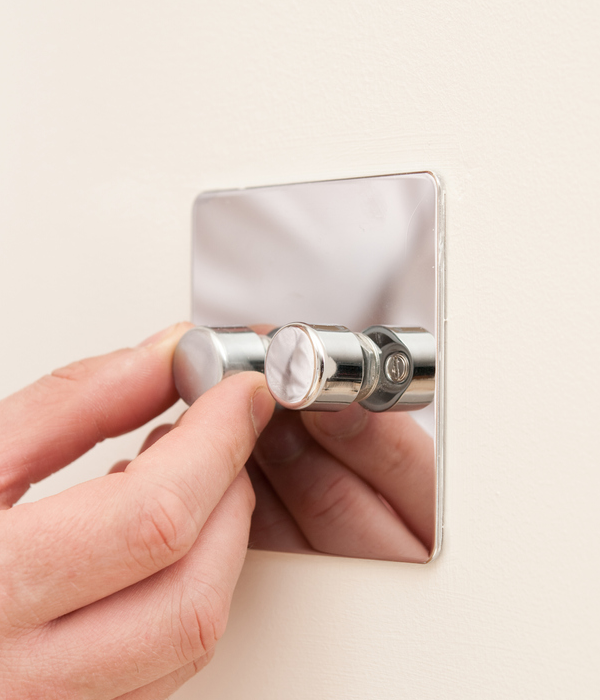
Not all LED downlights are dimmable, so it is important to check before you buy if you need dimmable fittings. There are two main types of LED dimmable downlight. These are leading edge and trailing edge. The two types of dimming cut off different parts of the current's sin wave, and so need to be used with compatible dimmer switches. If a trailing edge downlight is used with a leading-edge dimmer, for example, it can cause buzzing or lamps to blow.
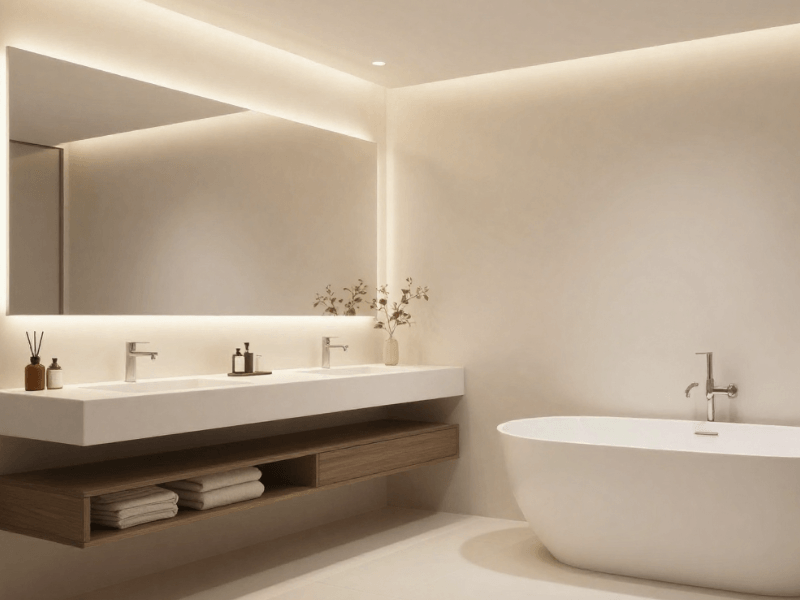
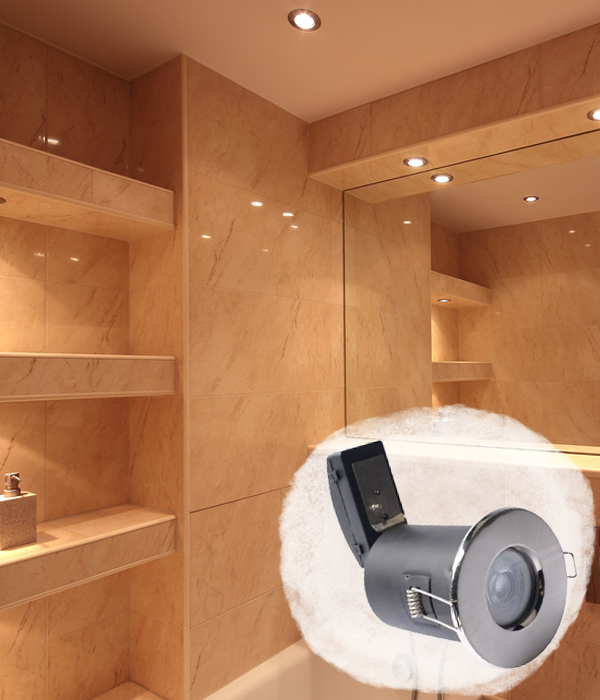
What downlights do i need for a bathroom?
Some LED downlights are IP rated. This IP rating determines how waterproof a downlight is and so where it is suitable for being used. An IP rating is made up of two digits, for example, IP65. The second digit relates to the water-resistant rating of the code, and the first digit is protection against solid objects such as dust.
Bathrooms are split up into 4 zones. Zone 0 is the inside of the bath, shower or basin. Zone 1 is the area immediately above the bath or shower, and zone 2 is anything within 0.6m of the outside of the bath or shower. The final zone is zone 3, which is anywhere outside of zones 0, 1 and 2. Bathroom downlights for zone 0 need to be at least IPx7 rated; for zone 1 and 2 they need to be at least IPx5 rated. Any bathroom downlights for zone 3 do not need to have a specific IP rating unless water jets are likely to be used. In this case, IPx5 is required.
How do i install LED downlights?
There are four main steps to installing recessed LED downlights. The first is positioning, the second is fitting, the third is wiring and the fourth is inserting the unit. If you already have downlights and you are just upgrading, you can jump to step 3.
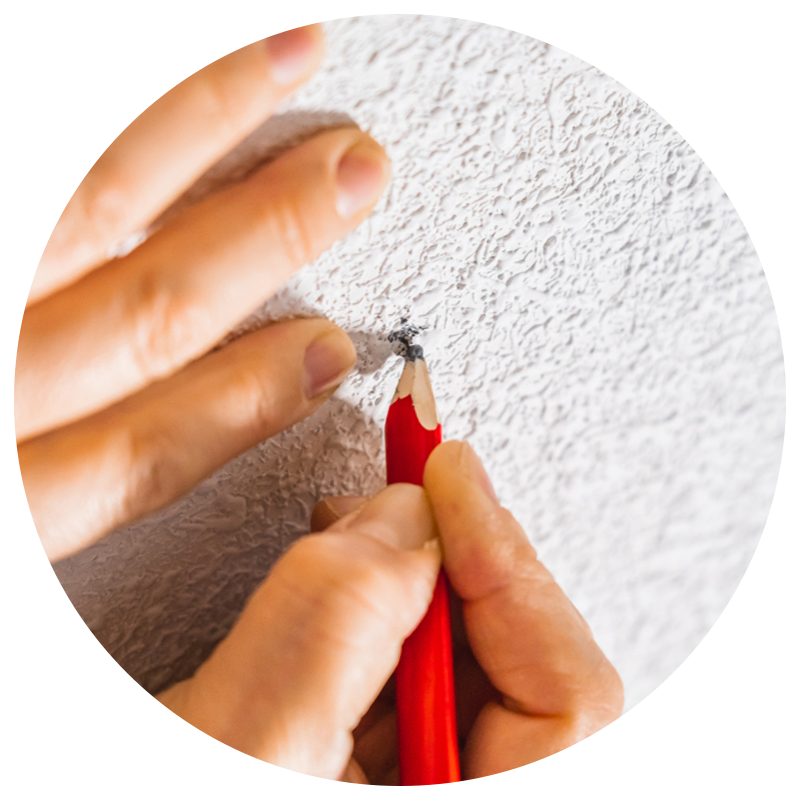
Step One - Positioning
Once you have purchased downlights, the first step is to position them in the ceiling. Before starting to cut holes out, check where any joists or obstructions are. If access from above isn't possible, you can use a stud detector to locate obstructions and find any pipes or cables. Put a mark on the ceiling at the centre of each LED downlight.
Step Two - Fitting
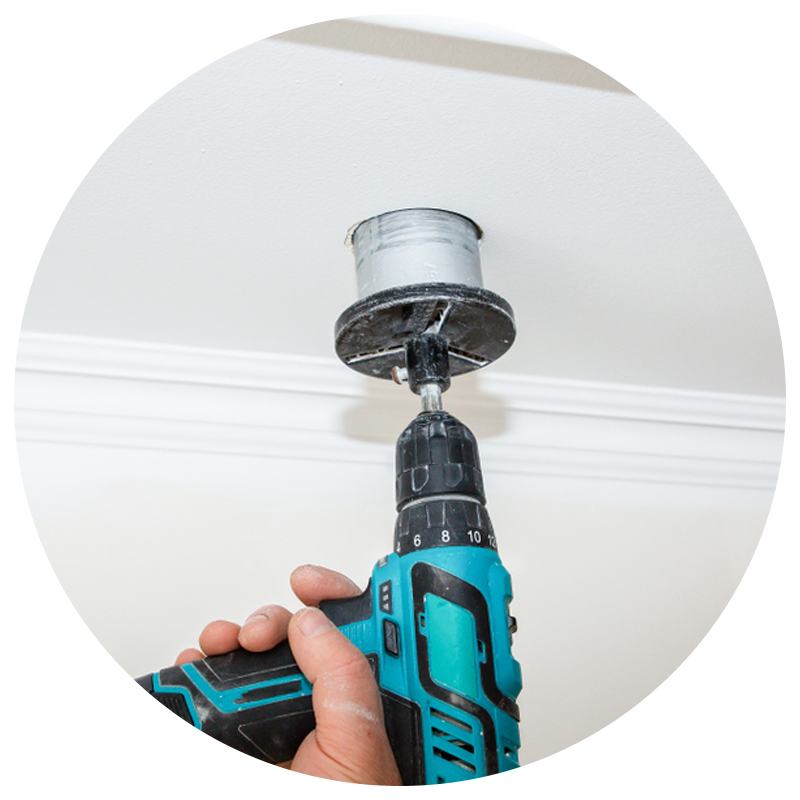
Drill a small pilot hole where each downlight will be fitted. After this, check above the ceiling to make sure it is safe to cut the larger holes. If access above isn't possible, you can try pushing a bent piece of wire through the pilot hole to feel for obstructions. Before cutting holes, make sure you know the hole size required (the downlight's cut out), the height of the fitting, and the overall diameter. To cut the holes, use an appropriately sized hole saw or plasterboard saw.
Step Three - Wiring In The Downlights
Before wiring in downlights, double-check that the circuit is isolated and not live. Downlights tend to be wired in a line, on a radial circuit. You will need to run cabling from the light switch to the first light, and then onwards to the last one. See the manufacturer's guidelines that come with your downlights for accurate wiring information.
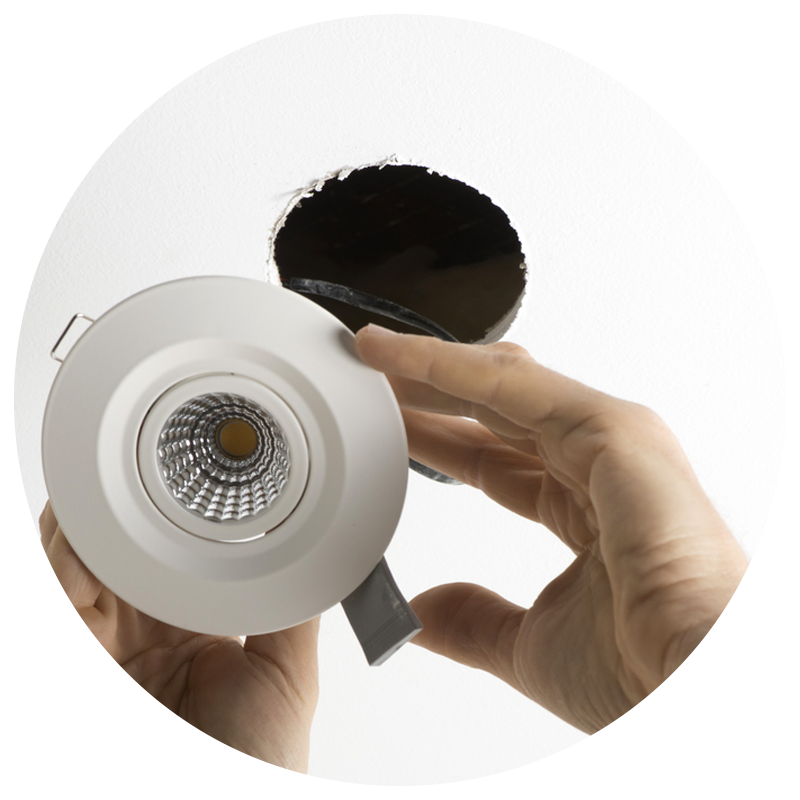
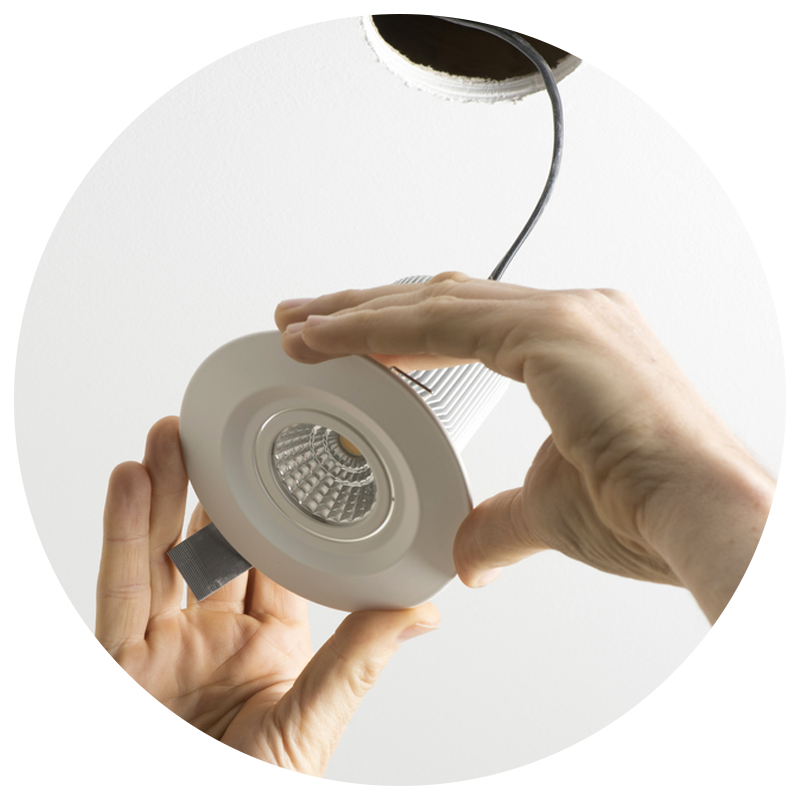
Step Four - Inserting The Downlights
Once the downlights are wired, they just need to be inserted into the ceiling! Many downlights will have springs on the sides. Simply squeeze these in and push the light up into the hole that you cut out earlier. As the light slides in, the sprung catches will catch on the ceiling and hold the fitting in place.
Looking for your perfect LED downlights? Check out the broad range available online from Simple Lighting.


0 comments