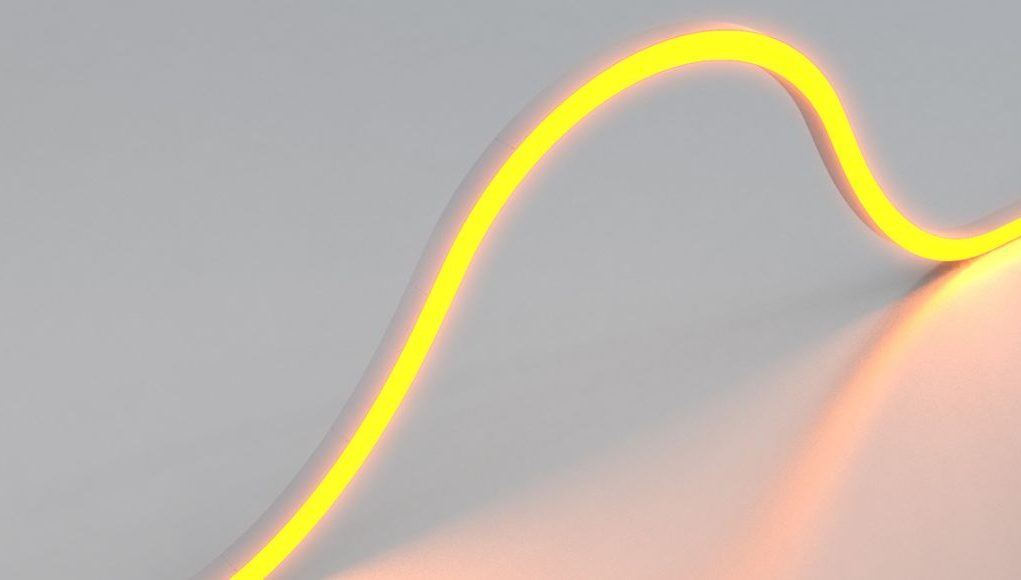
Alright, so you’ve seen those bright, sleek neon strip lights used to light up not just signs but also bedrooms, kitchens, patios, game rooms, and even home theatres—and now you want in.
The good news is that you can totally DIY install LED neon strip lights—and it’s easier than you imagined!
Whether you’re a pro when it comes to lighting, but have never tried using LED neon strip lights yet, or you’re a total newbie in DIY when it comes to lights, follow along, since in this post, we’ll give you a step-by-step DIY guide on how to install LED neon strip lights like a pro (without the pro price tag).
Why LED Neon Strip Lights Rock
Before we dive in, let’s recap why LED neon strip light is such a favourite among DIY enthusiasts as a lighting choice.
- Flexible and bendable – Can be bent and twisted around curves, corners, and uneven surfaces.
- Energy-efficient – LEDs in general use less power to generate brighter light than their traditional counterparts.
- Safe and durable – Does not heat up, so it’s cool to the touch and waterproof options are available (IP67 and IP68).
- Your imagination is the limit – Has a variety of uses from signs, under-cabinet lighting, outdoor paths, and party decor—whatever you can think of illuminating.
In shorter words: if you can imagine it, then neon strips can light it.
Tools & Materials You’ll Need
It’s recommended that you prepare everything beforehand for a smooth installation. Otherwise, you’ll end up going back and forth to your local hardware store, which will waste a lot of time and energy.
The right tools can help you install LED strip lights safely and adequately.
Some of the essential tools you’ll need are as follows:
- Measuring Tape
- Pencil or Marker
- Sharp Scissors or Utility Knife (for cutting Neon Strips)
- Screwdriver or Drill (for mounting clips)
- Wire Strippers
For the materials, you should have these before installing:
- LED neon strips (pick your colour and length)
- Power supply (make sure it matches your neon strips’ specs)
- Mounting clips
- Connectors and end caps
- Insulating tape
- Cable clips or ties
Step 1: Plan Your Layout
Before you cut or fix anything in place, take a few minutes to map things out in your installation area.
- Measure the space carefully
- Sketch a simple layout to have a “bird’s eye view” of the whole layout
- Note the power source/s where you’ll connect the neon strip light
Basically, in this step, think about where you want the glow of the neon strip light to start and end. And always follow this rule to heart: Measure twice, cut once. That’s the secret to a smooth neon strip light installation.
Step 2: Cut the Neon Strip Light (Carefully!)
Like the traditional LED strip lights, LED neon strip lights can only be cut at specific points, usually marked with a line or a scissors icon. Only cut on these points! Cutting in the wrong place could damage the entire strip.
- Find the marked cut line closest to your measurement.
- Use a sharp utility knife or cutting tool to make a clean cut.
- Make sure the cut is straight and even to avoid damaging the strips
Safety first: DON’T cut while the neon strip light is plugged in! Work only when the power is off (not plugged in).
Step 3: Connect the Power Supply
Your project can’t come to life without power. Make sure you have your power supply ready. The rated voltage and current of your LED neon strip lights should match the rated voltage and current of the power supply (12v DC to 12v DC, or 24v DC to 24v DC).
- Attach the power supply’s connector to the end of the LED neon strips.
- Ensure the polarity lines up (positive to positive, negative to negative).
- For outdoor installation, apply a silicone cap on the connection point and seal with heat shrink tubing to maintain waterproofing. The same is done in other damp indoor areas.
- Test before mounting. It’s easier to troubleshoot problems this early on than when the neon strip is already fixed to the wall.
Step 4: Mount the Neon Strips
This is it. It’s now time to install the LED neon strips. There are a few mounting options (best to decide early on which one you’ll use):
Adhesive Backing— This is best for light-duty indoor installs, meaning you should not expect it to last. Make sure the surface is clean and dry before you stick the strip. Get a stronger double adhesive tape to make the strips stick longer.
Mounting Clips— Secure your neon strips with screwable clips. This installation is robust and secure.
Aluminium Channels— Use aluminium profiles for smooth, professional-looking finishes. They also serve as heatsinks for your LED neon strips, so there’s no need to worry about overheating.
PRO TIP: Start mounting the LED neon strip from one end and work your way down to the other. Secure the strip every 12 to 18 inches (whichever feels right). Take your time. Smooth out any kinks or bends.
Step 5: Power Up and Test
The moment of truth. Plug the LED neon strip and flip the switch. If there are no issues, then your neon strip light should light up brightly and beautifully. (Although there should be a high chance of it lighting up if it lit up in your first test, before you mounted it.)
Check the whole length of the strip. Are they lined up where they’re supposed to be lined up? Are there parts that are bent the wrong way or drooping down? You should be able to troubleshoot from here.
Stay calm and check the connections if you’ve got a flicker or no light. Make sure the strip is connected correctly. Also, confirm whether the power supply has the correct voltage.
Once it glows steadily, voila! You’re done! You’re now a proud LED neon strip installer.
Safety Tips and Common Mistakes
As you have undoubtedly realised by now, installing LED neon strip lights is simple and easy. But it doesn’t mean that everyone is doing it right. Here are some things you need to watch out for when installing your LED neon strip lights:
- ❌ Cutting the strip at the wrong place.
- ❌ Working on the strip while it’s plugged in.
- ❌ Using the wrong voltage power supply.
- ❌ Skipping waterproofing for outdoor installs.
- ❌ Neglecting testing before final mounting.
- ❌ Bending or twisting sharply (don’t bend too much!)
- ❌ Not preparing the surface they’re sticking on firsthand.
- ❌ Overloading the power supply.
- ❌ Utilising low-quality accessories.
Avoid these common mistakes, and you’re golden.
Conclusion
DIY installing LED neon strip lights is a flex in itself. It’s easy and straightforward, but if you don’t follow or miss any of these steps, your installation could go wrong. The trick for a smooth installation is to have everything ready and handy. And always remember: Measure twice, cut once.
Always prioritise safety. If unsure or unqualified, get a professional electrician to help you out! Want to know more about this modern lighting solution? Read The Definitive Guide to Neon Strip Lights.


