


Replacing, upgrading, or adding an LED bathroom mirror can be the best improvement you can make to your bathroom. And it’s more than just having a reflective surface to check your outfit. No. LED bathroom mirrors offer more benefits by combining style, function, and technology.
The best part? You don’t need to be a DIY pro to be able to install one. But you do need to know what to consider if you want a properly installed LED bathroom mirror. This guide will walk you through everything you need to know to get your LED bathroom mirror mounted, wired (if required), and glowing beautifully in no time.
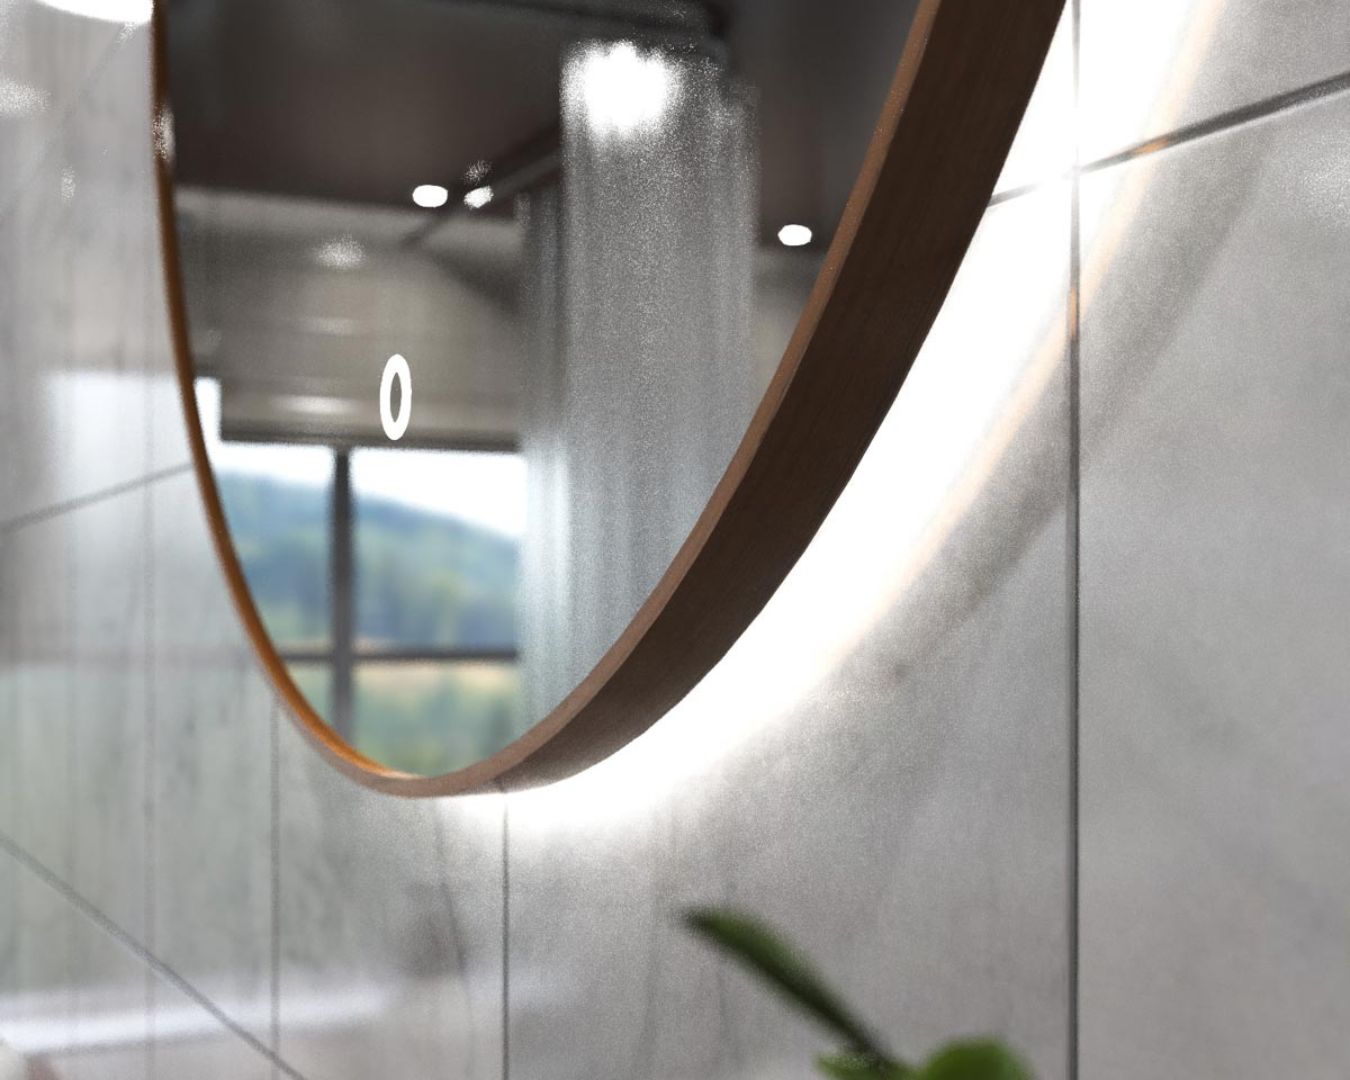
What You’ll Need
The first step to a smooth LED bathroom mirror installation is preparation. So, before we dive in, let’s make sure you have the right tools and supplies on hand:
Tools:
- Drill and appropriate drill bits
- Wall anchors and screws
- Screwdriver
- Measuring tape
- Level
- Pencil or marker
- Wire cutter and stripper (for hardwired mirrors)
- Safety glasses
- Ladder (if necessary)
- Stud finder (optional)
Safety Tip: If your mirror is hardwired, always turn off the power at the breaker before working with any electrical components.
Step 1: Choose the Right Spot
Location matters if you want a successful DIY mirror light install. Pick a location that is both visually appealing and functional. We’re no interior designers, but that’s usually above the sink or vanity area. However, that would also highly depend on your preference. Make sure that it’s:
- At a comfortable height
- Centred over the vanity (for aesthetics)
- Close to a power source or electrical box (you need to power up the LED)
- Free from any obstruction
Take a moment to check the wall material and consider using a stud finder to locate solid mounting points. This will greatly help with the installation process.
Step 2: Measure and Mark
Once you’ve decided where your mirror will go, it’s time to measure and mark the wall.
- Using a measuring tape, take the height and width measurements of the LED bathroom mirror.
- Find the mirror’s centre and align it with the vanity’s centre point for a balanced look.
- When you mark the lines, you can use a level to ensure they are straight.
- Determine and mark the mounting brackets and backplates’ positions on the wall.
- If you want a visual overview of how the mirror will sit over the vanity, create an outline using painter’s tape.
Getting this step right ensures your mirror ends up perfectly straight and centred.
Step 3: Mount the Brackets or Backplate
Alright, it’s time for the power tools. Bring out the drill!
- First, you want to drill the pilot holes into your wall based on your markings.
- If you’re not drilling into studs, insert wall anchors for extra support.
- Screw the brackets or mounting plate securely into place. The screws are often provided along with the bracket.
- Make sure the brackets are firmly attached and well-aligned. Use your level to check.
Pro tip: When drilling, use drill bits that are slightly smaller than your screws.
Step 4: Electrical Connection (If Applicable)
This will depend on the kind of LED bathroom mirror you have. Not all LED mirrors require wiring. Here’s what to do depending on your mirror type:
Plug-in Mirrors:
There’s no need for complicated wiring. Just make sure you have a power outlet that the LED mirror can connect to, and you’re golden. If you don’t have an outlet nearby, you have to set that up first—this one will need wiring.
Pro tip: Add cable clips or a cord cover for a clean look.
Hardwired Mirrors:
Some LED mirrors, like general ambient lights, connect directly to your home’s electrical system. If you have this kind of mirror, here’s an overview of what to do:
- Turn off the power — flip the switch in your circuit breaker for safety.
- Match the wires — make sure you have wires ready to connect to. The mirror should have the same coloured wires as your main. They need to be connected by colour:
- Black to black
- White to white
- Green to green (or copper, for grounding)
- Twist the wires together — twist each matching pair of wires together. For safety, you can cover them with wire nuts.
- Tuck the wires back into the wall box so the mirror can sit flat on the wall.
Pro tip: Safety first! If you’re unsure of how to wire a bathroom mirror or are unqualified, get a certified electrician to do all the wiring for you.
Step 5: Hang the Mirror
Now this is the fun part—finally hanging your new mirror!
- Lift the mirror (carefully!) and attach it to the brackets or backplate you mounted earlier. Depending on your mirror, you could either hook or screw it in.
- Ensure it’s secure, level, and flush against the wall.
If your mirror is large or heavy, ask someone else to help out.
Step 6: Final Touches
You’re basically done, but there are just a couple of things to do before you can enjoy your new LED bathroom mirror.
- Flip the breaker back on or plug in the mirror.
- Test out the LED lights, touch controls, defogger, and other features your mirror has.
- Wipe down the mirror with a soft cloth to remove fingerprints or dust.
And now you’re done! Congratulations on installing your new LED bathroom mirror! You did a great job if you got to this point without running into significant problems!
Bonus Tips for a Pro Finish
- Use cable clips or covers to hide any visible cords.
- Clean the mirror regularly with a non-abrasive cleaner and a microfiber cloth.
- Keep the manual handy in case you need to troubleshoot features later.
And speaking of troubleshooting…
Troubleshooting Common Issues
Let’s face it—problems with your LED mirror will eventually show up. So it’s good to know how to troubleshoot common LED mirror problems:
The mirror won’t light up. Double-check the power supply and wiring connections.
Flickering LEDs. This might mean a loose wire or low voltage—inspect the driver and other connections.
The mirror is not sitting flush to the wall. (Unless it’s meant that way) Re-check bracket alignment and wall mounting hardware.

Conclusion
Again, congratulations on installing your LED bathroom mirror!
Adding an LED mirror is a great way to elevate your bathroom’s aesthetics, atmosphere, and function. With an LED mirror, you get the benefit of traditional bathroom mirrors and the sleek style, lighting, and smart features that only an LED mirror can offer.
You can check out Simple Lighting’s collection of high-quality LED bathroom mirrors by going to our website. For more tips on bathroom mirrors, explore our LED Bathroom Mirror Buying Guide for 2025.


