


When people think about garages, they imagine dusty boxes, a dirty lawnmower shoved to one side, and an old treadmill that’s more of a makeshift clothes rack rather than a fitness tool.
But not us.
When we think of garages, we imagine lights.
Why? Because we understand that garages are more than just car parks or junk storage units.
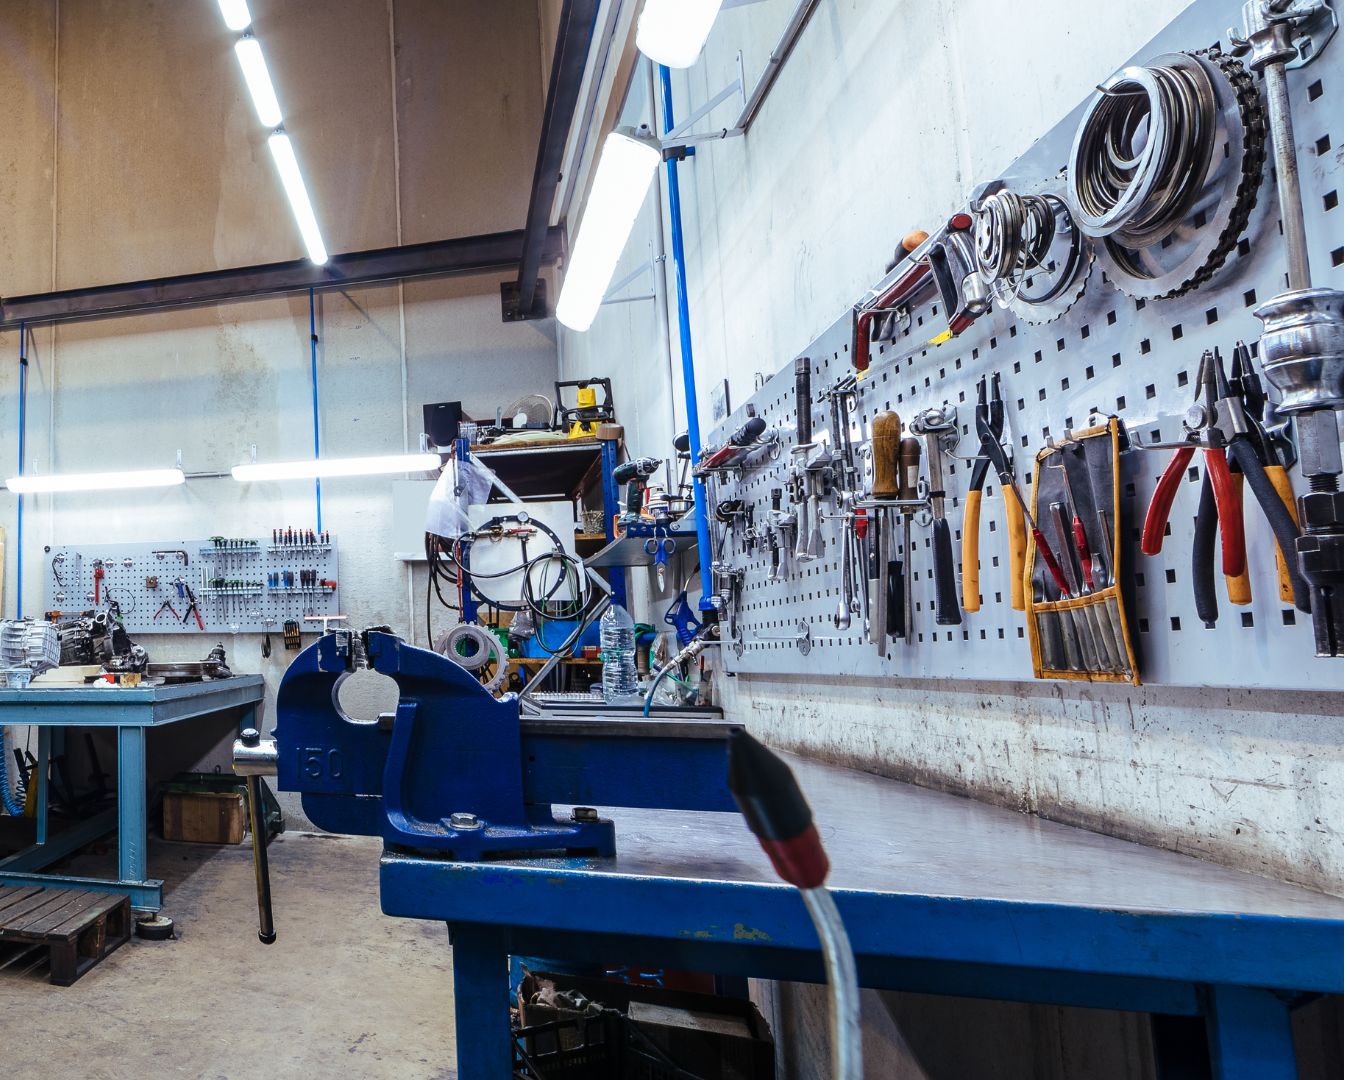
They’re workshops, hobby dens, and DIY labs. (Or at least they’re where dad keeps his tools.)
Garages are the stereotypical man-caves and craft studios. You could be fine-tuning an engine or simply rummaging for Christmas decorations.
But the one thing that can make or break your garage experience? Your lighting.
And your garage doesn’t need just any lighting. It needs good lighting.
To achieve good lighting for your garage, you need to understand two important factors: brightness and colour temperature.
And these are what we’re going to shed light on (pun alert!) in this post. Sit back, grab a cuppa, cos we’re diving in.
How Bright Should Your Garage Lighting Be?
When talking about lighting in general (not just garage lighting), brightness is the biggest concern.
Bright lights can be the difference between dropping your screwdriver and never seeing it again until your next general cleaning in four months, and having a clear, shadow-free, and safe working space.
And this is where most people go wrong.
When thinking about bright lighting, they think of watts. “I need to get higher-wattage lights to get brighter lights.” But watts don’t measure light. They measure electricity consumption.
What you actually need to look at is lumens. That’s the measure of how much light a bulb produces.
Let’s talk more about that.
Measuring Light Output – Lumens vs Watts
Remember those 60-watt incandescent bulbs? If you’re in the younger generation, then maybe you don’t… Lucky you.
But still, the point stands: back then, they were the standard until LEDs flipped the game on its head.
How? A 10-watt LED can produce the same brightness as a 60-watt incandescent.
Remember: watts = energy use, lumens = actual brightness.
The next time you get your lights for your garage, look at the lumens, not the watts. Here’s the general rule of thumb:
- 100 lumens = equivalent to one candle (cosy, but not much good for a garage)
- 800 lumens = one standard household bulb
- 2,500+ lumens = now we’re talking workshop-worthy brightness
Practical garage setups need practical lighting. You know, ones that make it easy to achieve high lumen output without guzzling energy—a.k.a. LEDs.
Recommended Brightness Levels for Different Garage Uses
Hey, not all garages are built the same. Yours can be a car haven while your neighbour’s is a woodworking wonderland.
The activities you do in your garage should determine how bright you go:
Basic Storage & Parking: Around 3,000 – 4,000 lumens total should do the trick. Having clear visibility without getting blinded every time you pop in is the goal here.
Workshops & DIY Projects: These spaces need focus. That means you don’t want light that could cause eye strain and fatigue. Step it up to 5,000 – 8,000 lumens total. The more detailed the work, the more light you want.
Car Maintenance & Mechanics: You’ll most likely want focused lighting over workbenches or under-the-bonnet areas. At least 6,000 – 10,000 lumens total should do the trick.
Multipurpose “Man Cave” or Hobby Space: This one’s flexible. You might even want to consider dimmable options so you can switch from “bright for projects” to “cosy for chilling” lighting. Your lights can be somewhere in the 4,000 – 6,000 lumens range.
Avoiding Over- and Under-Lighting Your Garage
Yes, in general, you want your garage to be bright. But there is such a thing as too much light.
It’s not a myth! Too much lighting causes glare and harsh shadows, which can actually make it harder to see what you’re doing, greatly contradicting the purpose of the lights.
(Also, it will feel like you’re in an interrogation room rather than a garage.)
On the flip side, under-lighting can also be a bummer. Nobody wants to hold a torch in their mouth while sawing wood or tightening a loose screw.
The solution? Layering your lights. What does that mean?
It means combining bright overhead lighting with task lights for precision work. That way, you control where the brightness goes while eliminating dark spots.
Choosing the Right Colour Temperature for Garage Activities
No, this is not how hot the bulb gets. This is about the tone of the light. It’s simply how “warm” or “cool” your light looks. It’s measured in Kelvin (K).
Warm White vs Cool White – How Light Colour Affects Vision
Warm White (2700K – 3000K):
This is your cosy, yellowish light—the kind you’d want in a living room. Great for relaxing, but not exactly ideal for spotting tiny screws on a concrete floor.
Natural White (4000K – 5000K):
Crisp, clean, and bright. This is the “Goldilocks zone” for most garages: clear enough to see detail, but not so harsh that it feels clinical.
(You know how clinics are usually so bright it hurts the eyes? Yes, that kind of clinical.)
Cool White (6000K – 6500K):
Mimics natural daylight. Almost bluish in colour, so it can feel a bit “cold”. This is excellent for precision work or garages with no windows.
But, of course, nothing beats REAL daylight. If you’re working in the garage during the day, we suggest maximising daylight instead.
It’s better for the eyes, and it can save you money.
Back to the colour temperatures…
Think of it this way: warm white is for sipping tea, natural white is for tinkering with tools, and cool white is for high-detail projects.
Matching Colour Temperature to Garage Use
Parking & Storage: Stick with 4000K. Bright enough to keep you safe, but easy on the eyes.
Workshops & DIY: Go for 5000K. It reduces eye strain and makes details pop. Can’t distinguish between the red wire and the slightly darker red wire? It’s probably your lights.
Hobby & Craft Spaces: Somewhere in the 4000K – 5000K range. You want accuracy for colours, but still a comfortable atmosphere. Also, get lights with high colour index ratings (CRI).
Multipurpose Garages: You do not want to be locked into just one vibe for this space. So instead of getting your “standard” lighting, consider getting a dimmable or tunable (or both) white LEDs.
That way, you can easily switch between the different colour temperatures and brightness. Mix and match what best suits the current activity in the garage.
Why LEDs Rule the Garage
Here’s a quick reality check:
Fluorescent tubes used to be the default for garages. But they flicker, they buzz, and they take ages to warm up on cold mornings. And they’re not very energy-efficient.
LEDs? Instant-on, energy-efficient, long-lasting, and available in every lumen and colour temperature you could need.
Final Tips for Getting Garage Lighting Right
- Layer it up: Combine ceiling fixtures with task lights.
- Think about glare: Diffused panels or battens spread light more evenly than bare bulbs.
- Plan for shadows: Position lights so you’re not working in your own shadow.
These are simple tips that might seem like a no-brainer, but a lot actually fail to do these.
So make sure that you do. You’ll thank yourself later.
Bonus: Check out How to Choose the Best Lighting for Your Garage for more garage lighting tips.
Conclusion
Proper garage lighting is more than just a practical choice. It’s a game-changer.
Transform your garage from “dim and dingy” to “bright and brilliant” by remembering to:
- Get your brightness right with lumens, not watts.
- Match your colour temperature to the way you use the space.
Working with shadows in your garage is officially over.
With great lighting, every task is easier, safer, and more enjoyable. Not to mention brighter.
Equipped with this newfound knowledge, it’s time for you to go out there and create the perfect garage setup that works exactly the way you need it to.


