


What is a GU10 Light Bulb?
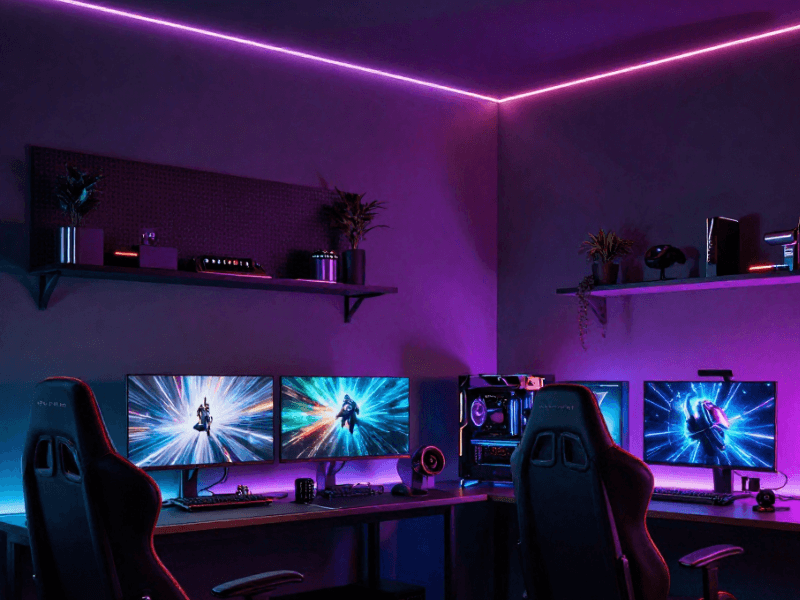
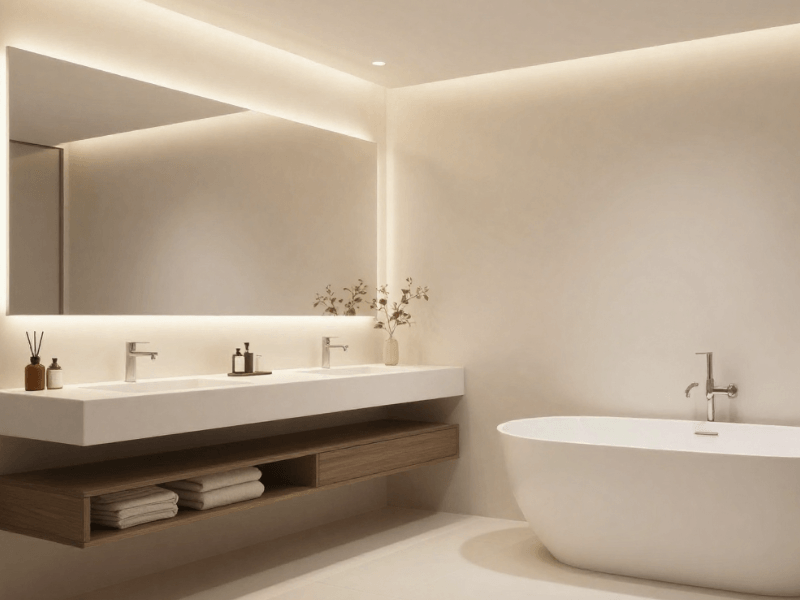
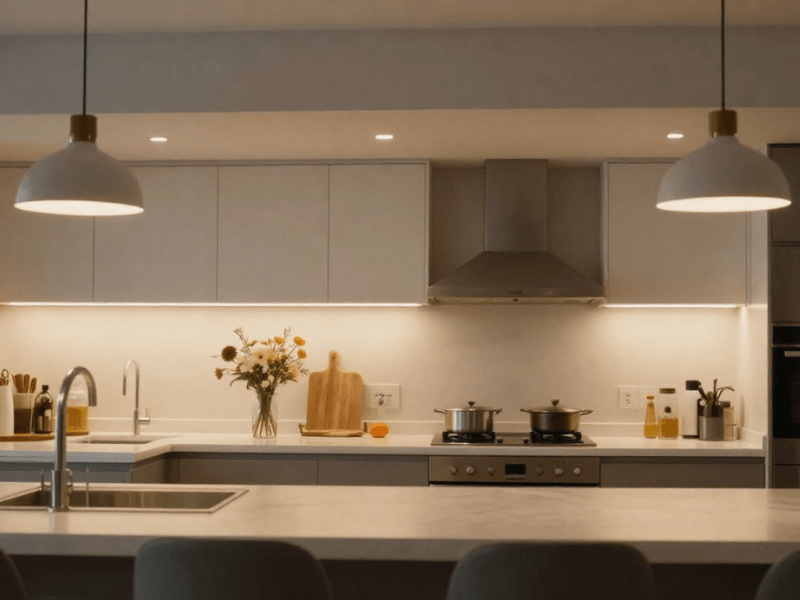
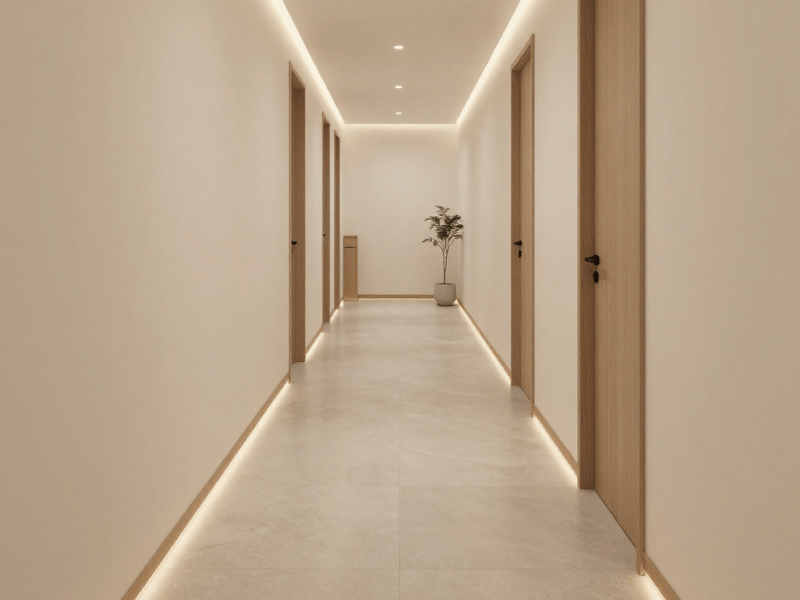
GU10 light bulbs are some of the most commonly found light bulbs in most homes today, they are used for various types of downlights including both indoor and outdoor fittings. LEDs are some of the most energy-efficient bulbs on the market, consuming just 4-18 Watts, and GU10 LEDs are perfect for all sorts of kitchens, bathrooms and hallways without the need for batteries. Some of these bulbs are solar-powered, making their energy consumption even better and lasting many years longer than their halogen and incandescent counterparts.How to remove a GU10 light bulb (own hand)?
When changing your brand-new LED light bulb with your hands, without the help of any tools, there are many things that you could be doing wrong. Below, we have created a short guide on what steps you should take to ensure minimal damage to yourself, your home and your appliances.Step 1: Ensure Switches Are Turned Off
Changing a light bulb can be quite dangerous business if not done properly and without the correct measures being taken. Before switching any bulb, not just LED bulbs, it is imperative that you turn off the light switch beforehand to prevent yourself from getting electrocuted. Once this is done, if you are using an incandescent or halogen bulb, then it is also very important to check that the bulb has cooled thoroughly before proceeding with your light bulb change.Step 2: Use Something To Elevate Yourself For High Ceilings
If your house happens to have rather high ceilings, changing the lights can be quite difficult without the use of anything to lift yourself closer to the ceiling. This can be done with just about anything from a step ladder to a chair however the closer you are to the light bulb, of course, the easier your task will be.Step 3: Wear Gloves!
Safety should be at the forefront of your mind when changing any bulb, and LEDs are no different. While LEDs are not subject to heat excretion, it is still a good idea to wear heat-protective gloves when changing the bulb, as this may also protect against electrical damage. This is even more important when changing an incandescent or halogen light bulb due to the amount of heat that they give off when in use.Step 4: Replace the GU10 Bulb
Now, with safety precautions out of the way, you can finally begin the process of actually replacing your light bulb. To replace the GU10 bulb, push it in with both of your thumbs and rotate it 90 degrees. From here, the bulb should be able to come out. Gently wriggle it until it comes loose, and you can then begin unboxing the replacement bulb. When removing your new bulb from its packaging, it is beneficial to still have your gloves on by this point, as it means that you will avoid getting any oil from your hands onto the new bulb. To then put this in, you will once again need to apply pressure with your thumbs to pop it in and rotate it in a clockwise direction of 90 degrees. This should then be securely changed.How to replace a GU10 bulb with a straw?
Another method of removing a GU10 bulb by simply using things you could find in your house is to use a plastic straw to help remove the bulb. This may initially seem like a rather confusing method to replace a light bulb however this is a very useful tool to use if the method for hand removal is not working. Just like hand removal, it is important to remember to turn off your light switches before replacing any bulbs for your own safety.Step 1: Remove the Plastic Ring
Some GU10 light bulbs are lined with a plastic-coated ring of metal, which will need to be removed before you can take the bulb out using this method. To remove this ring, you should see two small prongs that you are able to squeeze together to loosen the ring up, this will cause the ring to fall completely and you can then move on to the next step.Step 2: Flatten Your Straw
The next step is to find your plastic straw and flatten it to ensure that it is able to fit in between small spaces, as you will be required to cram this into the small space at the side of the bulb. You will next be required to fit the flat end of your straw in between the rim of the light fixture and the bulb, then push this into around an inch and a half.Step 3: Remove The Bulb
Next, you must take the straw and move it around the rim of the light bulb to loosen it and allow it to pop down. You may need to do this quite a few times before you get your desired outcome. After this, you should be able to just unscrew your light bulb once it has been released from the socket, allowing you to finally remove your old bulb. Once removed, be sure to throw away your old bulb to ensure that you do not get this confused with your new bulb and that you do not waste money, time, or effort.Step 4: Install Your New bulb
Installing the new bulb to your lamp or ceiling light is simple. All you will need to do is line up the holes in the socket to the small pins at the bottom of the bulb and twist it clockwise until they snap into place. You’ll then need to push the wires back into the metal clip and push it back up into the socket. Once in the socket, you’ll be able to place the plastic-coated metal ring back onto the fixture.What is the brightest GU10 LED bulb?
- 10w GU10 LED Bulb, Samsung LED Chips
- 10 x 7.5w GU10 LED Spotlight With Samsung Chip & 5 Year Warranty
- 6w Pro GU10 LED Bulb - Cool, Warm or Natural White


0 comments