


Want to make your brand shine and pop—literally? LED neon strip lights are the modern way to create bold and bright signage.
They take traditional neon lights’ vibrant and colourful designs and use modern, more efficient lighting technology—LED. What you get is brighter, more energy-saving bright strips that are more flexible, durable, and last longer. LED neon strip lights also made neon signage-making possible and accessible to anyone who wants to DIY.
So, whether you’re setting up an “Open” shop sign, customising a neon quote for your home wall, or designing for an event, LED neon strips make it easy and fun.
In this comprehensive guide, we’ll walk you through everything you need to know to design and install your own neon strip lights signage like a pro.
Let’s get glowing!
Why Use LED Neon Strip Lights for Signage?
Classic neon light signs are cool but also fragile, heavy, and expensive to make and run. On the other hand, LED neon strips are way cooler, smarter, and have a variety of applications.
Here’s why everyone’s making the switch to LED neon strip lights:
Energy Efficient: LED technology uses significantly less power than traditional neon lights.
Long Lifespan: Can shine bright for up to 50,000 hours.
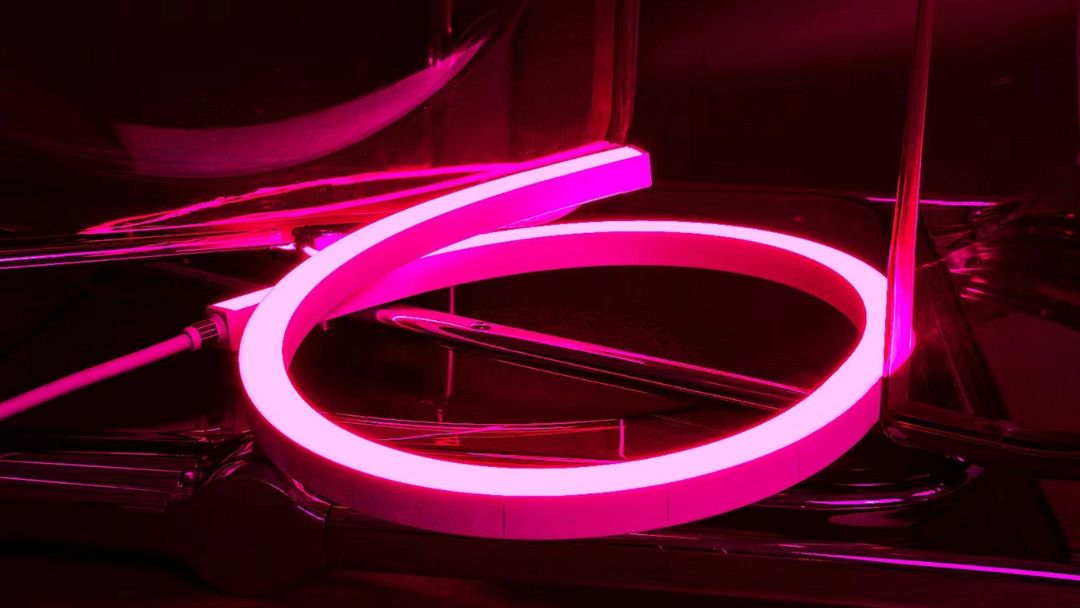
Flexible: Made from silicone or PVC, which you can easily bend into any shape you want. LED neon lights are your best choice for flexible LED sign lights.
Safe: No gas, no heat, no broken glass. Safe for indoor and outdoor use.
Customisable: Choose from a variety of colours, either in single colour, RGB, or RGBW. Many even have dynamic effect options.
Smart Integration: Some LED neon lights can be connected to smart systems like Alexa and Google Home for voice control. Phone apps also allow for setting timers and schedules.
If you still prefer traditional neon lights after going through these benefits, then you must really like the classic. We don’t judge.
Planning Your Neon Sign Design
It helps to have a clear plan before you start working on any project, but especially so when doing a custom LED neon sign install. So, take a few steps to plan your design:
1. Define the Purpose
What’s the design for? Is this for a storefront? A wall decor at home? A wedding photo backdrop? Having the purpose at the top of your mind helps guide the whole project’s direction.
2. Pick a Font or Style That Stands Out
Not all fonts will work well in neon. You can check out the internet for a neon sign design guide and look for ones that are similar to your idea, so you get a picture of what it would look like once it’s done. As a general rule, it’s best to go for rounded, simple letterforms that are easy to bend and still readable when lit.
3. Choose Your Colours and Effects
You have an option for single colour (choose between white, warm white, or a colour of your choice) or you can go for the full RGB option. Connect the LED neon strip to a controller if you want the lights to flash, fade, or pulse.
4. Sketch the Layout
Map out the project on a piece of paper or digitally on your phone or computer. Your sketch doesn’t have to be perfect, just enough to give you a rough idea of how the whole setup will look and what things will go where. Also, make sure you plan where curves, corners, and the power source will go.
Tools & Materials
Here’s a checklist of things you’ll need:
- LED neon strip light (make sure you have exactly what you need)
- Power supply (match the strip’s voltage and wattage. Most kits already include one.)
- Mounting clips or 3M adhesive tapes
- Scissors or utility knife
- Controller (for RGB effects)
- Optional: soldering kit or connectors (for joining strips together or manoeuvring around corners and obstacles)
Step-by-Step Installation Guide
Now that everything is ready, it’s time to start mounting your LED neon strips.
Step 1: Prep The Surface
This is specially useful if you’re planning to mount your neon strips using adhesives tapes. Make sure to clean and dry the area where you’re placing the neon strips. Also make sure that the surface is smooth. Dust and bumps can compromise the adhesive.
Step 2: Shape and Cut the Strip
This is the step where your design comes to life.
Understand the Strip’s Flexibility
Yes, LED neon strips are flexible, even more flexible than standard strip lights, but they’re not unbreakable. Make sure you bend them properly to avoid damaging the lights. LED neon strips are designed to bend in specific ways (top-bending or side-bending). Forcing the wrong bend direction can damage the strip’s internal wiring. You don’t want that!
Design Sketch
Remember when we said to sketch your design? Print or draw your word, logo, or shape in actual size as a layout template. Tape the design to your surface or mounting board as a visual guide for forming the strip.
Start Shaping
- Begin at one end of the strip.
- Follow your outline while gently bending the strip along curves.
- Bend slowly and in small increments for curves like O, C, or S.
- For corners or sharper angles some neon lights allow for creating small notches on the non-lighted side of the strip. You can also cut the strip and use connectors.
Cutting with Precision
Only cut the strip at marked cut points, usually indicated by a tiny scissor icon or dashed line, otherwise you’ll end up damaging the circuit.
- Double-check measurements. Remember the rule: measure twice, cut once.
- Only use sharp scissors or a utility knife. Cutting with dull blades will only damage the neon strips.
- Seal the strip with end caps to prevent moisture or shorts (especially for outdoor signs).
Step 3: Attach the Strip
You’ve shaped the sign—now lock it in place. Use the adhesive backing or mounting clips to secure the strip. Start from one end and work slowly towards the other end to keep it smooth and even.
Step 4: Connect to Power
LED neon strips typically run on 12V or 24V DC, which means you’ll need a matching power supply or adapter. Once you have that, all you have to do is plug one end of the neon strip into the power supply. For RGB or RGBW strips, connect to the controller first, then connect the controller to power. Here’s how each connection should be:
Single colour: Neon strip → power supply (LED driver)
RGB/RGBW: Neon strip → controller → power supply (LED driver)
Safety Checks:
- Never plug in before all connections are secure.
- Never work with the wires while the strip is plugged in.
- Check the max load of the power supply versus the max wattage of the lights.
- If you’re hardwiring to your mains power, we strongly recommend calling a certified electrician if you’re not one.
Step 5: Test, Adjust, and Finalise
Everything’s set up; everything’s in place. It’s time for the moment of truth.
- Plug in and power on, and look for any dim/dark spots, flickering, or areas that are not sticking well.
- Test the brightness, colour accuracy, and lighting effects.
- Adjust as needed before making everything permanent.
Pro Tip: Take a step back and view your sign from different angles. Even lighting and clean shapes make all the difference.
Common Mistakes to Avoid
Designing and installing your LED neon strip light might not be easy per se, but it’s definitely doable for a DIY. Here are some common mistakes and things people overlook when installing their neon strips:
- ❌ Cutting at the wrong spot: Only cut where marked!
- ❌ Skipping waterproofing: Outdoor signs need outdoor protection!
- ❌ Using the wrong power supply: This can cause flickering or burnout.
- ❌ Over-bending: Don’t fold the strip too tightly or you’ll damage the circuit inside.
Make sure to avoid these mistakes, and your LED neon strip sign should come out alright.

Conclusion
You don’t need to be a lighting expert or a pro installer to pull off a good LED neon strip sign. With a little planning, preparation, and the right materials, you can be a proud creator of a neon sign.
If you’re looking for a high-quality LED neon strip, check out Simple Lighting’s wide range of neon flex collection on our website. Need more neon lighting tips and tricks? Don’t miss The Definitive Guide to Neon Strip Lights.


