


Do you know what the most important thing is when installing your bathroom light? It’s not how good it will look; it’s safety. Poorly installed lights can lead to electrical hazards, damp-related damage, and costly repairs.
The good news? With the right planning, fittings, and installation approach, you can create a bathroom that’s bright, safe, and fully compliant with UK safety regulations. Join us in this guide as we give you a step-by-step breakdown of the best and safest way to install your bathroom lights.
Before You Start — Key Safety Considerations
Before any fitting goes up or a cable is touched, it’s essential to get familiar with regulations, layout planning, and protective equipment. Safe bathroom lighting installation isn’t just about uniform positioning; it’s about legal compliance and long-term reliability.
Follow UK Wiring Regulations (Part P)
Any electrical work carried out in a bathroom must comply with Part P of the Building Regulations. These are legal requirements that ensure electrical safety (from risks of faulty electrical installations) in domestic properties in the UK.
Bathrooms are considered “special locations” because of their high moisture levels, which means even small mistakes can pose risks. That’s why it’s crucial that wiring and fixture connections are performed or checked by a qualified electrician.
If in doubt, leave the electrical work to a professional to ensure everything is certified and compliant.
Understand IP Ratings and Zones
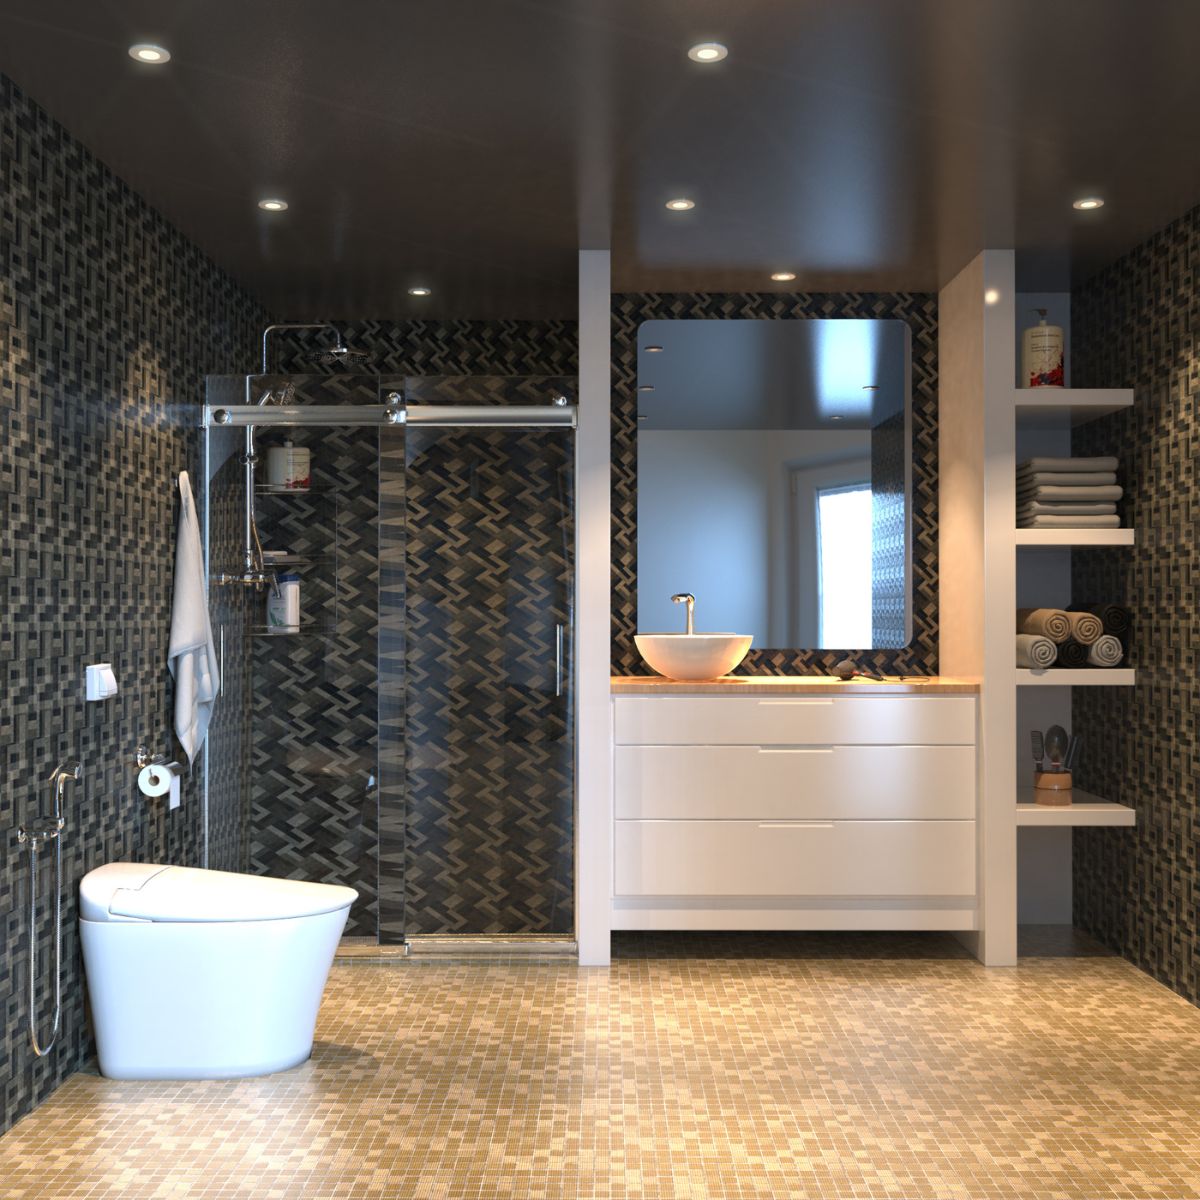
Moisture protection is one of the most important considerations in bathroom lighting design. The bathroom is divided into different “zones.” Fittings must then be suitable for their specific zone, which is determined by their proximity to water sources.
This is where IP ratings come in. Some common IP ratings for bathroom lighting are:
- IP44: Resistant to splashes — suitable for Zone 2
- IP65: Water jet-proof — ideal for Zone 1
- IP67: Fully waterproof — suitable for Zone 0
For more guidance on moisture-resistant fixtures, explore our range of IP65-rated bathroom lighting. We’ll talk more about bathroom zones below.
Turn Off Power at the Mains
Safety first! Always isolate the electrical circuit before starting any installation work. Switching off the lighting circuit or the entire mains board eliminates the risk of electric shock. Use a voltage tester on the wires as well, before handling them, to confirm they are completely dead.
Use the Right Tools and Equipment
Bathroom lighting installation requires accuracy. We won’t judge your skills, but the right tools can help ensure a safe and efficient workflow.
Recommended kit includes:
- Insulated screwdrivers
- Voltage tester
- Drill with hole saw attachments
- Mounting brackets
- Electrical connectors
- Cable conduit
- Silicone sealant
Step 1 — Plan Your Lighting Layout
Good planning doesn’t just ensure that your lights (and bathroom) will look great. It’s an essential step in your light installation that helps avoid safety issues, improves the bathroom’s ambience, and ensures your setup complies with UK regulations.
Taking time to map out zones, wiring routes, and fixture placement can save money and prevent rewiring later.
Map Out Zones and Fixture Placement
UK regulations divide bathrooms into four zones (0, 1, 2 and outside zones), each with specific IP requirements:
- Zone 0: Inside the bath or shower tray
- Zone 1: Directly above the bath/shower up to 2.25m
- Zone 2: 60cm around the bath, shower, or sink where water spray is likely but less intense
- Outside zones: All other areas
Mark the walls and ceiling with these zone boundaries. Once mapped, you can choose suitable fittings for each area you want to light.
Combine Task, Ambient, and Accent Lighting
A well-designed bathroom uses layered lighting for practicality and atmosphere:
- Ambient lighting for overall brightness
- Task lighting around mirrors for shaving and grooming
- Accent lighting for adding depth, personality, and style
Ensure Clearance from Water Sources
Every fixture must meet the minimum clearance requirements from taps, shower heads, and wet zones. Even outside regulated zones, avoid installing fittings directly over areas with frequent splashing. This maximises safety and prevents moisture-related faults.
Step 2 — Choose the Right Fittings for Each Zone
Let’s talk about “zones” in more detail.
Each bathroom zone demands different levels of protection. Choosing the right fixtures ensures safe operation, longevity, and consistent performance, especially in humid environments like your bathroom.
Zone 0 (Inside Bath or Shower)
This zone is directly exposed to water. Only low-voltage (12V max) IP67 fittings are permitted here. They must be fully waterproof and safe for submersion. Lights used in this zone are often for decorative uplighting or spa-style shower bases.
Zone 1 (Above Bath/Shower)
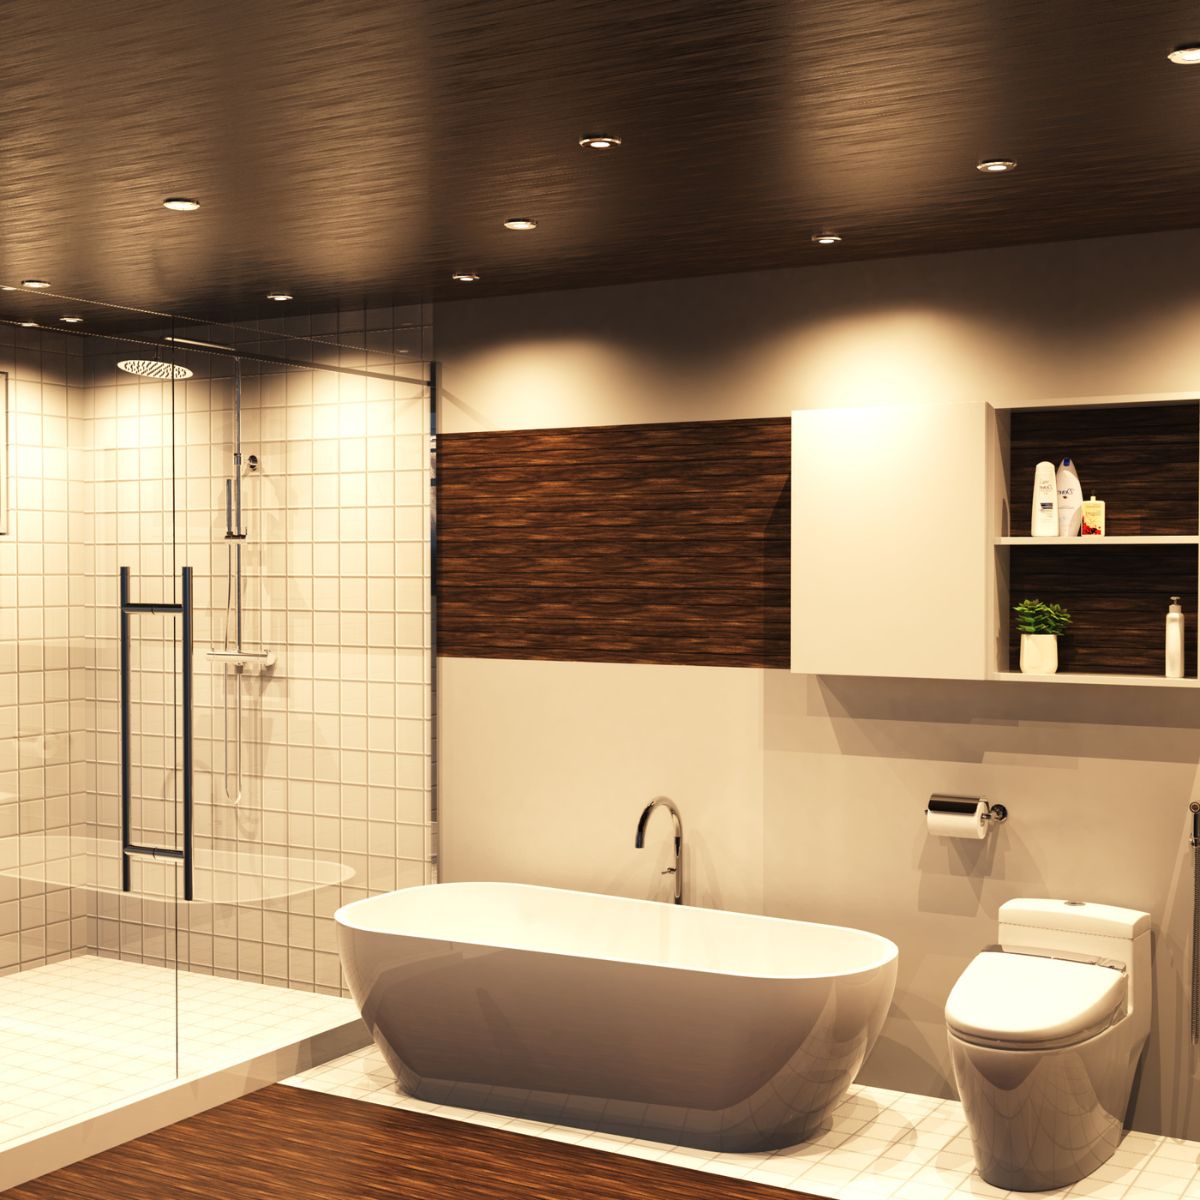
Zone 1 still requires a minimum IP65 rating, as fittings in this area must withstand spray from all directions. Recessed downlights are the most popular solution, offering a neat and modern look while maintaining safety.
Zone 2 (Around Basin)
The 60 cm area outside the perimeter of Zone 1 is ideal for IP44 wall lights or mirror lights. These provide reliable splash protection while delivering bright, even task lighting.
Outside Zones (Zone 3)
Any fitting located outside Zones 0, 1, or 2 must still be safe for use in humid conditions. Choose fittings with at least IP20 and ensure they’re made from corrosion-resistant materials.
Step 3 — Wiring and Electrical Preparation
Once you’ve figured out the lighting plan and fittings, it’s time to think about wiring and electrical safety. This part should be handled carefully, ideally by a qualified electrician.
Here are some important factors/practices to consider:
Position Junction Boxes Outside Zones
All connections should be kept well away from areas prone to moisture. Installing junction boxes outside regulated zones reduces the risk of water ingress and extends the lifespan of your lighting.
Run Cables Through Conduit or Trunking
Bathroom wiring (not just your lights) must be properly protected. Running cables through conduit or trunking shields them from humidity and accidental damage, especially when installed inside walls or ceilings.
Connect to the Lighting Circuit
Another essential bathroom safety tool is the RCD (Residual Current Device), which is a safety switch that prevents you from getting fatally electrocuted.
A qualified electrician will connect your bathroom lights to an RCD-protected lighting circuit, ensuring automatic power cut-off in case of a fault.
Install a Pull Cord or Wall Switch Outside the Bathroom
Don’t use standard switches within bathroom zones.
Some better options include:
- A pull-cord ceiling switch
- A wall switch outside the bathroom
- A remote or smart control system
Smart controls are gaining popularity in bathrooms, particularly for mood lighting and automation. They are now more accessible, thanks to Amazon’s Alexa, Google Assistant, and Apple HomeKit.
Imagine not having to walk up to a switch just to turn your lights on/off or adjust their settings. “Turn on mirror lights.”
Step 4 — Mounting and Installing the Fixtures
Alright. With the wiring prepared, you can now proceed to the physical installation of the lights.
Mark and Drill Mounting Points
Some lights come with templates you can use to make installing your lights easier and faster. Double-check your markings and always check for hidden pipes or electrical cables using a detector before drilling. You want to install lights, not break down your house.
Fit Brackets or Backplates Securely
Secure fixings are essential, especially for ceiling-mounted fixtures such as downlights. Loose fittings can sag over time or cause electrical strain. Neither is good for your bathroom, so make sure you secure your lights with brackets or backplates.
Connect Fixtures and Check Polarity
Match the wires carefully:
- Live (brown)
- Neutral (blue)
- Earth (green/yellow)
Connecting wires with different polarities can cause faults or tripping.
Seal Around Fittings
Once fixtures are in place, as an added protection, you can apply silicone sealant to the edges. This prevents:
- Condensation entering the fitting
- Moisture-damaging wiring
- Gaps around ceiling holes
When installing recessed fittings, consider fire-rated downlights, as they ensure your ceiling’s integrity remains true to its rating.
Step 5 — Testing, Inspection, and Compliance
Testing is essential not just to ensure the system works, but to verify that it’s safe for long-term use.
Use an RCD Tester
Your electrician should test that the RCD trips correctly and reacts to faults within safe time limits. This is crucial in wet environments!
Test for Insulation Resistance and Polarity
A registered electrician should test and confirm:
- Cable continuity
- Correct polarity in connections
- Adequate insulation resistance
- Safe load and performance
Testing these ensures your installation meets UK safety standards.
Record the Installation for Certification
For legal compliance, you should obtain a Minor Electrical Installation Works Certificate. This certificate documents:
- The work carried out by the electrician
- The safety tests performed
- Compliance with regulations
This record is essential if you plan to sell your home or require future electrical upgrades.
Aftercare — Maintenance and Long-Term Safety
You don’t install your bathroom lights and think, “That’s it, all done.” Even the safest installation needs regular checks and basic maintenance to ensure long-term performance.
Replace Lamps Safely
Always switch off the lighting circuit before replacing LED lamps. When doing replacements, use ones that match the fixture’s wattage and voltage requirements.
Check Seals and Moisture Levels
Inspect fittings for condensation, loose seals, or cracked casings. Reapply silicone if gaps appear around recessed lights or wall-mounted fittings.
Keep Ventilation Optimised
Maintaining good airflow in your bathroom doesn’t just prevent mould; it also reduces moisture, improves the lifespan of your fixtures, and reduces humidity-related wear.
Common Bathroom Lighting Installation Mistakes to Avoid
Even experienced DIYers can make costly errors. Here are mistakes to avoid at all costs.
Installing Non-IP Rated Lights Near Water
Don’t even think about it. Never install standard indoor lights near baths, basins, or showers. The wrong IP rating increases the risk of electrical failure and water ingress.
Remember that it’s better to install lights with a higher IP rating than the required one, rather than having a lower IP rating.
DIY Wiring Without Certification
We understand the different reasons for wanting to DIY your lights. But incorrect wiring in a bathroom can cause severe hazards and can even pose some legal risks. If you’re not qualified, get an electrician to handle the work.
Overlooking Fire-Rated Downlights
One commonly overlooked legal requirement is the use of fire-rated downlights. But why is it important to use these types of downlights instead of regular downlights?
Recessed downlights penetrate the ceiling. That’s why they must be fire-rated in order to maintain the fire barrier.
Recommended Products for Safe Bathroom Lighting Installation
For guaranteed safety and compliance, we recommend you look for the following high-quality options:
- IP65 Bathroom Downlights – Perfect for shower zones and high-moisture areas.
- LED Bathroom Mirrors – The built-in lighting is ideal for grooming and makeup.
- 12V LED Strip Lights – Ideal for niches, under-cabinet lighting, or soft accent effects.
- Smart Bathroom Lighting – App-controlled, dimmable, and humidity-safe options for modern homes.
Conclusion – Safety First!
You may be excited to upgrade your bathroom. Or maybe you’re building from scratch. Either way, don’t let your excitement get the best of you and forget the most important part of bathroom lighting: safe installation.
Bathroom lighting installation requires careful planning, getting the right fittings, and strict adherence to UK safety standards. By understanding zones, IP ratings, and wiring requirements, you can enjoy a bathroom that’s beautifully lit and safe for years to come.
For safe, stylish, and compliant bathroom lighting, explore Simple Lighting’s IP-rated and fire-rated options today.
And be sure to check out the Bathroom Lighting Buyers Guide for more posts like this one.


