


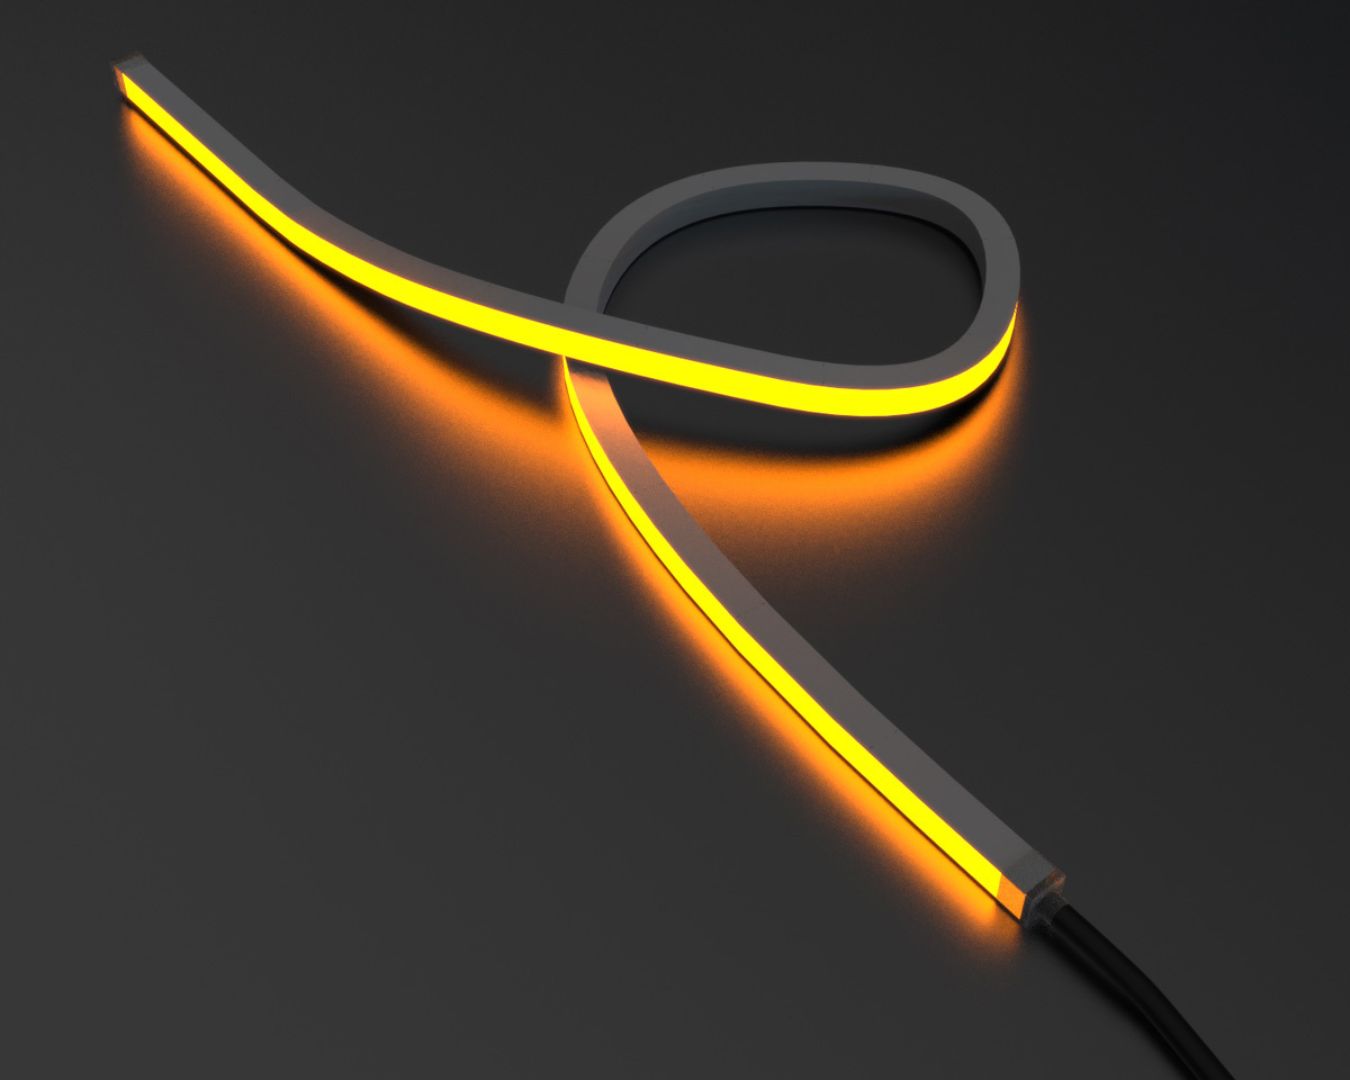
So you’ve got yourself some awesome neon strip lights—great choice! Neon strip lights are great for lighting up gaming setups, creating cosy home vibes, or adding a pop of colour for your business.
Whatever you’re using your neon strip lights for, one thing’s for sure: You won’t be able to enjoy your beautiful lights if you’re not using the right power supply and controller.
Just mentioning “power supply” might already sound too technical for the average homeowner. That’s why in this post, we’ll walk you through everything you need to know, without the headache.
Let’s break it down.
Why Do You Need a Power Supply?
For low-voltage lights like neon strips, which are typically rated at 12v or 24v, directly connecting to the mains circuit at 230v is a no-no. That’s why you need an LED neon strip light power supply or an LED driver/transformer to help convert the higher voltage electricity to the lower voltage that the neon strip lights need.
Why Matching the Power Supply Is So Important
Think of the power supply as the heart of your lighting setup and electricity as the blood. The lights won’t run properly if the heart is too weak or too strong. If the voltage is wrong, then your neon strips could be damaged, or you could even cause fire hazards due to electrical failures.
Not only does your power supply need to match the voltage of the lights, but it also needs to match the total wattage of the whole run of your neon strip lights.
Matching the power supply with your neon strips ensures everything works smoothly. You’ll have brighter lights that last longer and perform safely. Powering up your neon strip light setup is not just about turning them on—it’s about doing it correctly.
How to Calculate Your Power Needs
I know, I know. We have to do a little math. But I promise it will be easy, not to mention important. Here’s what you’re going to do:
1. Check the wattage per metre of your neon strip lights. This is usually listed on the product page or label.
2. Multiply that number by the total length (metres) of neon strip light you’re installing.
3. Add a 20% to 30% safety margin so the power supply is not always running at full capacity. This also gives it room to withstand sudden power surges.
Let’s have an example so you can better picture it:
If your neon strip uses 10W per meter, and you’re installing 5 meters:
- 10W x 5m = 50W
- Add 30% → 50W x 1.3 = 65W minimum power supply
Your power supply should not go lower than 65W. Also, ensure it’s at the same voltage as your neon strip lights.
Types of Power Supplies for Neon Strip Lights
Now that math is out of the way (told you it would be easy), it’s time to pick a power supply type. It’s crucial to note that not all power supplies are made the same.
Plug-in (Wall Adapter)
This is the “plug-and-play” type of power supply, in the most literal sense. You just need to plug it into a socket like any other device. They’re perfect for small DIY projects or temporary setups where you can unplug them when you don’t need them anymore.
Many DIY neon strip light kits have this kind of power supply. You typically won’t need an electrician to connect this.
Hardwired Power Supplies
These power supplies are directly connected to your mains circuit, so they usually require a little electrical know-how to set up. Safety first! Get a licensed electrician to help you out with this.
Hardwired power supplies are best for permanent installations, typically in commercial spaces as built-in accent lighting.
Dimmable LED Power Supply
These ones are designed to work with dimmer switches. Yes, not all power supplies are dimmable, so if you’re looking for a dimmable power supply, make sure you read the product description well before buying.
These power supplies are a smart pick if you want adjustable brightness directly from your wall dimmer.
PRO TIP: If your setup is going outdoors or in damp areas, look for a waterproof power supply (IP65 or higher).
Safety and Voltage Considerations
Know your neon strip specs!
When choosing a power supply, always match the voltage of your neon strip—usually either 12V or 24V. What’s the difference?
- 12V is common for shorter runs and residential use.
- 24V is ideal for longer runs and can reduce voltage drop.
Safety tips to take note:
- Never mix voltages (a 24V supply will damage 12V strips and vice versa).
- Look for power supplies with certification labels (such as CE or UKCA)
- Make sure your power supply has overload and short circuit protection (never overload your power supply).
What to Know About Neon Strip Lights Controllers
Now for the fun part. Once your power supply is sorted, it’s time to think about the controller. This is where the magic happens. Controllers let you use your neon strip lights to the full extent of their capabilities. They let you:
- Manage brightness
- Change colours
- Create effects (fading, strobing, etc.)
- Sync your lights to music or set scenes
- Integrate your lights into a smart home system
Controller Types:
Depending on your neon strip lights, there are a few different types of controllers to choose from.
Single Colour: Just dimming and on/off functions. Simple and useful, if that’s all you need from your neon lights.
RGB: Mixing the colours red, green, and blue. Only controls the RGB neon strips.
RGBW: Controls the RGB and also the white LEDs. Use this for better clarity (RGB + true white).
Bluetooth Controllers: Allow control through smartphone apps.
Wi-Fi Controllers: Have a more widespread control but require a stable Wi-Fi connection.
Other controllers: Other controller options include DMX, IR (infrared), and RF (radio frequency)
Always make sure that the controller is compatible with both the type of neon strip light and the power supply. Not doing so can cause flickering, lag, or complete failure.
Dimming and RGB Options
Dimming is more than just a nice feature. It has a health benefit, reducing eye strain. It also saves energy and even extends the life of your lights.
If you’re working with a single-colour neon strips, look for a dimmer that suits your setup, whether it’s a manual knob, remote-controlled, or built into your wall switch.
As for RGB and RGBW strips, controllers with dimming and colour adjustment features should be your priority. Otherwise, how can you play with the million different colour combinations and lighting effects your neon strip lights can create?
Just remember: not every controller can support every function we mentioned here. Always check the labels before purchasing to avoid regretting your decision!
Shopping Smart
Here’s a quick checklist when shopping for your power supply and controller:
✅ Match the voltage (12V or 24V)
✅ Calculate total wattage and add a safety margin
✅ Choose a power supply that fits your install style (plug-in vs hardwired)
✅ Pick a controller that works with your strip type (RGB, RGBW, etc.)
✅ Always prioritise safety. Go with quality components.
✅ Double-check product descriptions.
✅ When in doubt, get a licensed electrician to help.
PRO TIP: If you don’t like the hassle of calculating power requirements and matching the right power supply to your neon strips, consider getting a neon strip light kit. It comes complete with a compatible power supply and a controller, so all that’s left to do is mount it.

Conclusion
Choosing the right power supply and controller for your neon strip lights is crucial, but it doesn’t have to be complicated. The right power supply will keep your neon strip lights safe and running for a long time.
Just take the time to do the correct calculation (it’s simple math, don’t skip this step), take the right measurements, know your neon strip’s specs, and you should be good.
Unlock more neon lighting options in The Definitive Guide to Neon Strip Lights.


